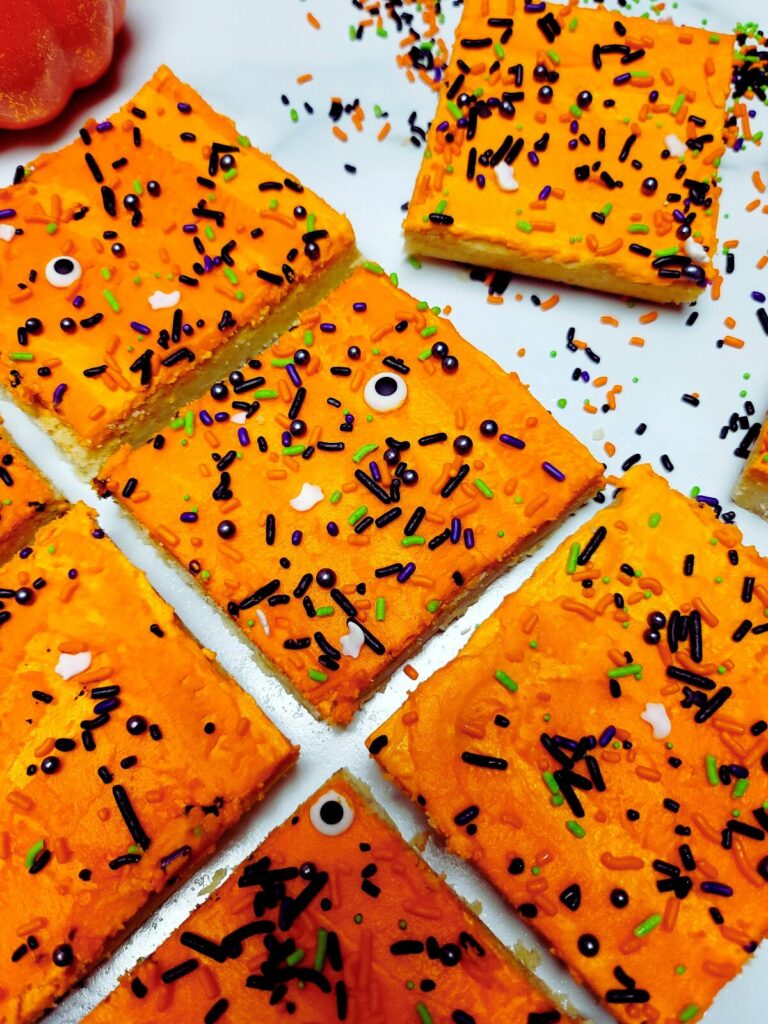
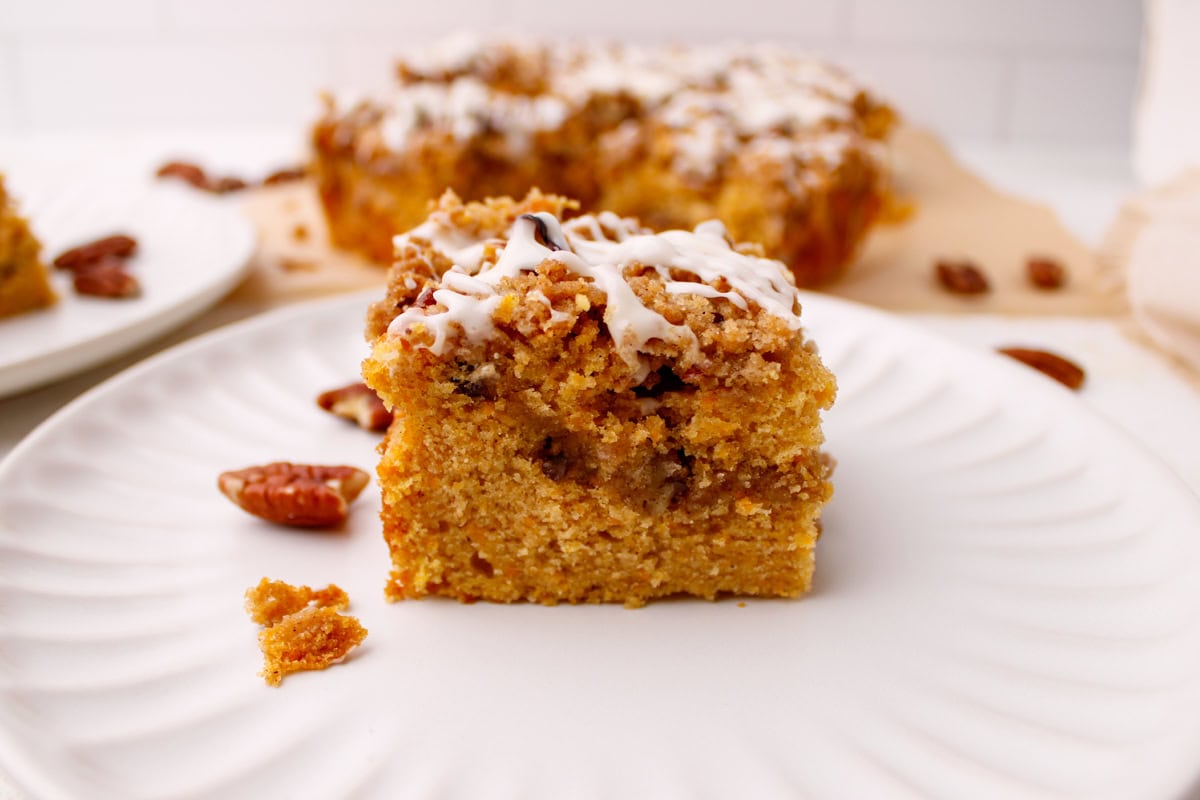
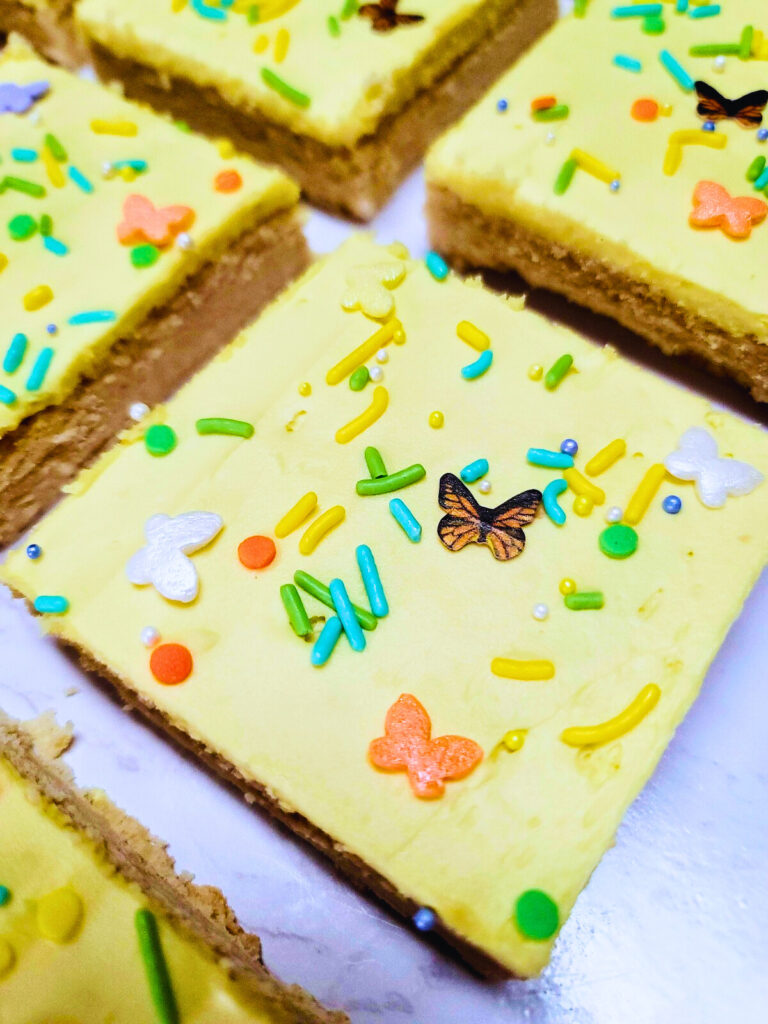
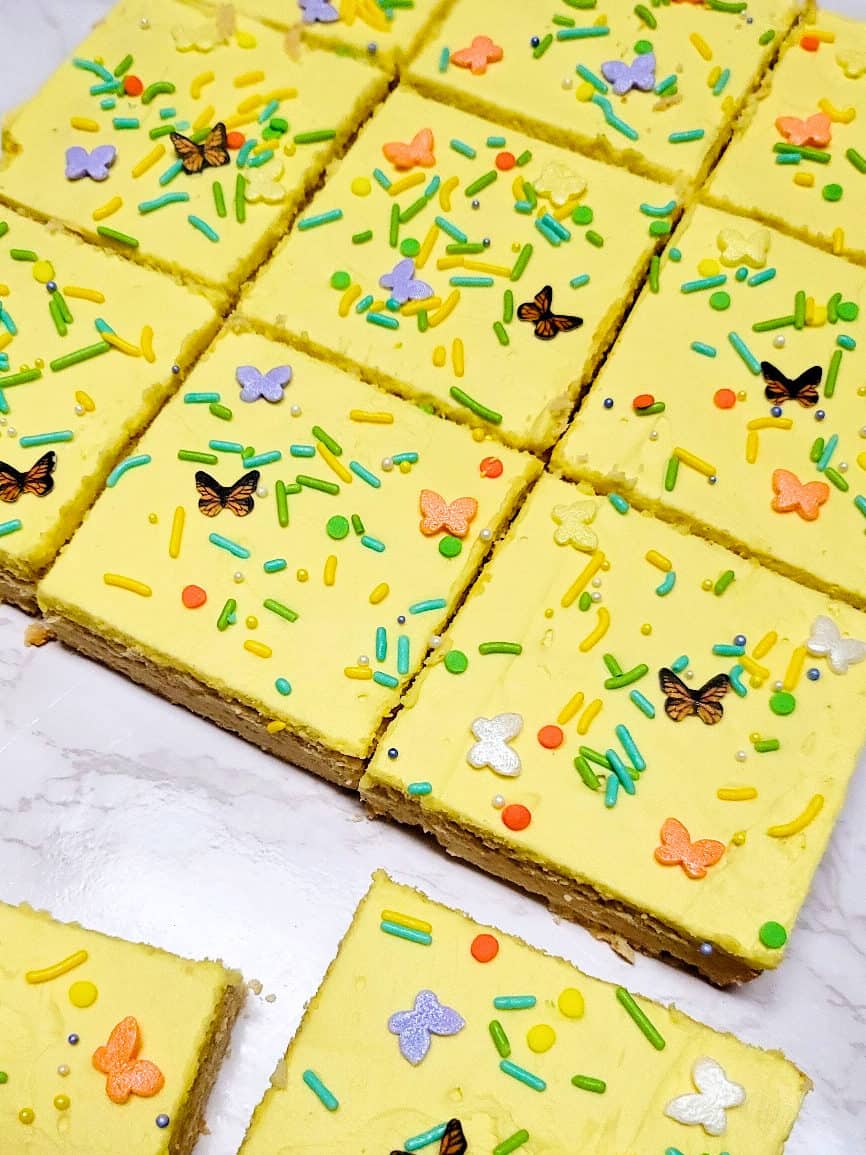
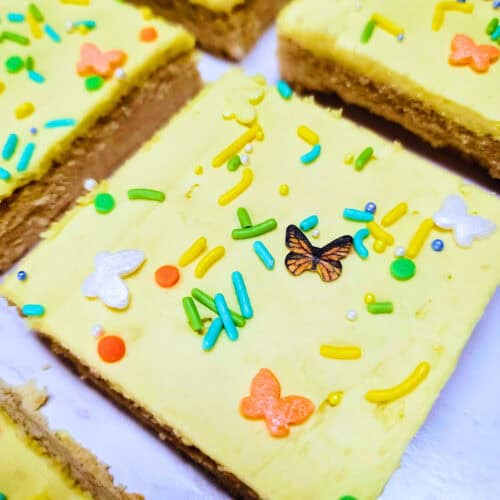
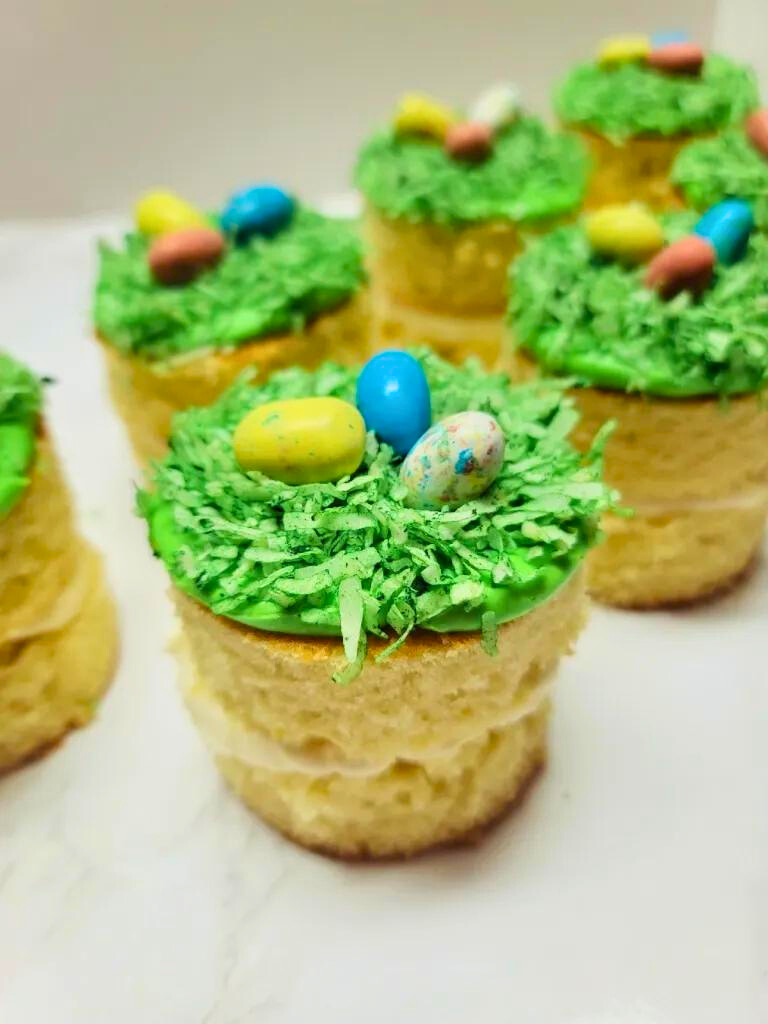
These Easy Halloween Cupcakes are simple, yet fun to make. Delicious homemade vanilla cake, scrumptious buttercream frosting and SPRINKLES! That's all it takes to make these super easy, but delicious, Halloween cupcakes.
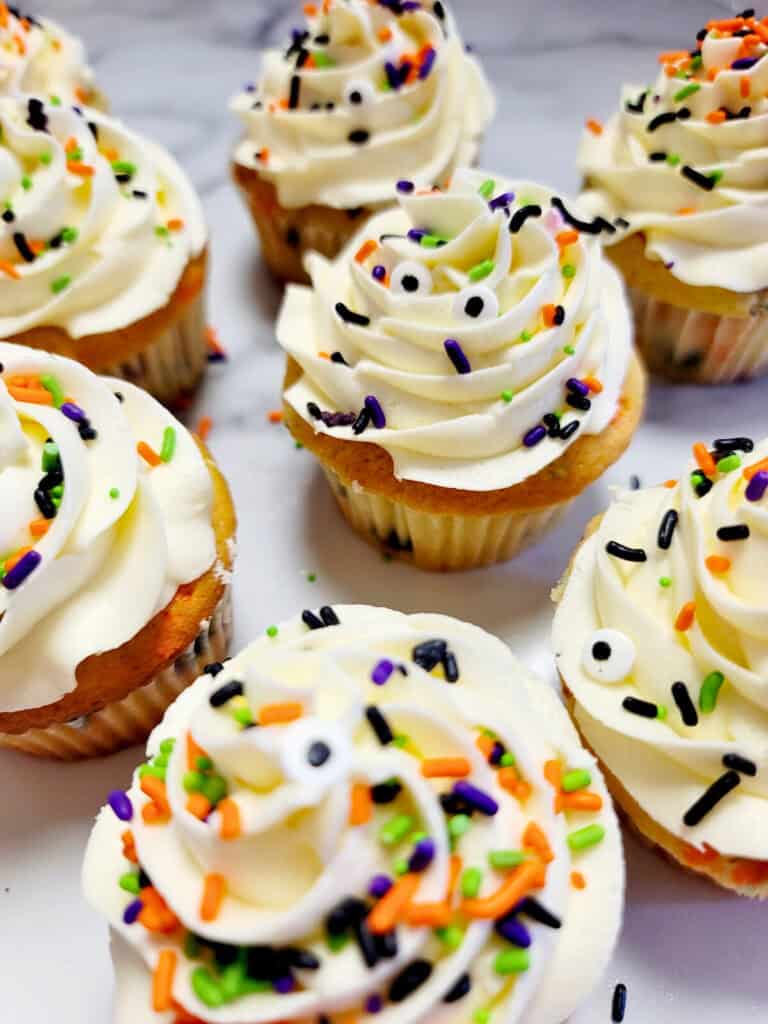
When in doubt, bake cupcakes! Cupcakes are always my go to when I am needing something easy and festive. I love using sprinkles whenever I am baking treats for kids. Nothing, and I mean nothing makes a kid happier than a cupcake topped with lots of colorful sprinkles. With a simple piped buttercream and sprinkles, even the beginner decorator can execute these cute Halloween cupcakes with ease.
The base for this cupcake is my favorite vanilla cake recipe, light, fluffy and perfectly vanilla flavored. Vanilla cake with just a simple buttercream is always a crowd pleaser. You will love how delicious this cake recipe turns out.
👇Jump to:
My Latest Videos
Key Ingredients & Tips
- Butter - Real, unsalted butter is used in both the vanilla cupcakes and the vanilla buttercream for that rich, homemade flavor.
- Sugars - You'll need granulated sugar for the cupcakes and powdered sugar for the buttercream. I recommend sifting the powdered sugar to avoid any clumps-once they're in the buttercream, they're nearly impossible to fix!
- Milk & Sour Cream - Make sure both are at room temperature for better blending. The sour cream adds moisture and richness to the cupcakes.
- Heavy Cream - Used in the buttercream to help achieve that fluffy, pipeable texture. If needed, you can substitute with milk, but the cream gives a better consistency.
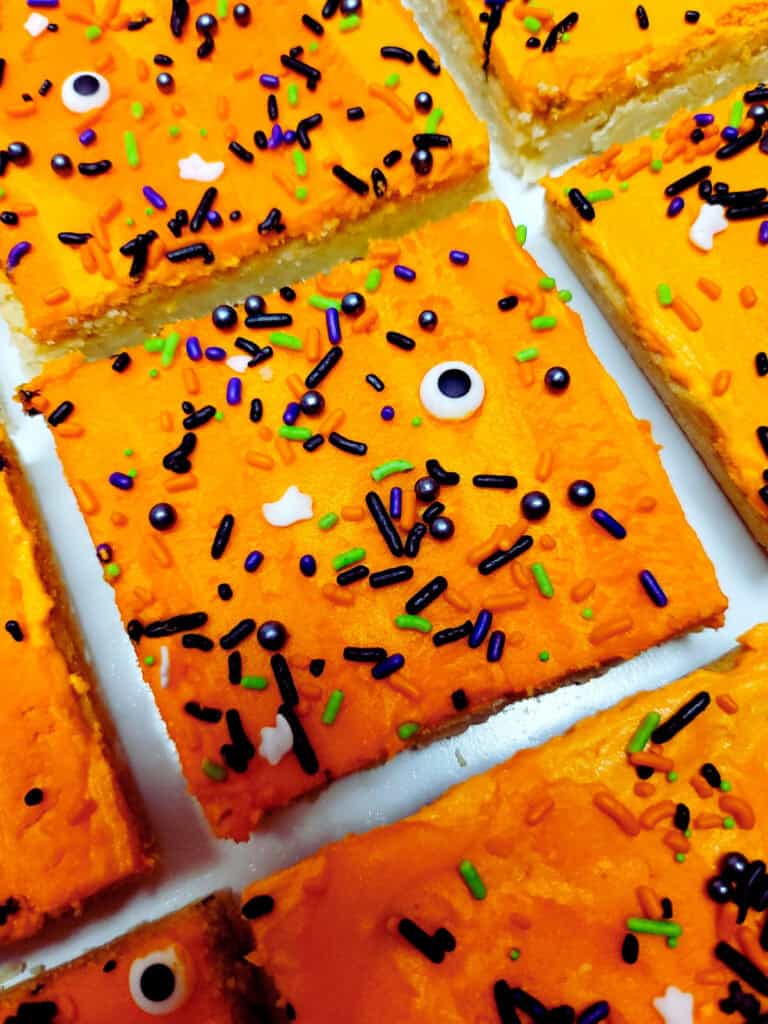
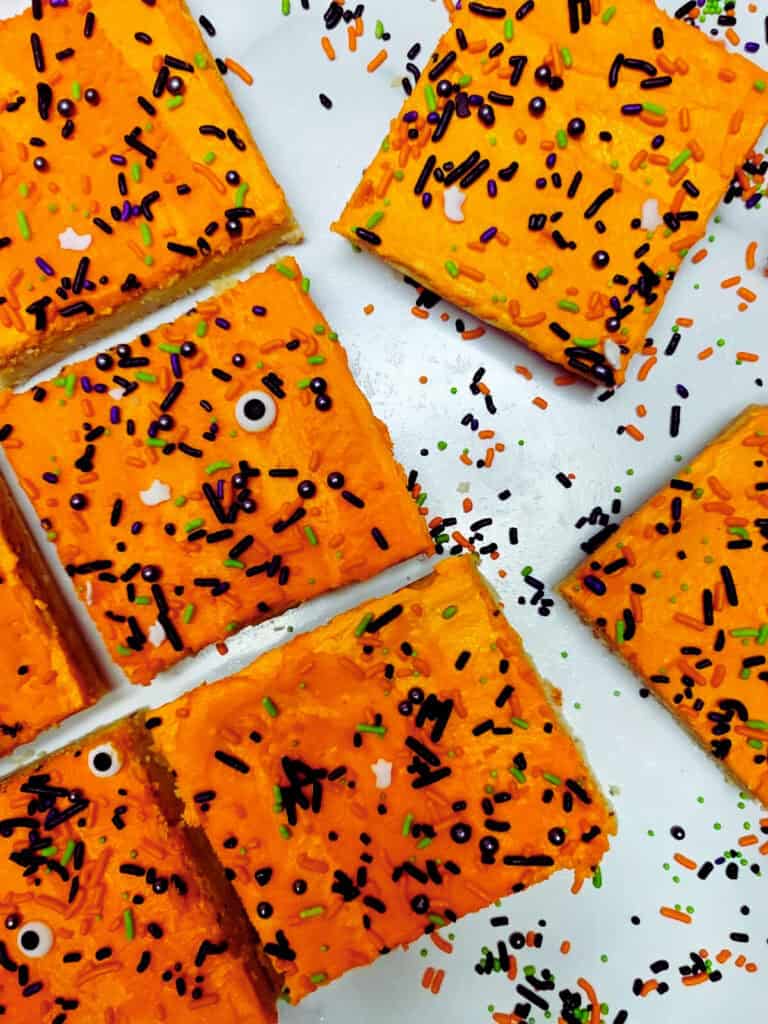
- Sprinkles - Feel free to get creative! I mixed a few Halloween sprinkle blends and added fun googly eye sprinkles for a festive touch.

How To Make Easy Halloween Cupcakes
It doesn't have to take long to make really cute Halloween Cupcakes. All you have to do is wait for the cupcakes to cool completely before frosting them.
STEP 1
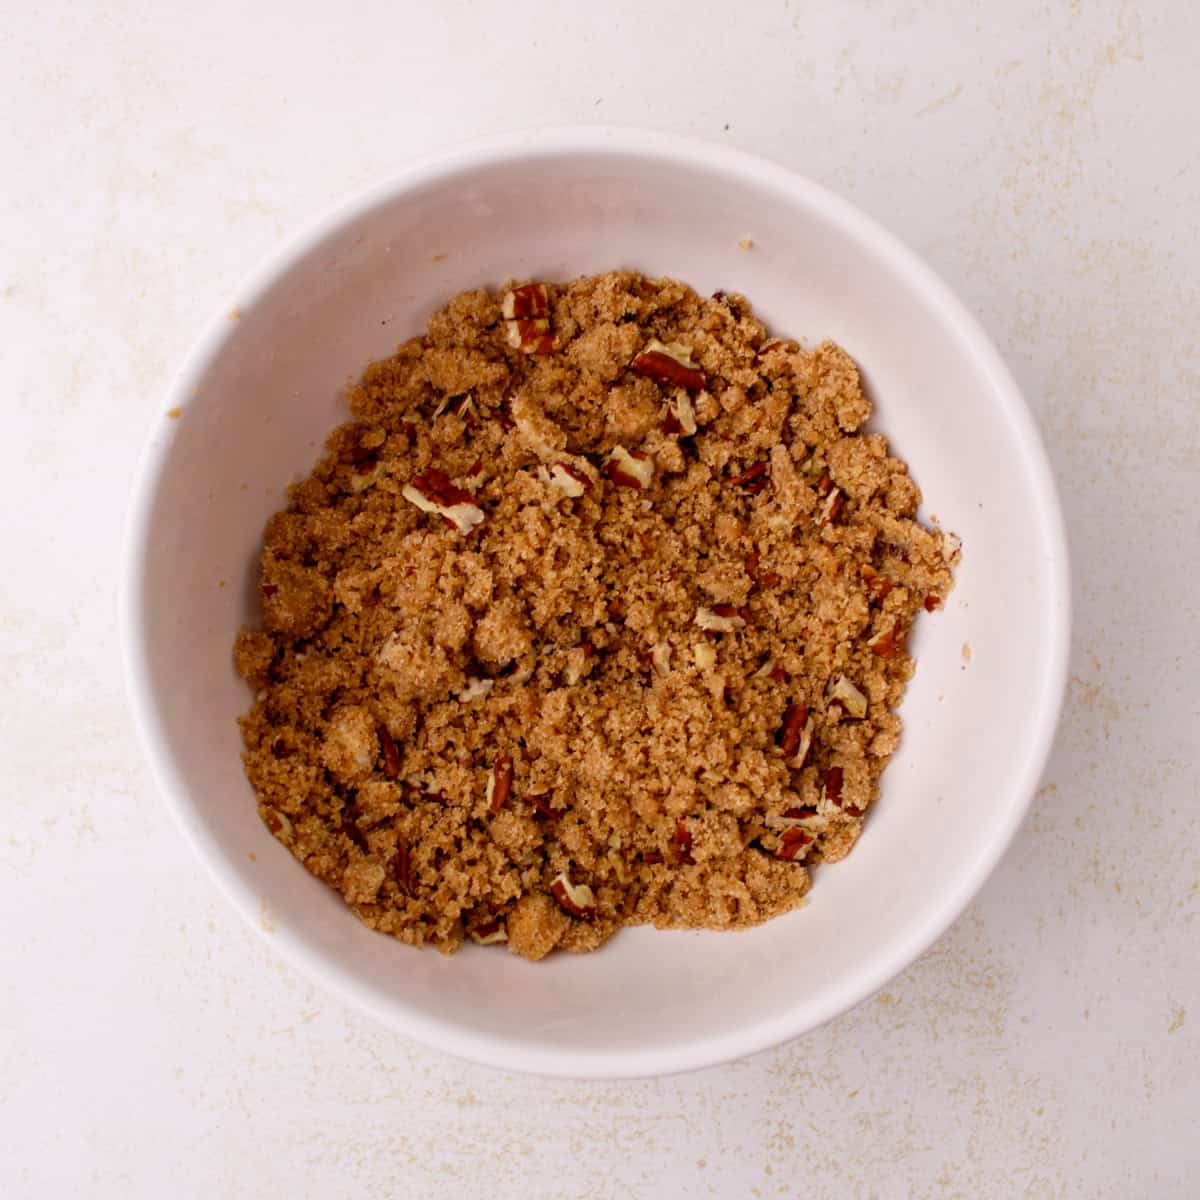
In the bowl of a stand mixer fitted with the paddle attachment, combine the softened butter and sugar. Cream the butter and sugar together for 4 minutes, or until light and fluffy.
STEP 2
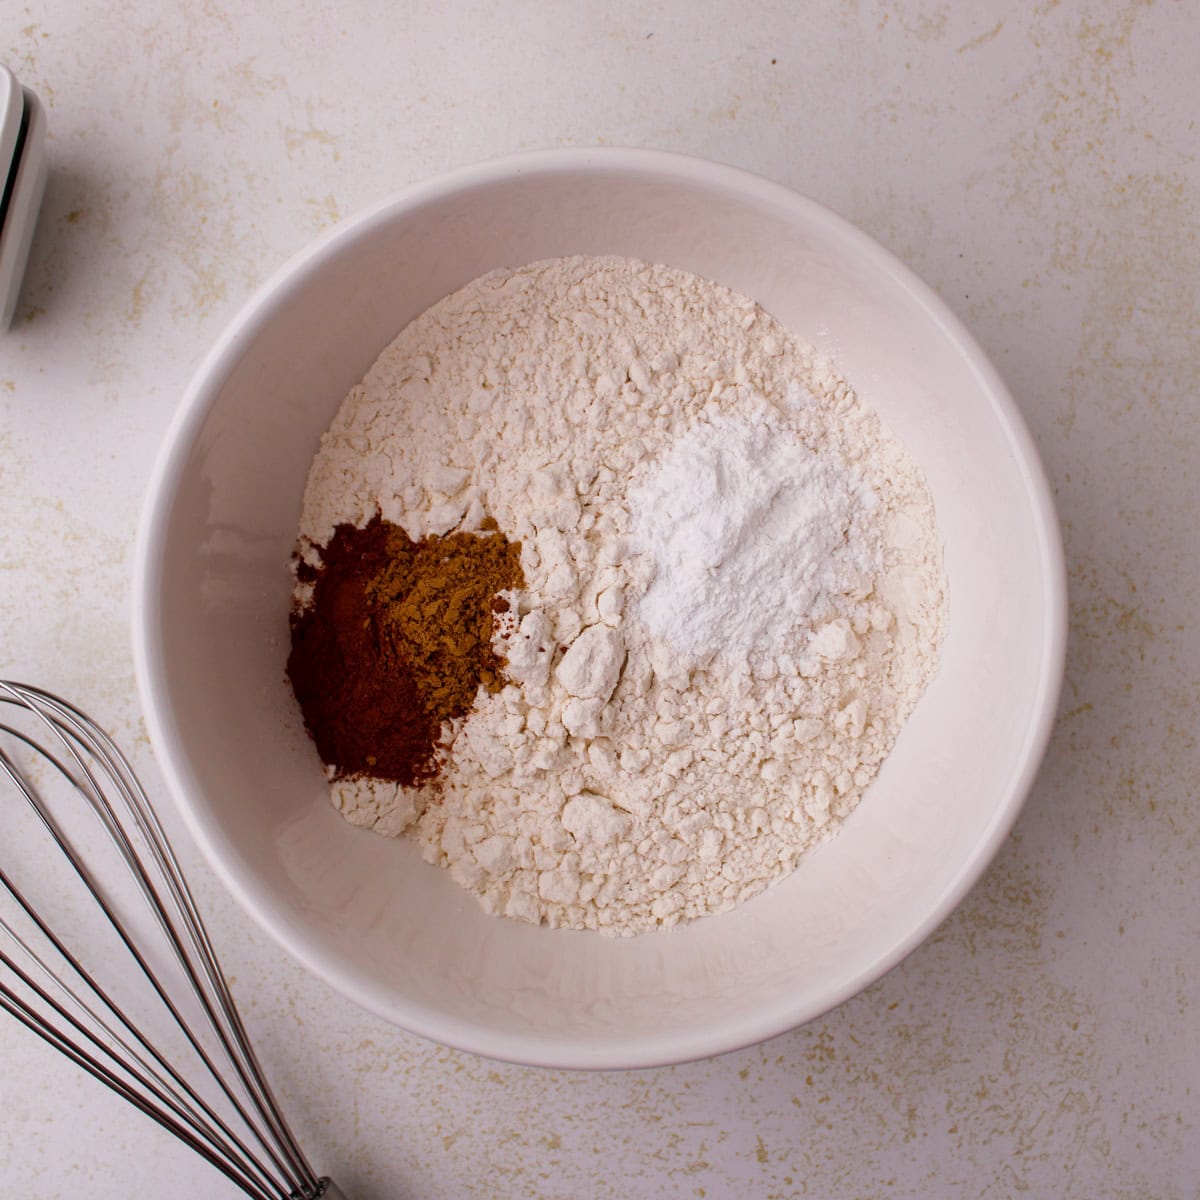
In a separate bowl, whisk together the flour, baking powder, baking soda, and salt. Set aside.
STEP 3
In a small bowl or measuring cup, stir together the milk and sour cream until fully combined. Set aside.
STEP 4
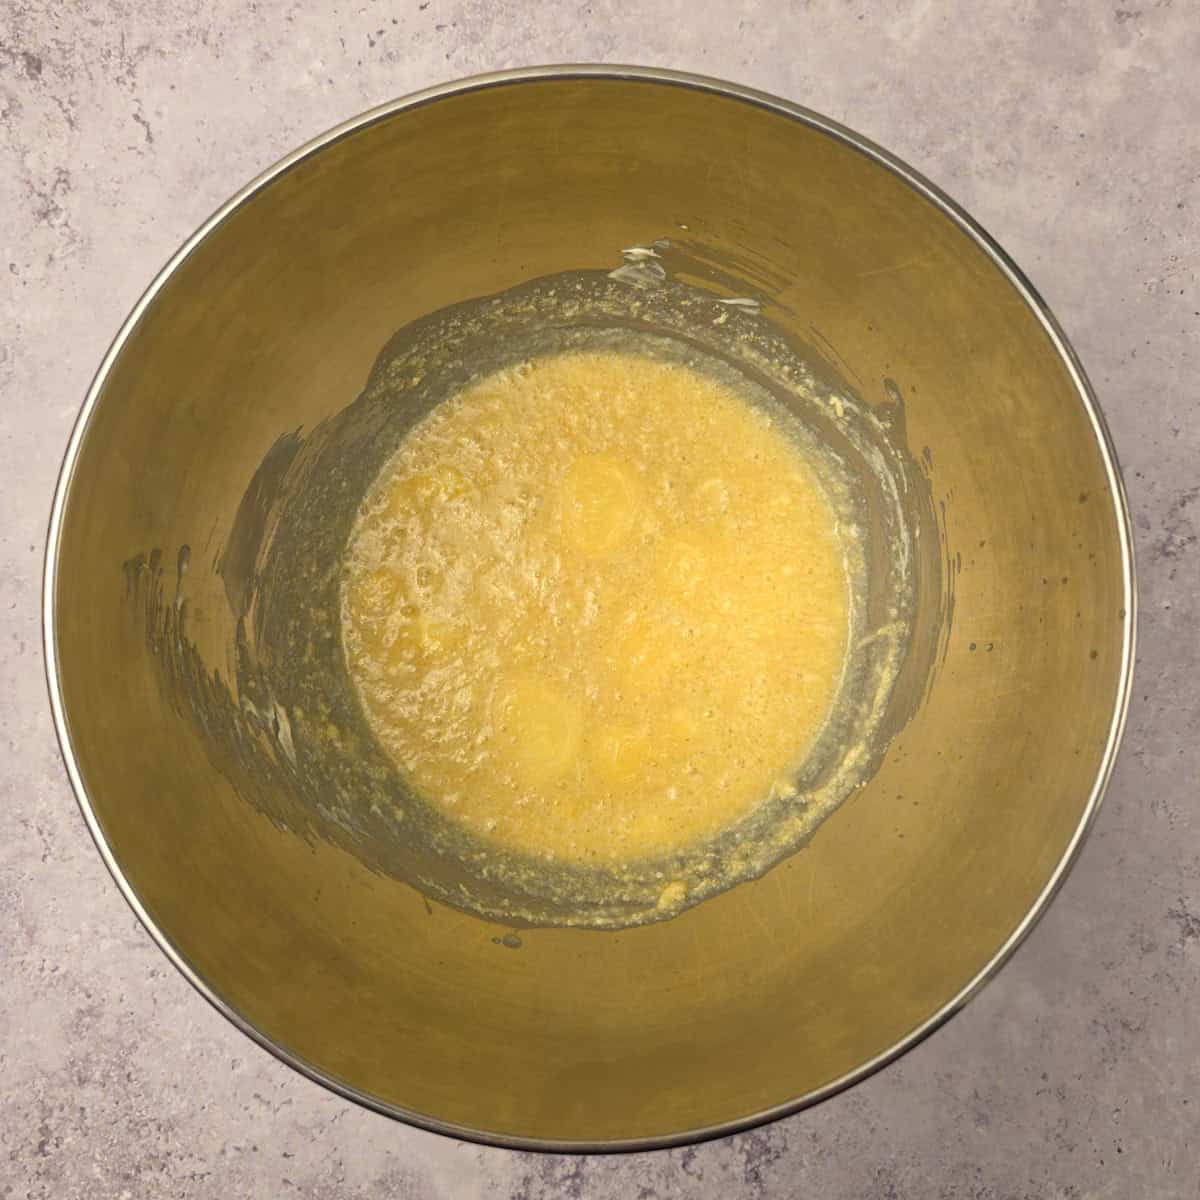
Once the butter and sugar mixture is fluffy, beat in the eggs one at a time, mixing well after each addition. Stir in the vanilla extract.
STEP 5
Add ⅓ of the dry ingredients to the butter mixture and mix on low speed just until combined. Pour in ⅓ of the milk mixture and mix again. Continue alternating between the dry and wet mixtures, mixing just until everything is incorporated. Scrape down the sides of the bowl as needed.
STEP 6
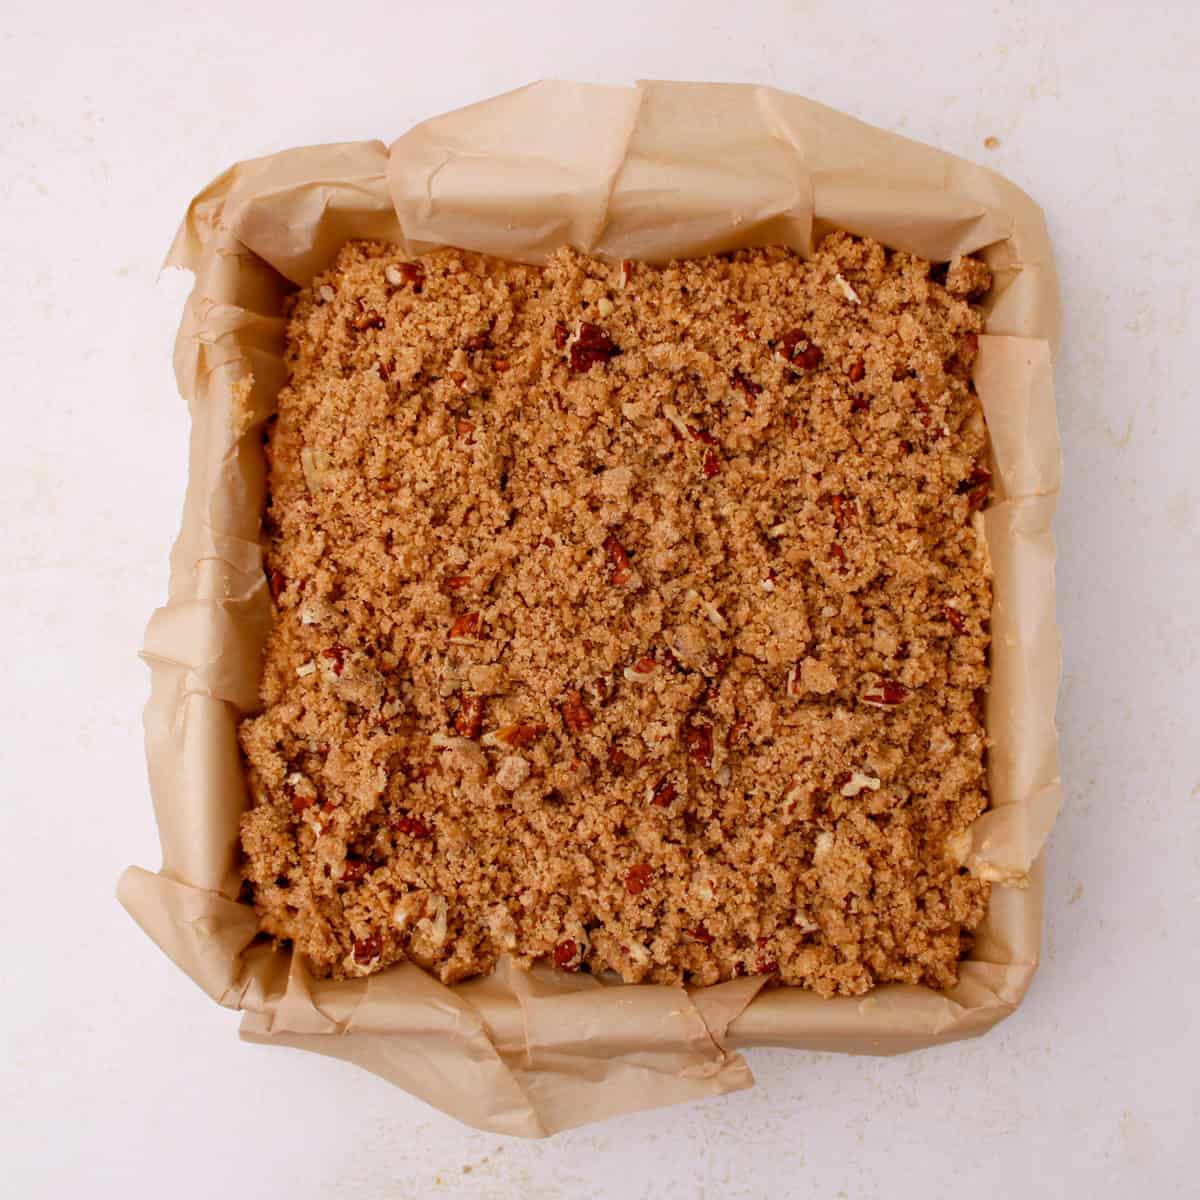
Fold in the sprinkles gently, making sure they're evenly distributed throughout the batter. Scoop the batter into the prepared cupcake liners, filling each one about halfway. Bake for 22-25 minutes or until a toothpick inserted into the center of a cupcake comes out clean. Let the cupcakes cool completely before frosting.
💡Expert Tip
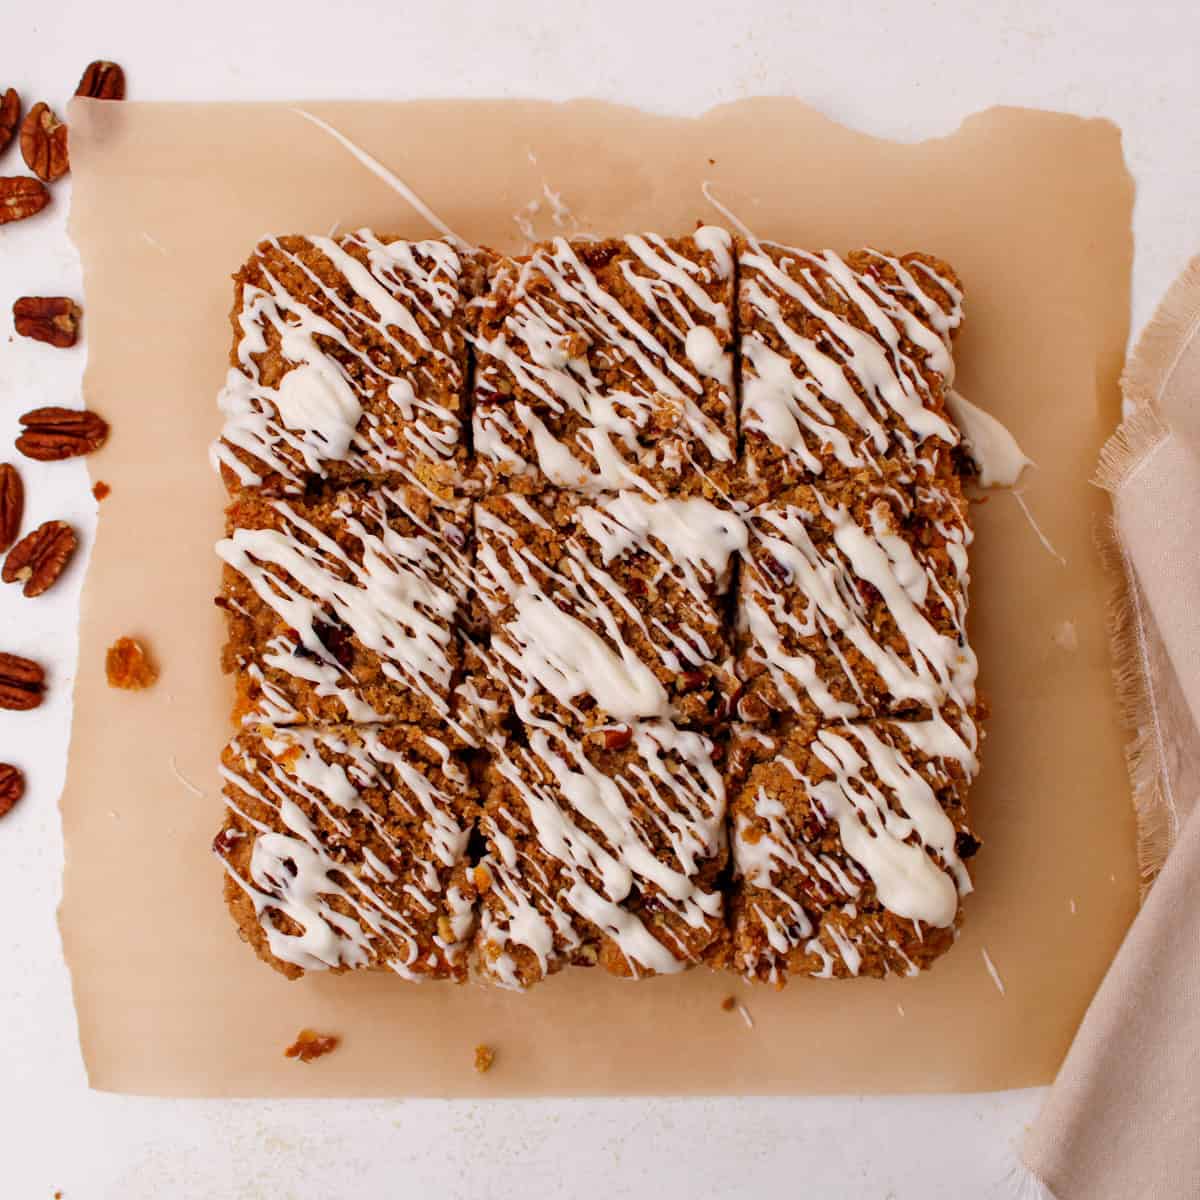
Using a large (1 M Wilton) star tip makes piping the buttercream super easy. The star tip also makes the design look good without needing expert piping skills. Add some Halloween themed sprinkles and that's it. It couldn't be any easier.
Tips for Making in Advance
If making these cupcakes in advance I recommend waiting to decorate them until the day you plan to serve them. You can bake the cupcakes, cool them and wrap them in plastic wrap to keep them fresh. Try to use them within 3 days for the best texture.
You can also make the buttercream frosting in advance. It will need to be set out to come up to room temperature before you can pipe it onto the cupcakes. If possible, make that frosting when you are ready to decorate the cupcakes. It's much easier that way.
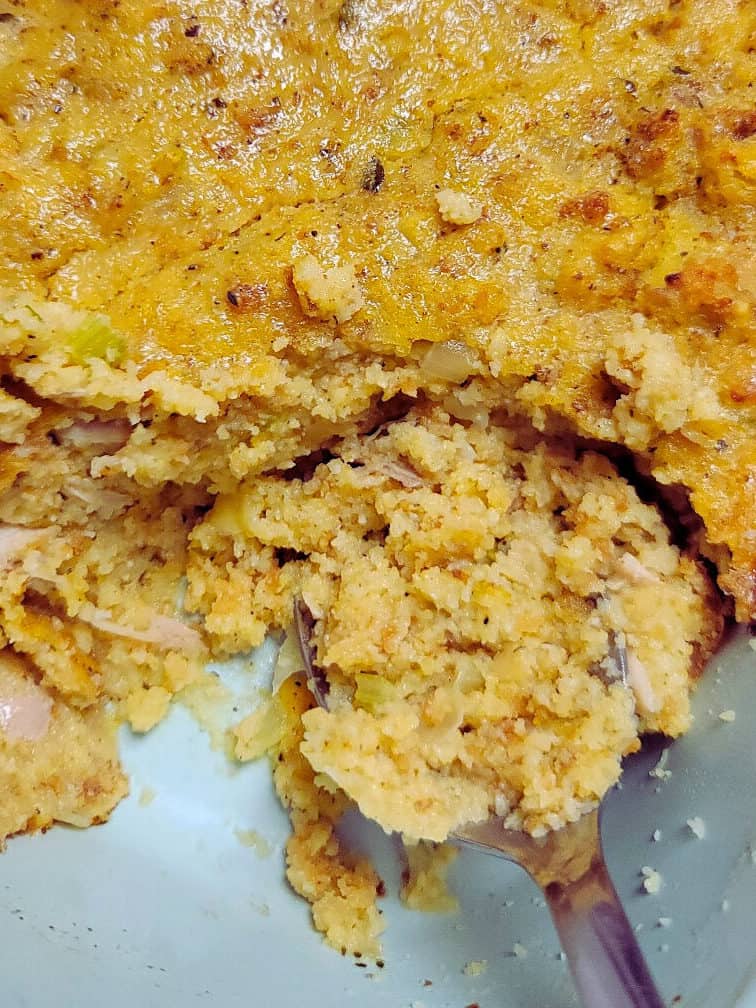
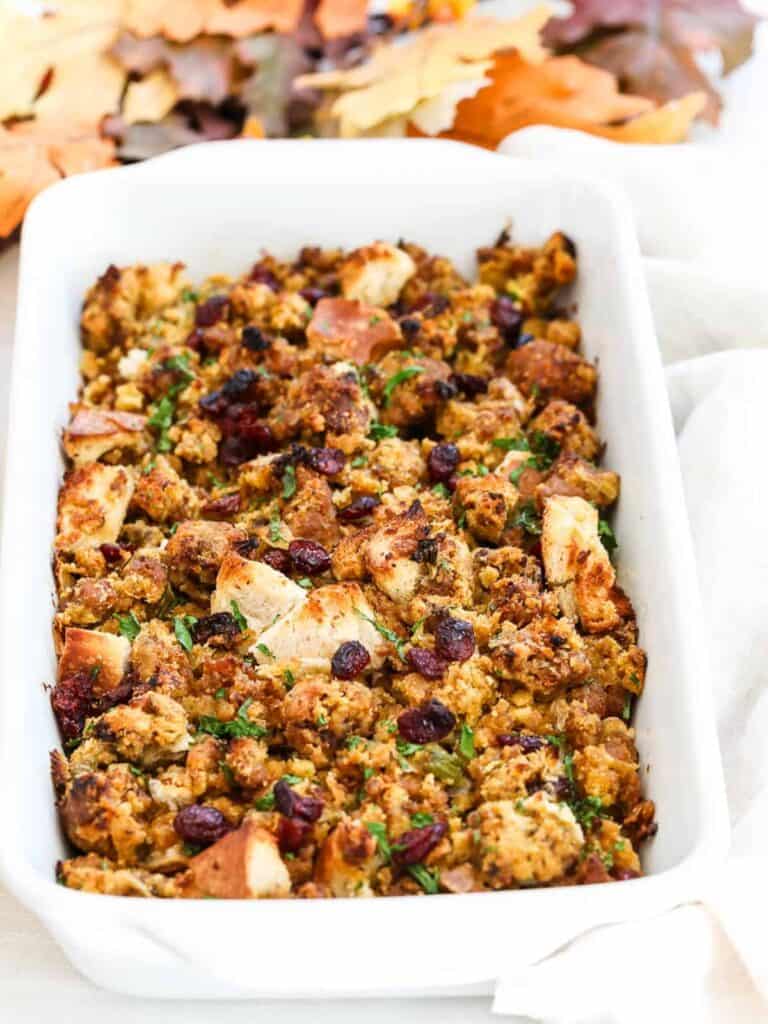
More Delicious Recipes
Tried This Recipe?
Leave a review below, I would love to hear how it turned out! ⭐⭐⭐⭐⭐
FOLLOW ME on Facebook, Pinterest, and YouTube to stay connected!
📖 Recipe

Easy Halloween Cupcakes
Ingredients
Vanilla Cupakes
- 8 ounces unsalted butter softeneded
- 1 cup sugar
- 2 large eggs room temperature
- 1 ¼ teaspoons vanilla extract
- ½ cup milk room temperature
- 2 tablespoons sour cream room temperature
- 1 ½ cups all-purpose flour
- 1 teaspoon baking powder
- ¼ teaspoon baking soda
- ¼ teaspoon salt
- ¼ cup sprinkles
Vanilla Buttercream Frosting
- 1 cup unsalted butter softened
- 3 cups powdered sugar sifted
- 1 ½ teaspoons vanilla extract
- 2 tablespoons heavy cream
- As Needed sprinkles
Instructions
- Preheat an oven to 350° F and line a cupcake pan with liners.
- In the bowl of a mixer fitted with a paddle combine the softened butter and sugar. Begin creaming the butter and sugar, scraping down the sides of the bowl as needed, for 4 minutes. Or until light and fluffy. Do not rush this process.
- In a separate bowl combine the flour, baking powder, baking soda, and salt. Set aside. Measure out the milk, add in the sour cream and stir until fully combined. Set aside.
- Once the butter and sugar have become light and fluffy, add in the eggs, one at a time, mixing well after each addition. Beat in the vanilla extract.
- Add ⅓ of the dry ingredients to the butter mixture, mix on low just until combined. Pour in ⅓ of the milk mixture, mix on low until just combined. Continue this process until all of the flour and milk mixtures have been incorporated. Scraping down the sides of the bowl as needed. Fold in the sprinkles.
- Scoop into the lined cupcake pan, filling each liner ½ way full. Bake for 22-25 minutes or until a toothpick inserted in the center of a cupcake comes out clean. Set aside to cool completely.
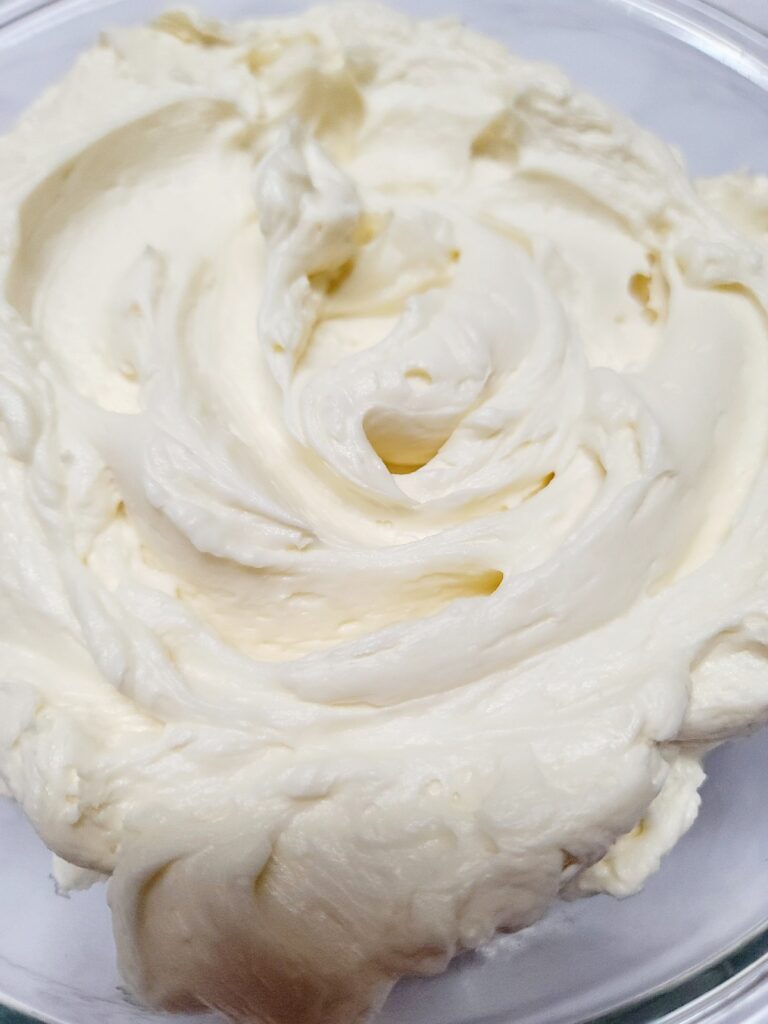
- In a mixing bowl fitted with the paddle attachment add the softened butter and begin mixing it until smooth, light and fluffy. Approximately 5 minutes. Scrape down the sides of the bowl as needed.
- With the mixer on the lowest setting, slowly add in the powdered sugar, 1 cup at a time, stopping to scrape the bowl as needed. Once all of the powdered has been added, turn the mixer speed up to next setting and mix for 1 minute.
- Stop the mixer, scrape the bowl and add in the salt, vanilla extract and heavy cream. Mix well to combine.
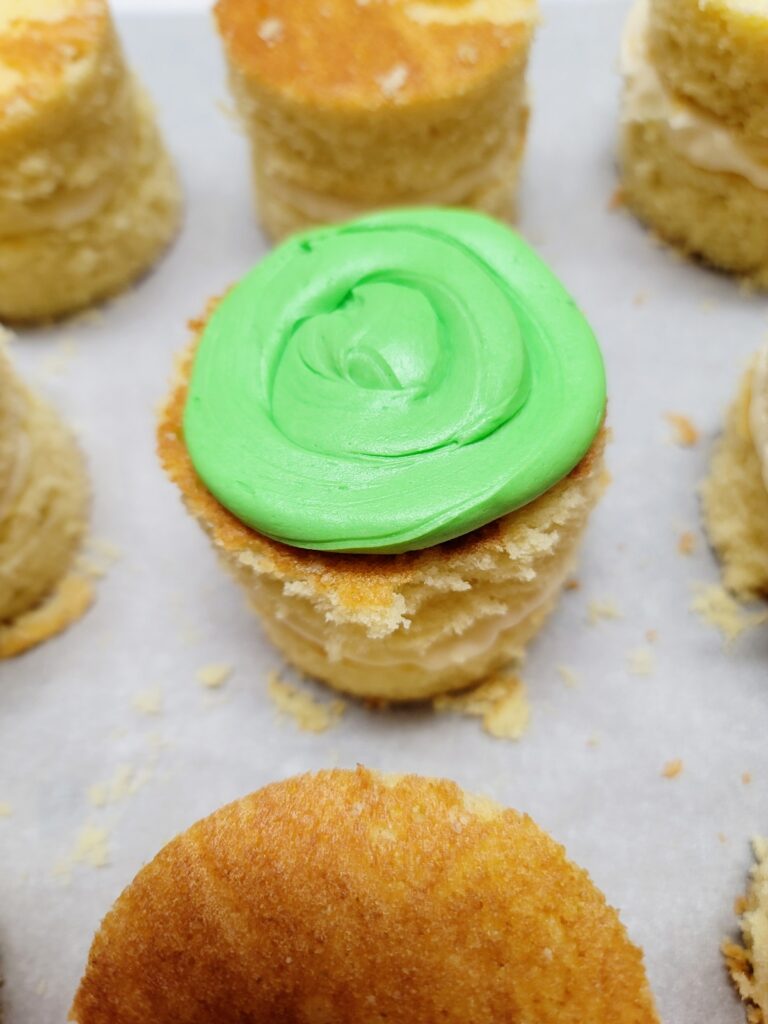
- Once the cupcakes have completely cooled, they are ready to be frosted. Fill a piping bag fitted with a large (1 M Wilton) open star piping tip. Frost and decorate with sprinkles. Enjoy!


Leave a Reply