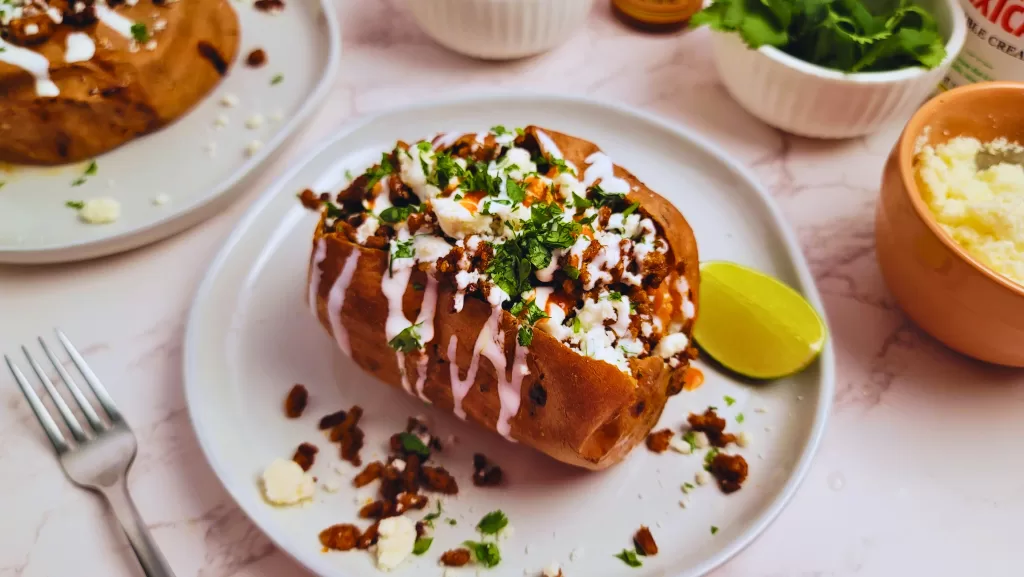
Taco Stuffed Sweet Potatoes are a quick and easy weeknight dinner option! They're filled with ground pork and all the classic taco seasonings, creating a scrumptious twist on baked potatoes. Shake up your taco night with this mouthwatering recipe. Plus, they're perfect for make-ahead meals and meal prep.
If you are looking for a quick and easy lunch or dinner option, try these taco stuffed sweet potatoes! They're not just nutritious, but also incredibly tasty. I often revisit this recipe for my quick lunch fixes, as it's one of my favorites. Plus, it's highly customizable, which means it can cater to a variety of taste preferences.
Table of contents
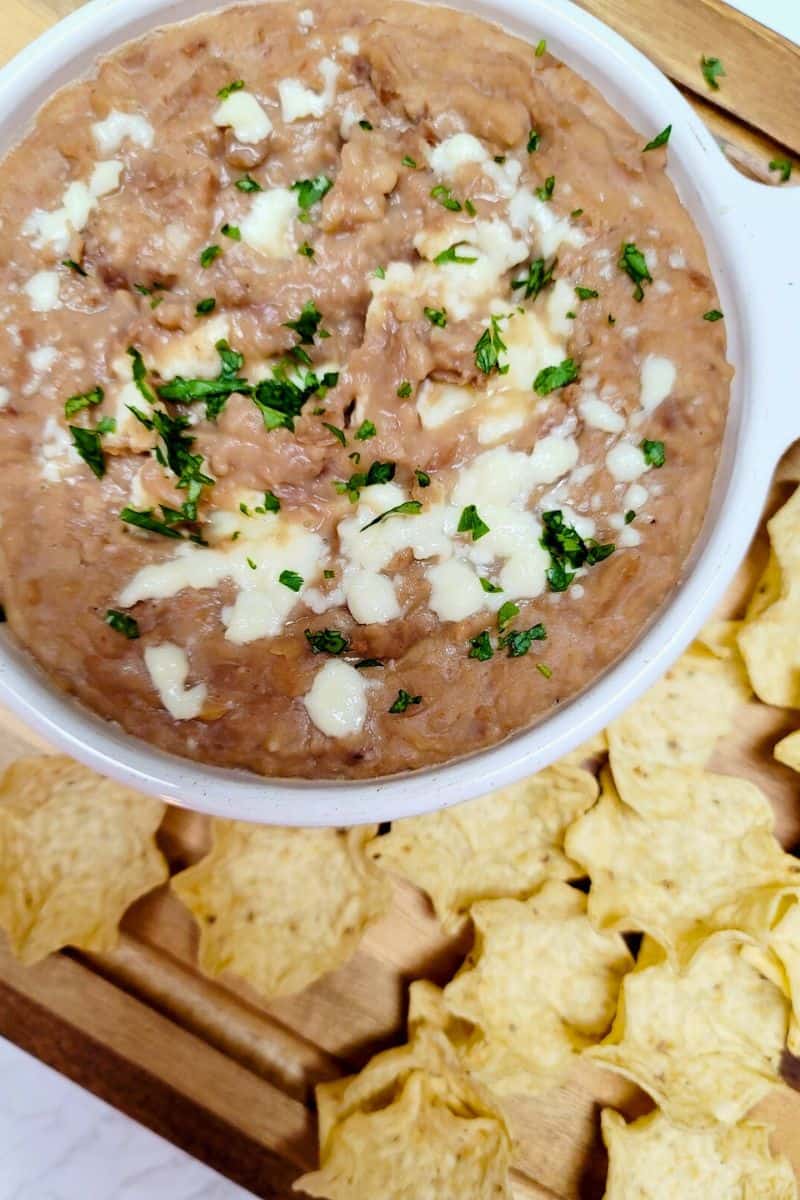
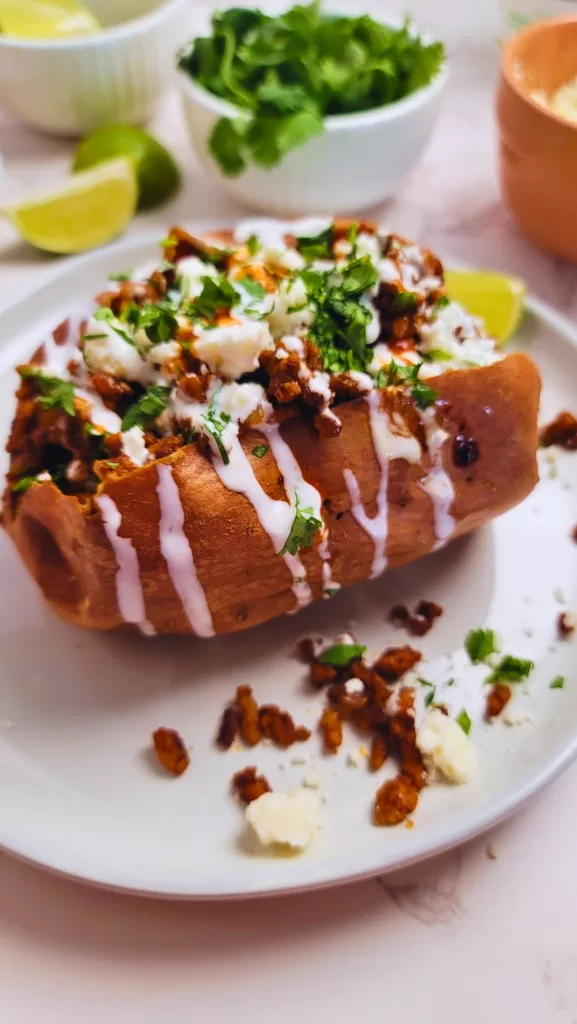
When it comes to toppings for these stuffed potatoes, the sky's the limit. Some of my favorites include cheese, naturally, along with table cream or sour cream, and a generous amount of cilantro and lime juice.
How To Bake A Sweet Potato
Baking sweet potatoes is easy and done just like baking russet potatoes. Except sweet potatoes usually don't take as long. I like to wash and dry them first, then pierce them all over with a fork. Then I lightly coat the sweet potatoes in oil and place them on a baking sheet.
Bake the sweet potatoes in a 375° for 45 minutes or until tender. Depending on the size of sweet potato you use, the time will vary. You can tell the potatoes are ready when a fork slides into the sweet potato easily.
How To Make Taco Stuffed Sweet Potatoes
- Bake the sweet potatoes - Roast the sweet potatoes until tender.
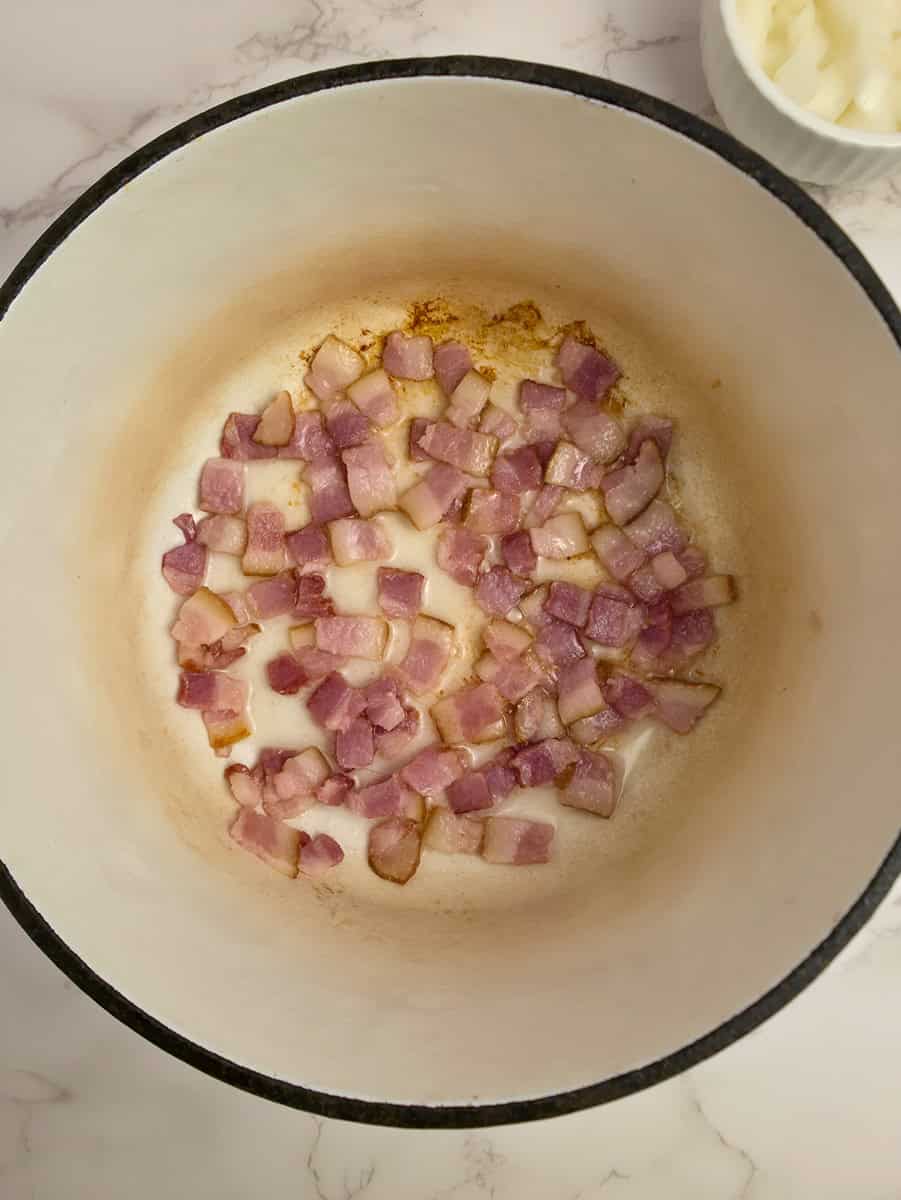
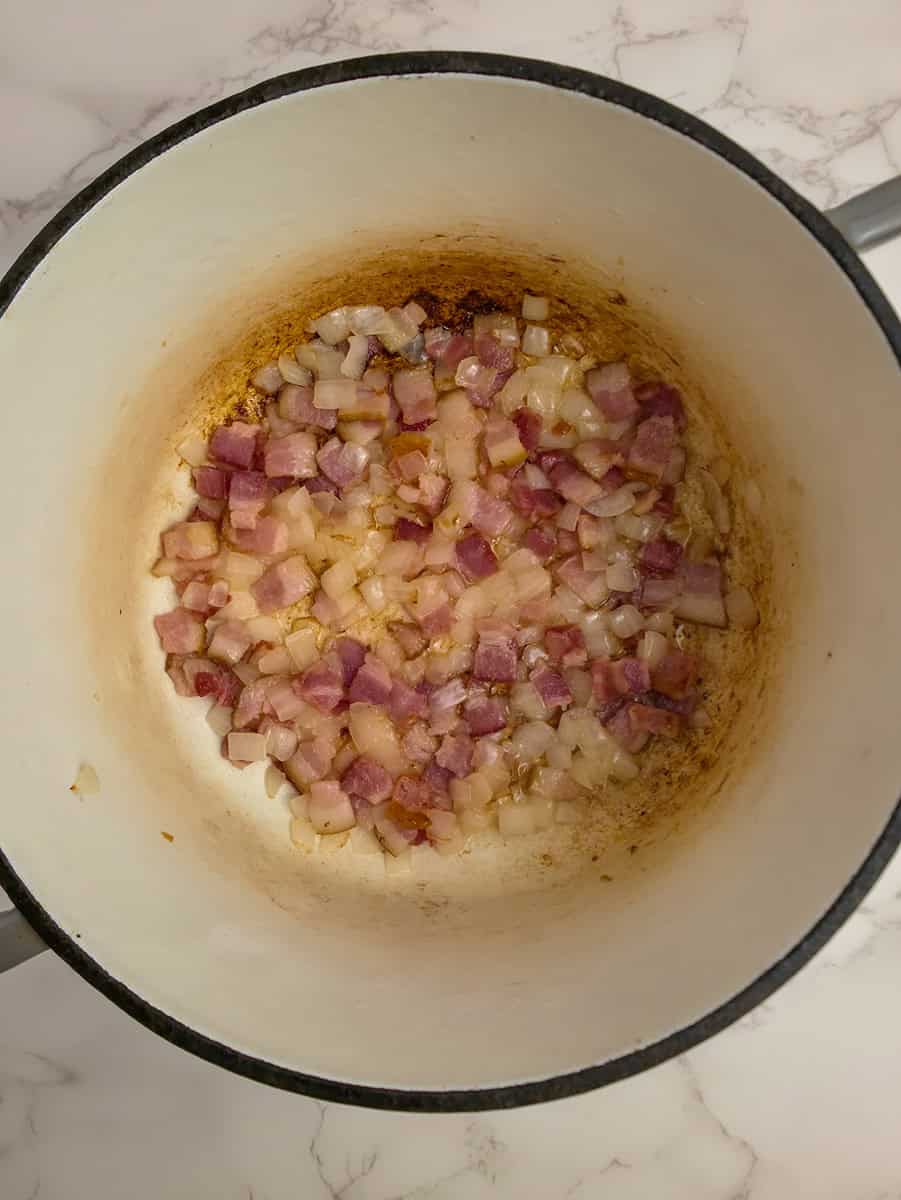
- Brown the meat - In a skillet, begin browning the meat. Add the onions and continue cooking until the meat is cooked through and the onions are soft.
- Sauté the garlic - Add the garlic to the pan and cook until fragrant.
- Season the meat - Stir in all of the seasonings, then mix in the tomato paste and water until fully combined.
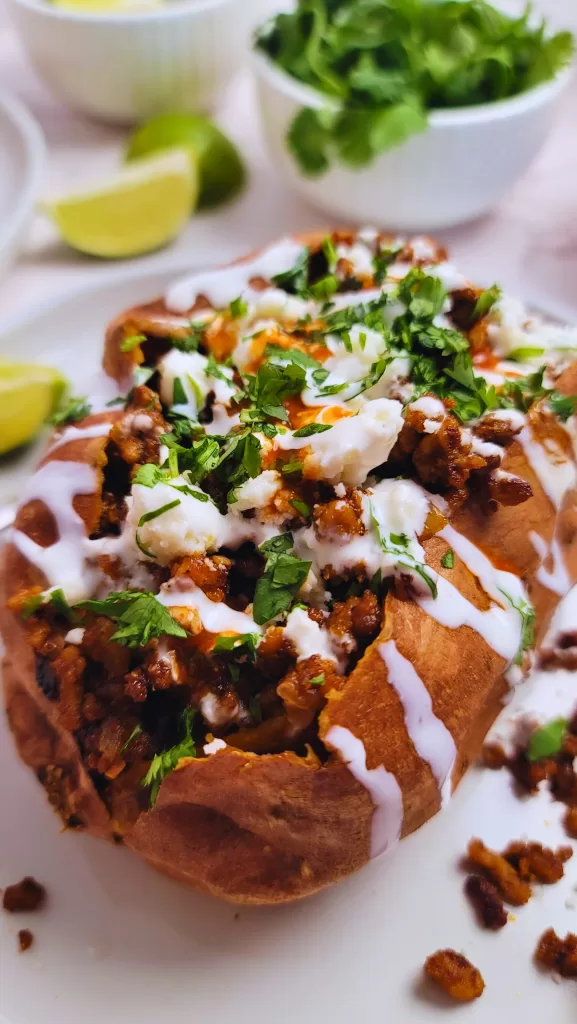
- Stuff the potato - Add butter (optional) to the sweet potato, then stuff it with the meat and bean mixture.
- Top the potato - Finish with your favorite taco toppings and enjoy!
Topping Suggestions
Toppings are a great way to add more nutrition and flavor to your taco stuffed sweet potatoes. There are so many options, which makes it easy for everyone to customize their own potatoes. Here are a few of my family's favorite toppings.
- Sour Cream or Mexican Table Cream
- Hot Sauce
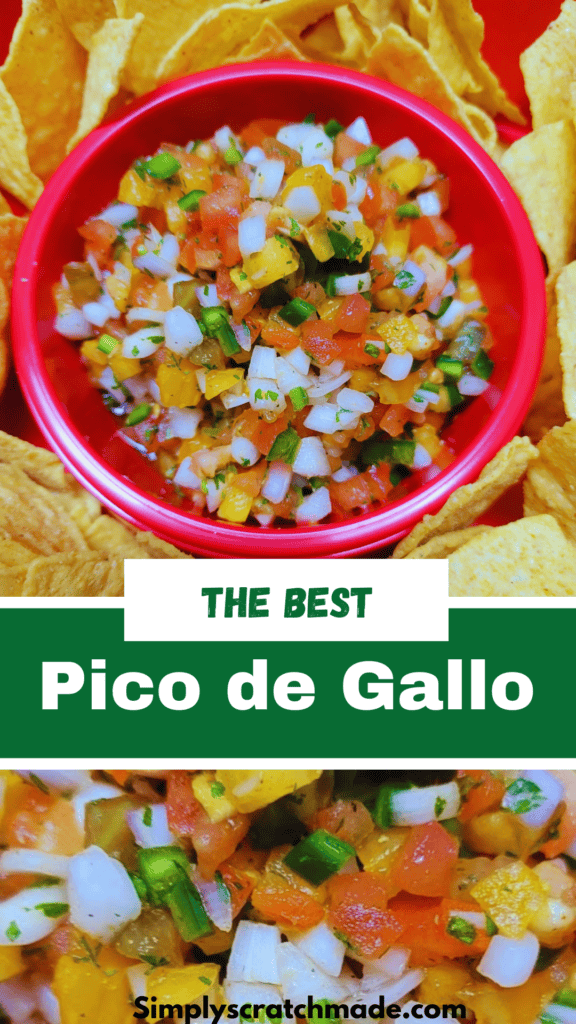
- Pico De Gallo
- Diced Tomatoes
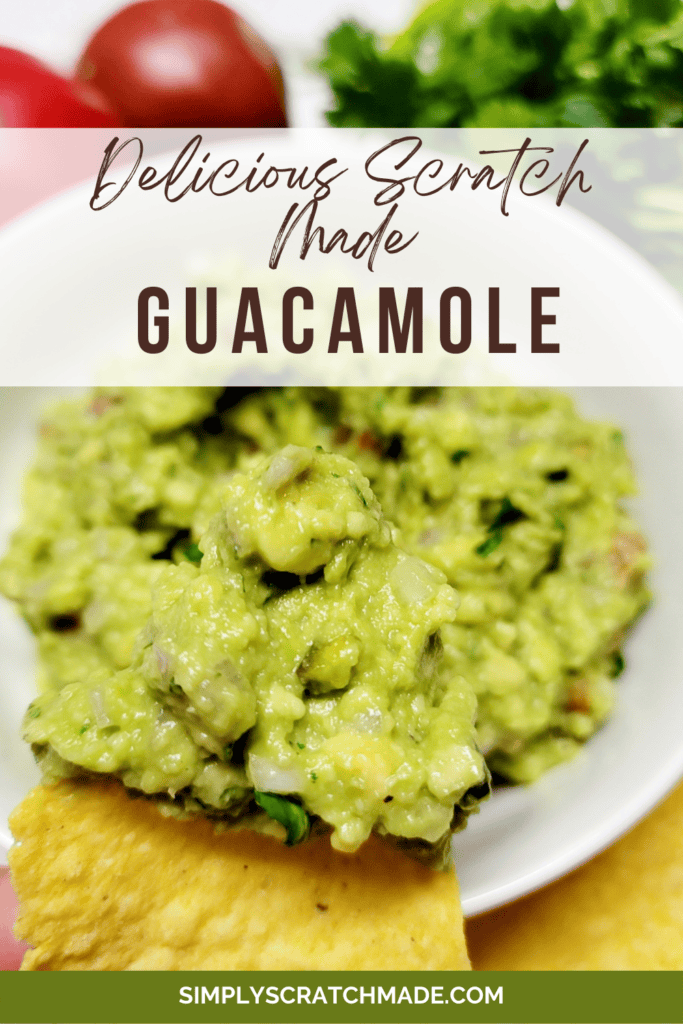
- Guacamole
- Cilantro
- Diced Onions
- Pickled Onions
- Sliced Jalapeños
- Shredded Cheese/Crumbled Cheese - I like using crumbled queso fresco, cotija or Oaxaca cheese.
- Shredded Lettuce
Prepping Tips
To make-ahead fully cook and prepare the meat mixture. Place in a container and allow to cool before refrigerating.
Fully cook and cool the sweet potatoes before refrigerating.
When you are ready to serve the stuffed potatoes. Warm the filling and the potatoes, then stuff the potatoes and add your toppings.
More Delicious Recipes


FOLLOW ME on Facebook, Pinterest, and YouTube to stay connected!
If you tried this Taco Stuffed Sweet Potatoes recipe or any other recipe on my blog, please leave a 🌟star rating and let me know how it went in the comment section below!
📖 Recipe

Taco Stuffed Sweet Potatoes
Ingredients
- 2 large sweet potatoes
- 12 ounces ground pork
- ⅓ cup onions small diced
- 2 cloves garlic minced
- 1 teaspoon salt
- 1 teaspoon garlic powder
- ¼ teaspoon onion powder
- 1 teaspoon paprika
- ¼ teaspoon chipotle powder
- 2 teaspoons cumin
- 1 teaspoon chili powder
- to taste pepper
- 1 tablespoon tomato paste
- 1 tablespoon water
- 2 tablespoons butter optional
- as needed toppings suggestions above
Instructions
- Preheat an oven to 375° F and line a baking sheet with parchment paper.
- Wash and dry the potatoes. Pierce them all over with a fork then lightly coat them in oil. Place on the prepared pan and bake for 45 minutes or until done.
- In a large skillet set over medium heat, pour a drizzle of olive oil, then add the ground pork and diced onions. Cook, breaking up the meat, until it is browned, and the onions are soft. Stir in the minced garlic, all the seasonings, and a tablespoon of water. Combine thoroughly. Allow to cook for one minute, then take off the heat.
- Cut the potatoes open, fluff up the interior and add the butter. Then, spoon the taco filling inside and garnish with your favorite toppings. Enjoy!