Discover the ultimate scratch-made Buttermilk Biscuits recipe! They're quick and simple to prepare, coming together in less than an hour. Plus, they're convenient to prep in advance and are freezer friendly.
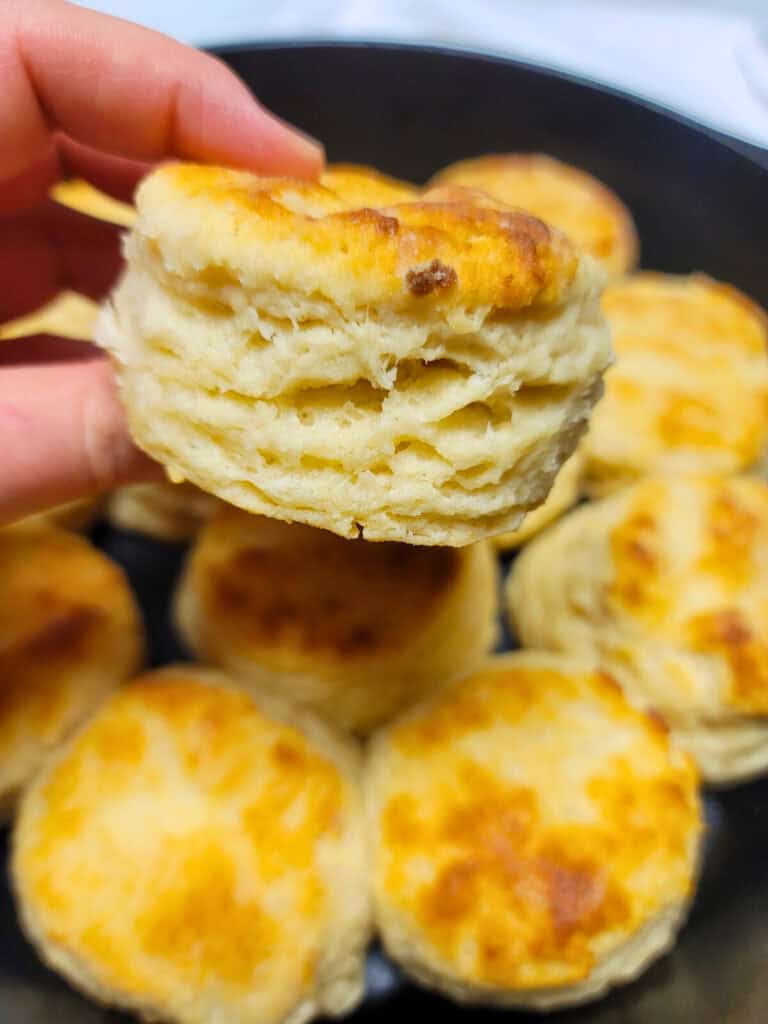
Maybe it's my southern roots. Or maybe it's just because biscuits are so dang good. But I love biscuits! Especially with sausage gravy. There is nothing quite like a warm fluffy, buttery biscuit. That is exactly what this recipe produces. With a little TLC from the baker, of course.
Over the years, I've experimented with countless buttermilk biscuit recipes. My quest was relentless, with a clear standard in mind: the biscuits couldn't be tough, they needed to be tender and fluffy, and they had to be rich in flavor, particularly the taste of buttermilk and butter. This recipe checks all those boxes; it's THE biscuit recipe. After several years of making these biscuits, they continue to be my favorite.
My Latest Videos
Key Ingredients & Substitutions
- Butter - Unsalted butter is needed. If using salted butter, omit the salt from the recipe.
- Flour - All-purpose flour is used.
- Sugar - Adds a touch of sweetness to the recipe.
- Leaveners - Both baking powder and baking soda are used to help the biscuits rise.
- Buttermilk - Adds flavor and tenderness. If you don't have buttermilk, you can make a substitute by adding a little vinegar or lemon juice to milk and letting it sit for 5-10 minutes before using.
Tips for Making Buttermilk Biscuits
Use cold butter- good biscuits use butter, cold butter. Keep the butter in the refrigerator or even the freezer while you are measuring out and mixing the dry ingredients. The cold butter helps the texture of the biscuit. By creating little pockets in the biscuit as it bakes and the butter melts.
The flaky texture is what we cherish in biscuits. I prefer to cube or shred the butter and place it in the freezer while preparing the other ingredients. This way, when I blend it with the flour, there's minimal handling, reducing the chance of the butter melting.
Pat the dough- One of the best tips I have ever heard when it comes to making biscuits is to pat the biscuit dough. Do not roll it out. This will help the biscuits be tender. Trust me, patting the dough versus rolling it out really does make a difference in how they turn out. You want to try and work the dough as little as possible. The more you work the biscuit dough, the tougher it will be.
More Delicious Recipes
If you tried this Buttermilk Biscuits recipe or any other recipe on my blog, please leave a 🌟star rating and let me know how it went in the comment section below!
FOLLOW ME on Facebook, Pinterest, and YouTube to stay connected!
📖 Recipe

Buttermilk Biscuits
Ingredients
- 3 ounces unsalted butter cubed and chilled
- 2 cups all purpose flour extra for dusting
- 1 tablespoon sugar
- ¼ teaspoon baking soda
- 1 tablespoon baking powder
- 1 teaspoon salt
- 1 cup buttermilk chilled
Instructions
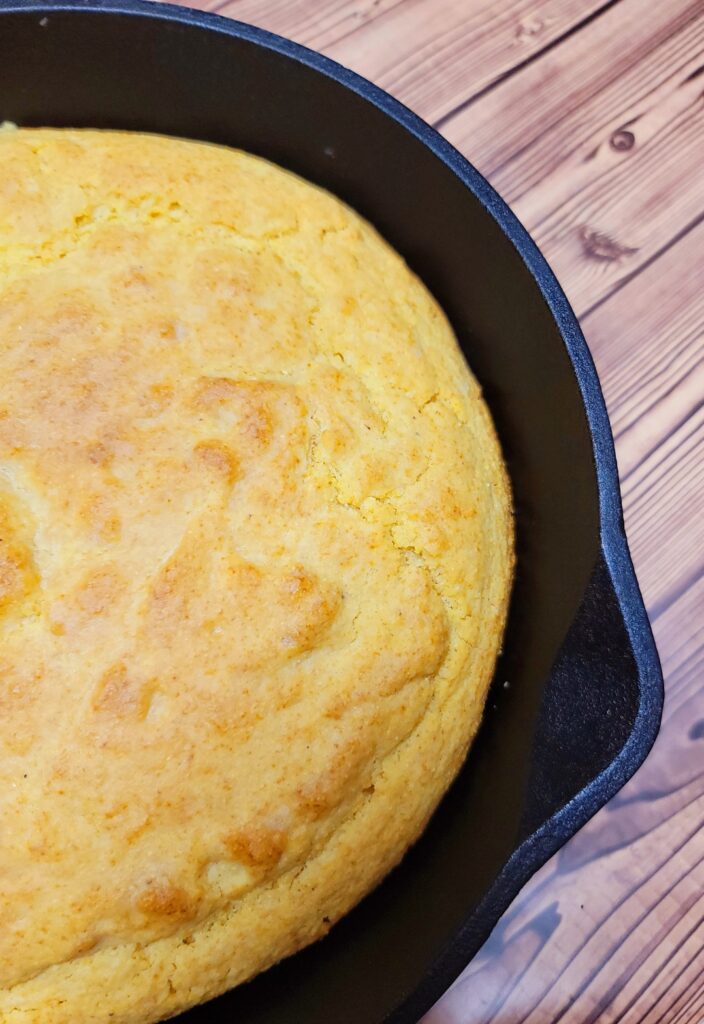
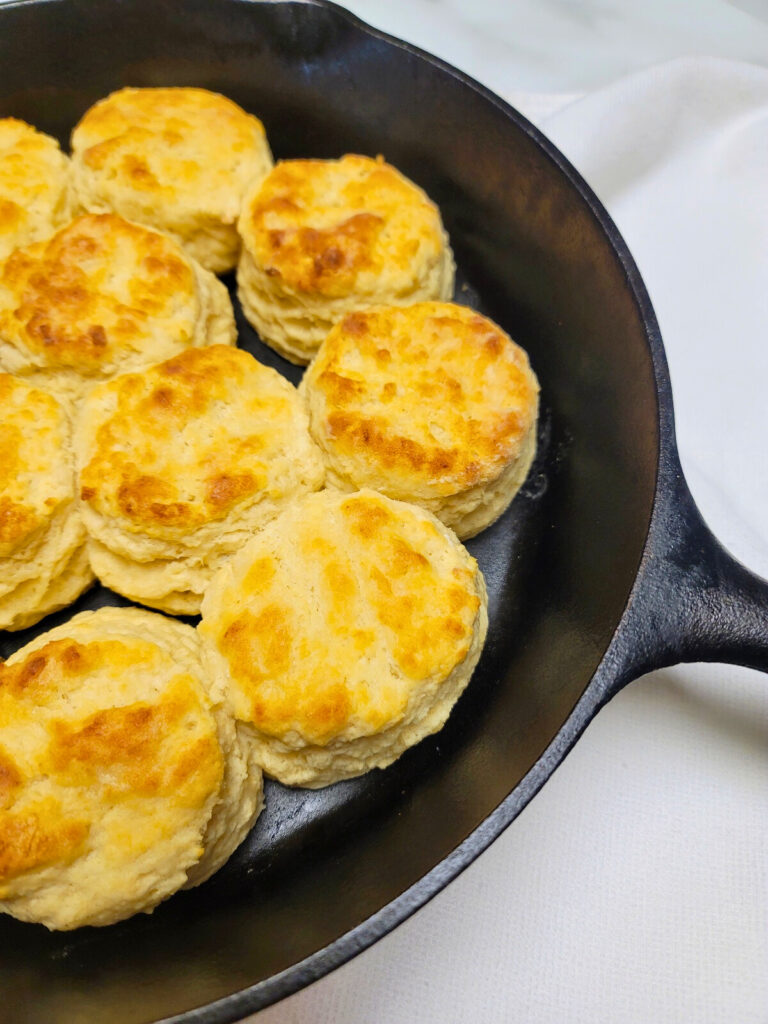
- Preheat oven to 450°F. Lightly grease a 10" cast iron pan. Or line a baking sheet with parchment paper. In a large bowl, mix together the dry ingredients. Using your fingers, rub the butter into the dry ingredients. Your mixture should look crumbly.
- Pour in your chilled buttermilk and mix gently with a wooden spoon. Just until the buttermilk is incorporated. The mixture will be wet and sticky. This is what you want.
- Lightly dust your work surface, scrape the dough out of the bowl and place onto the floured work surface. Lightly dust the top of the dough with more flour.
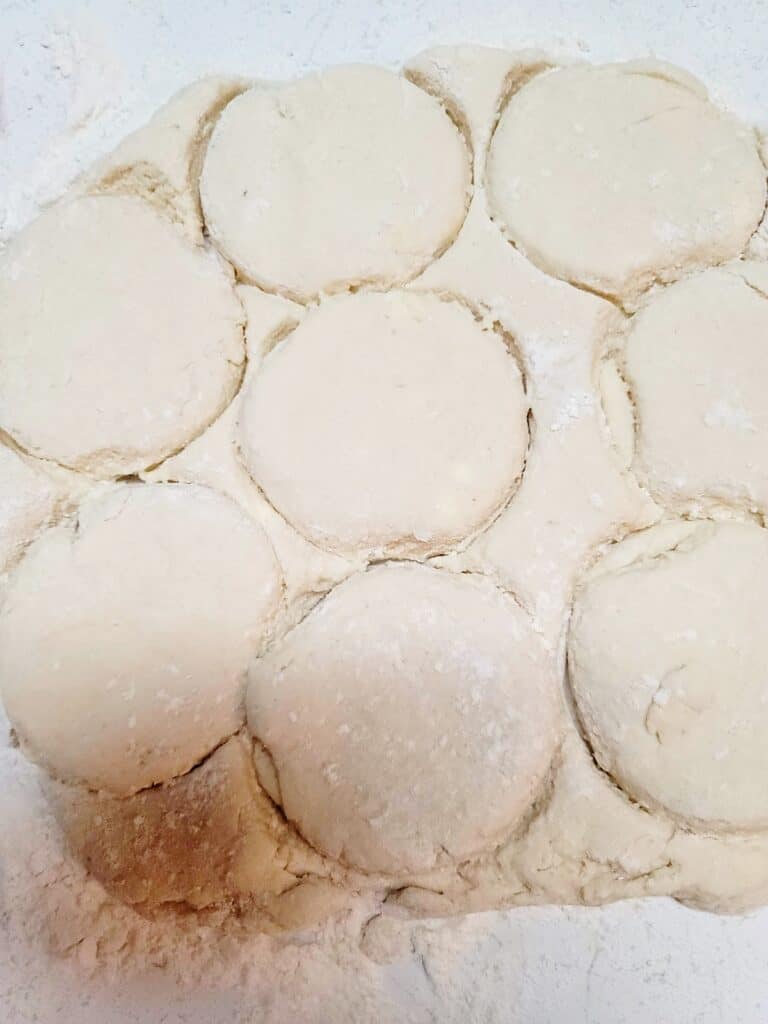
- Begin gently patting the dough to flatten it into a rectangle. Then, using a bench scraper, fold the dough onto itself 4 times, patting it out gently to flatten in between folds. Flatten out to a 1-inch-thick.
- Cut out the biscuits and place in your pan on onto a parchment line baking sheet. Place them where they are just touching. You can use your scraps, just be gentle while reshaping them.
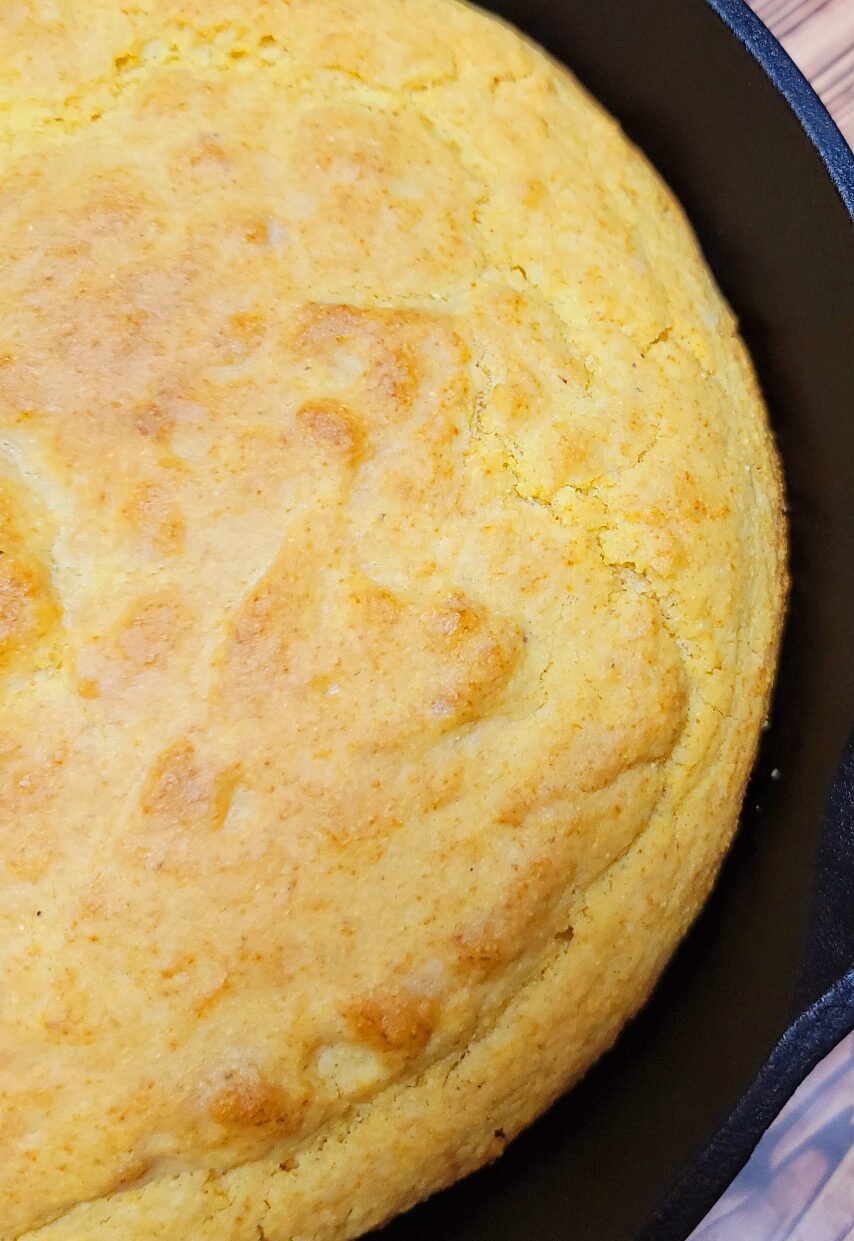
- Place in the oven for 15 minutes or until the tops are golden brown. Brush with butter if desired. Enjoy!