Halloween is fast approaching, and soon the children will begin discussing their desired costumes. This signals that it's time for us, as parents, to start planning the spooky Halloween treats we'll be creating.
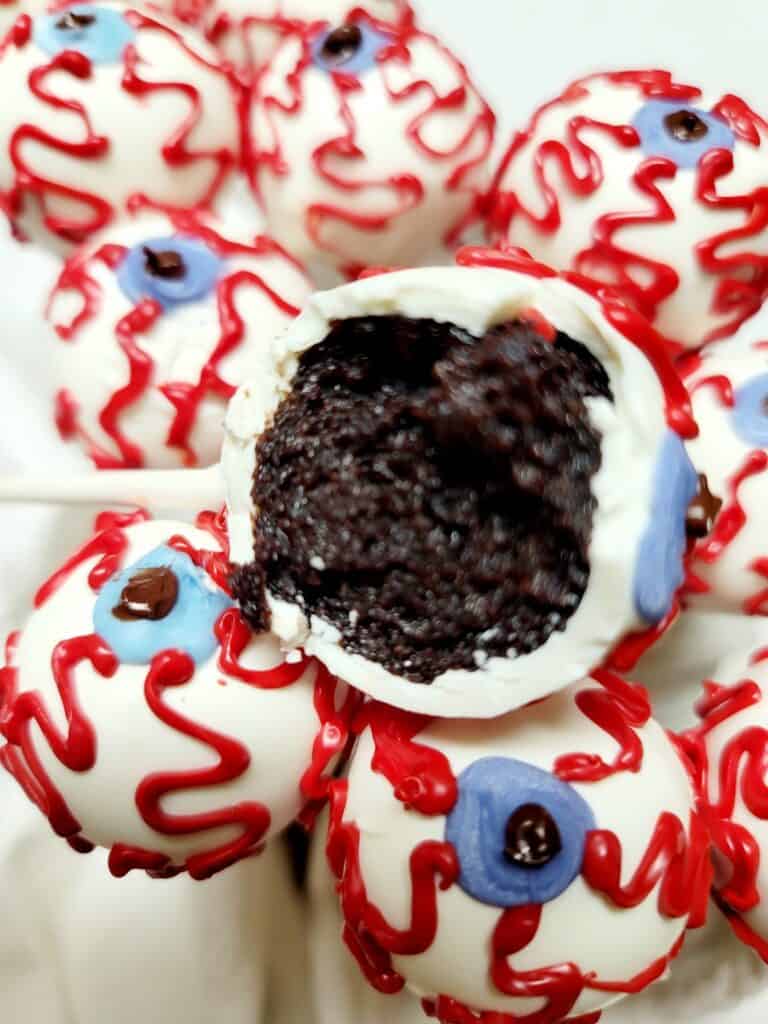
These Eyeball Cake Pops make for a fantastically spooky treat. Aren't they awesome? My two boys were absolutely thrilled with them when I made these. They're not just a feast for the eyes, but they're also delicious!
My Latest Videos
Cake pops have been the trend for quite some time, and it's easy to see why. Who wouldn't adore cake and frosting combined into a ball and then coated in chocolate? As I pondered my next creation, the idea of crafting edible eyeballs appealed to me. I aimed for an extravagant decoration, adding pronounced bloodshot veins to truly embody the essence of Halloween.
I love seeing the heavily exaggerated decorations each year. And for me these eyeballs really look the part. Perfect for Halloween.

Tips for Making Eyeball Cake Pops
Eyeball Cake Pops may require some time to create, but they're definitely worth the effort. Children delight in their spooky appearance, and the idea of eating an 'eyeball' seems to thrill them for some reason. Additionally, they make a fantastic visual addition to a festively decorated table or as part of treat bags.
Bake the cake the night before. This will make things easier when you are ready to make the cake pops. That way you are not waiting for the cake to cool completely before you can get started.
Chill the cake balls for at least 1 hour before dipping them in the chocolate. The chocolate will coat the cake balls easier and harden faster. The cake ball is pretty soft after mixing it with the frosting and rolling it, so chilling it before putting it on the stick will ensure that it holds it shape and does not fall apart.
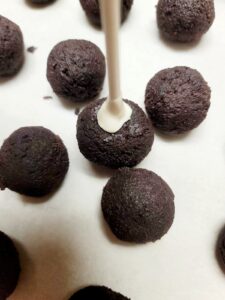
Dip the stick in the chocolate before putting it in the cake ball. You do not need much, just a little chocolate will work. This will help the cake ball stay on the stick instead of falling off.

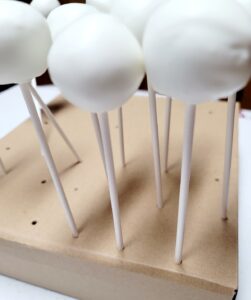
To avoid flat bottoms, allow the cake pops to dry upright. You can create holes in a box as shown here or use a piece of Styrofoam for support.

Use a 2-cup liquid measuring cup to melt the chocolate in. This makes it easier to dip the cake pops in the chocolate. Carefully tap the excess chocolate off before placing in the box to dry.
Allow the cake pops to dry before piping on the remaining details.
Use piping bags to decorate the cake pops with. You can find disposable ones almost anywhere. A number 2 round piping tip is what I used to pipe the veins.
More Delicious Recipes
FOLLOW ME on Facebook, Pinterest, and YouTube to stay connected!
Tried This Recipe?
Leave a review below, I would love to hear how it turned out! ⭐⭐⭐⭐⭐
📖 Recipe

Eyeball Cake Pops
Ingredients
Chocolate Cake
- 7 ounces all-purpose flour
- 1 cup sugar
- 3 ounces cocoa powder
- 1 teaspoon baking soda
- ½ teaspoon baking powder
- ½ teaspoon salt
- 1 large egg
- ½ cup buttermilk
- ¼ cup vegetable oil
- ½ teaspoon vanilla extract
- ½ cup coffee freshly brewed
Buttercream Frosting
- 8 ounces unsalted butter softened
- 2 cups powdered sugar
- ½ teaspoon vanilla extract
- 1 ½ teaspoons heavy cream
Candy Melts and Chocolate
- 24 ounces white candy melts blue food coloring to color a small amount for the eyes
- 2-3 ounces chocolate chips
- 2-4 ounces red candy melts
- 30 sticks
Instructions
- Preheat the oven to 350 degrees F. Line a 9" pan with parchment paper.
- In a medium bowl, whisk together the flour, sugar, cocoa powder, baking soda, baking powder and salt.
- In a separate bowl whisk together the buttermilk, oil, egg and vanilla extract.
- Add the liquid ingredients to the dry ingredients and mix well.
- Carefully whisk in the hot coffee. Mix until well combined. The mixture will be very liquidly, do not be alarmed.
- Pour into the prepared pan and bake for 25-30 minutes or until done.
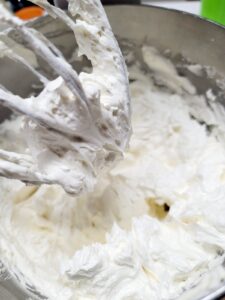
- In a mixer bowl fitted with a paddle cream the butter. Slowly add in the powdered sugar. Mix well.
- Add in the vanilla extract and the heavy cream. Mix until fluffy.

- After the cake has completely cooled, crumble it into a medium bowl. Add in ¾ cup of the buttercream and mix until fully incorporated.
- Line a baking sheet with parchment paper. Begin rolling the mixture into balls. Use 1 to 2 tablespoons of the mixture for each cake ball. Place on the parchment lined baking sheet.
- Once all of the cake balls are rolled refrigerate for at least 1 hour.
- In a 2-cup liquid measuring glass melt the white candy melts according to the package directions. Reserve about 2 ounces of the candy melts to be colored blue for the eyes.
- Dip the stick into the chocolate about ½" then insert halfway into the cake ball. Place upright to dry until you have all of the cake balls on the sticks.
- Dip each of the cake balls into the white chocolate, gently shaking off the excess then place back into the box or Styrofoam that you are using to keep them standing upright.Since they were chilled before dipping them, they should dry fairly quickly.

- Now melt the chocolate and the red candy melts and place in separate piping bags. Color the reserved white candy melts blue and place in a piping bag. Cut small holes in the tips of the bags.
- Pipe a blue circle in the middle of each cake pop. Once dry pipe a smaller circle with the chocolate.
- Lastly, pipe the red veins on the eyeballs. Be creative and make the lines however you want. Allow to dry for 1 hour before packaging or placing in an airtight container. Enjoy!


sonyalummus says
The kids love these cake pops!