Learn how to make the perfect honey glazed ham for your holiday feast. This recipe will ensure juicy and flavorful results every time.
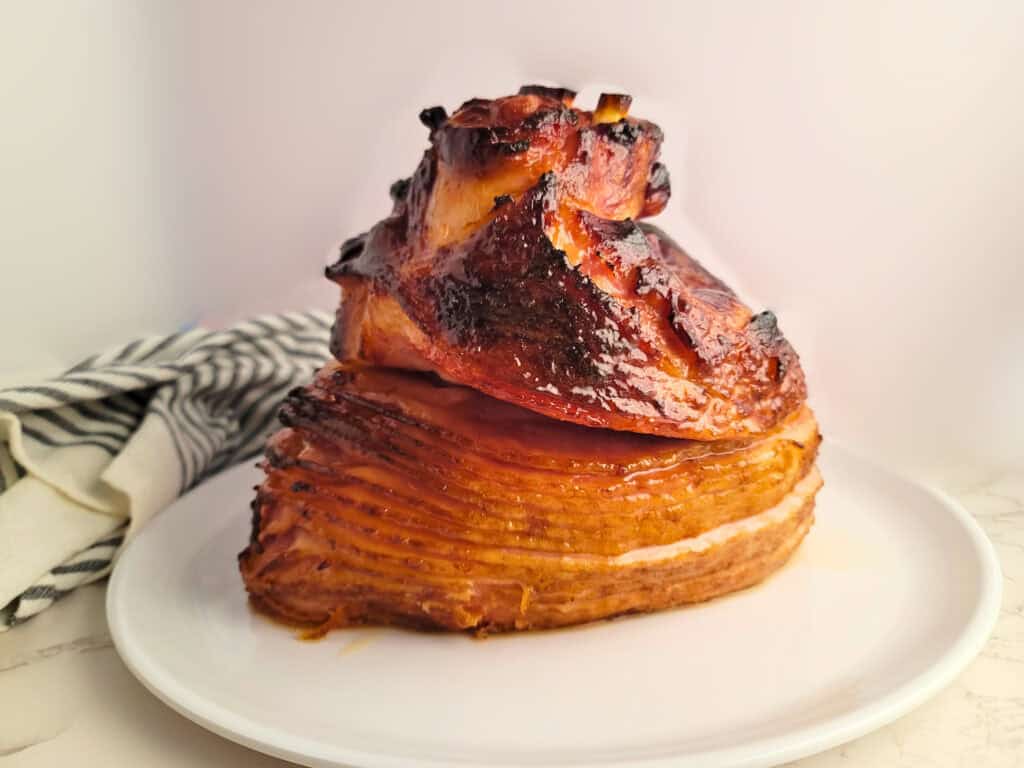
My favorite way to cook ham is smoked on the grill, but when I'm craving a classic, sweet-and-savory glazed version, this is the recipe I always turn to. This honey glazed ham holds a special place in my heart as my redemption recipe, created after a past cooking mishap.
I once served a dry, lackluster honey glazed ham for Thanksgiving that, frankly, didn't deserve to be called a "honey glazed ham." While it wasn't my first attempt at making one, it was the time I forgot to properly baste and glaze, leaving it disappointing and dry.
Determined to make things right, I perfected this honey glazed ham recipe for Christmas-and it was an absolute hit! The result was far juicier, more flavorful, and more delicious than any ham I'd made before. It truly goes to show that when you give a little extra attention to the food you're cooking, the outcome can be extraordinary.
This recipe is my secret to achieving a ham that's both tender and packed with flavor, making it the perfect centerpiece for any holiday meal.
Tips For Making Honey Glazed Ham
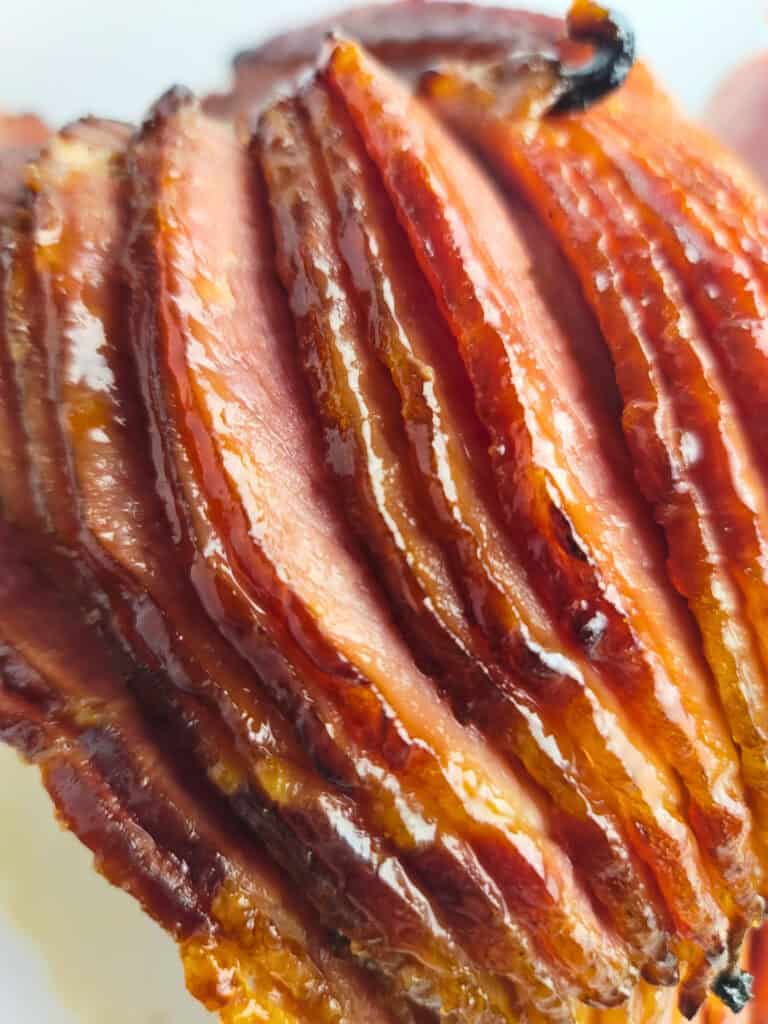
Baste, baste and baste some more. I like to pour some of the juices from the ham into my glaze to make it easier to baste and glaze at the same time. The more you baste the ham, the more flavor it will have. It will also be juicier. Be sure to get into every crevice for the best flavor. Using a spiral ham is great for getting the maximum flavor into every crevice of the ham.
Do not overcook the ham. Ham only needs to cook for approximately 10 minutes per pound. Since it is already fully cooked, it just needs reheating. Even with basting, and overcooked ham will be dry.
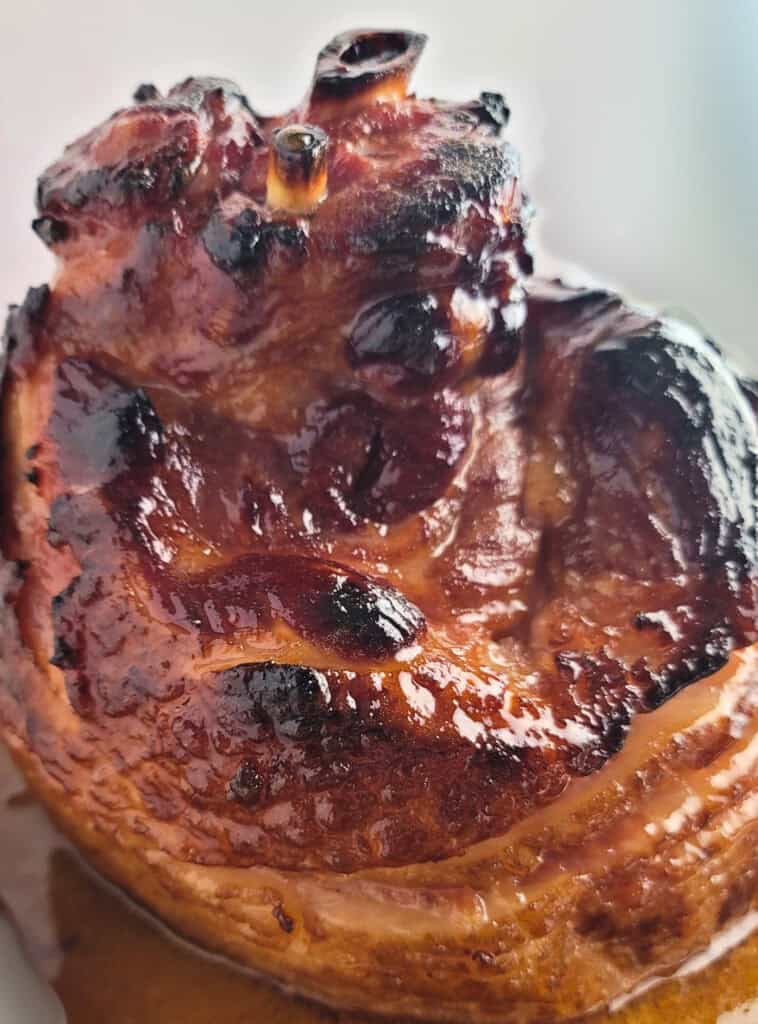
Get a bone in ham. The best flavor comes from ham that is cooked on the bone. The ham is far less likely to dry out when cooked on the bone.
How to Make Honey Glazed Ham
This is super easy to make on only requires a few easy steps. What I love about making ham is that it doesn't need a long cook time. Which means I can use my ovens for other food instead of having them tied up with one item.
1. Pull the ham out of the refrigerator a few hours before cooking it. This will help move the cooking time along faster.
2. Score the ham in a diamond pattern, about ¼" thick. If using a spiral ham, skip this step. Place in a deep pan and pour about ⅓ cup of water in the bottom of the pan. Cover the ham completely, this may take 2-3 pieces of aluminum foil. Place in a 325° F oven and cook for 45 minutes.
3. While the ham is cooking start on the glaze. In a small saucepan over medium heat melt the butter. Add in the honey, dijon mustard and brown sugar. Still to combine. Once the sugar has dissolved reduce the heat to low and cook for about 5 minutes. Remove from the heat and set aside until needed. If you are using spices add them now.
4. After 45 minutes, remove the ham from the oven, uncover it, spoon some of the juices from the pan into the glaze and brush it all over the ham. If using a spiral ham, lift the cut pieces up and brush all over each piece. Place back in the oven, uncovered, and turn the heat up to 425° F.
5. Repeat the basting/glazing process every 10-15 minutes for a total of 3 times. If you want a more caramelized look to your glaze, turn the oven to broil and cook for another 5 minutes or until it reaches the desired color.
6. Allow the ham to rest for 15 minutes before carving. Enjoy!
Storing Honey Glazed Ham
Store in an airtight container for up to 7 days. Reheat, covered, in a pan on the stove or in the oven.
Ham freezes very well. Freeze in an airtight container or freezer bag for up to 4 months.
More Delicious Recipes
Green Bean Casserole from Scratch
Tried This Recipe?
Leave a review below, I would love to hear how it turned out! ⭐⭐⭐⭐⭐
FOLLOW ME on Facebook, Pinterest, and YouTube to stay connected!
📖 Recipe

Honey Glazed Ham
Ingredients
- 8 pounds fully cooked ham preferably a bone-in spiral ham
- ⅓ cup water
- 3 ounces butter melted
- ¾ cups brown sugar light or dark
- 6 tablespoons honey
- 1 ½ tablespoons dijon mustard
Instructions
- Remove the ham from the refrigerator 1-2 hours before cooking. Lower the oven rack down so that the ham can fit. Preheat the oven to 325° F.
- Score the ham in a diamond pattern, about ¼" thick. If using a spiral ham, skip this step. Place cut side down in a deep pan and pour about ⅓ cup of water in the bottom of the pan. Cover the ham completely with aluminum foil. This may take 2-3 pieces of aluminum foil. Place in the oven and cook for 45 minutes.
- In a bowl combine the melted butter, brown sugar, honey and dijon mustard.
- After 45 minutes, remove the ham from the oven, uncover it, spoon some of the juices from the pan into the glaze and brush it all over the ham. If using a spiral ham, lift the cut pieces up and brush all over each piece. Place back in the oven, uncovered, and turn the heat up to 425° F.
- Repeat the basting/glazing process every 10-15 minutes for a total of 3 times. If you want a more caramelized look to your glaze, turn the oven to broil and cook for another 5 minutes or until it reaches the desired color.
- Allow the ham to rest for 15 minutes before carving. Enjoy!