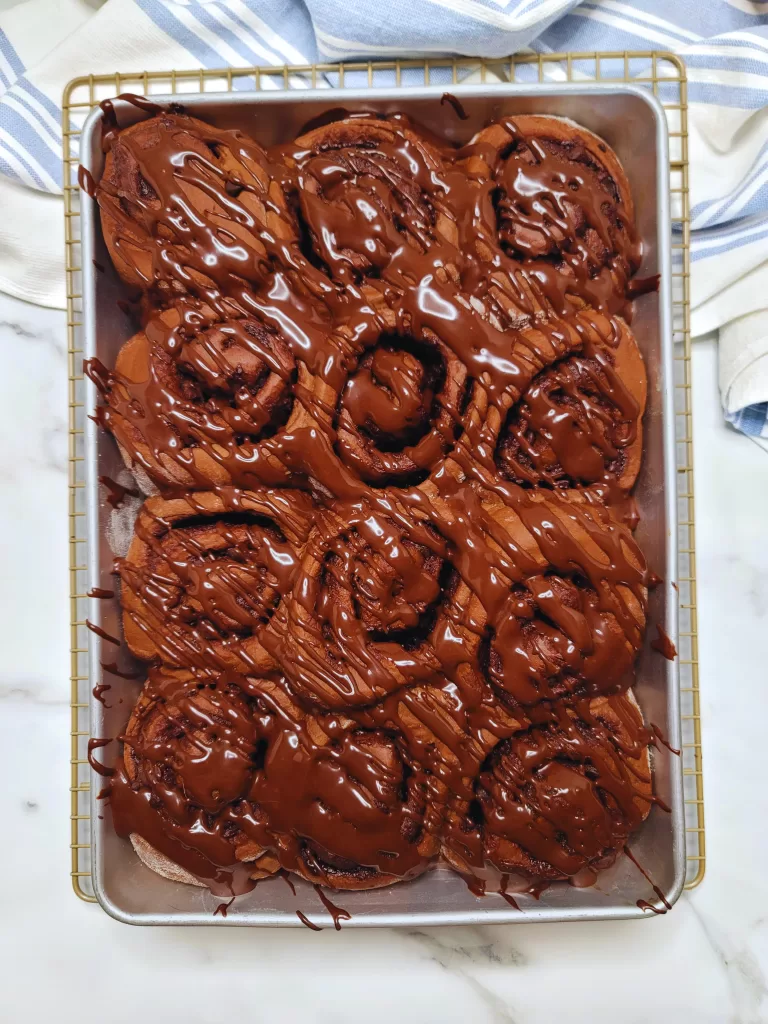
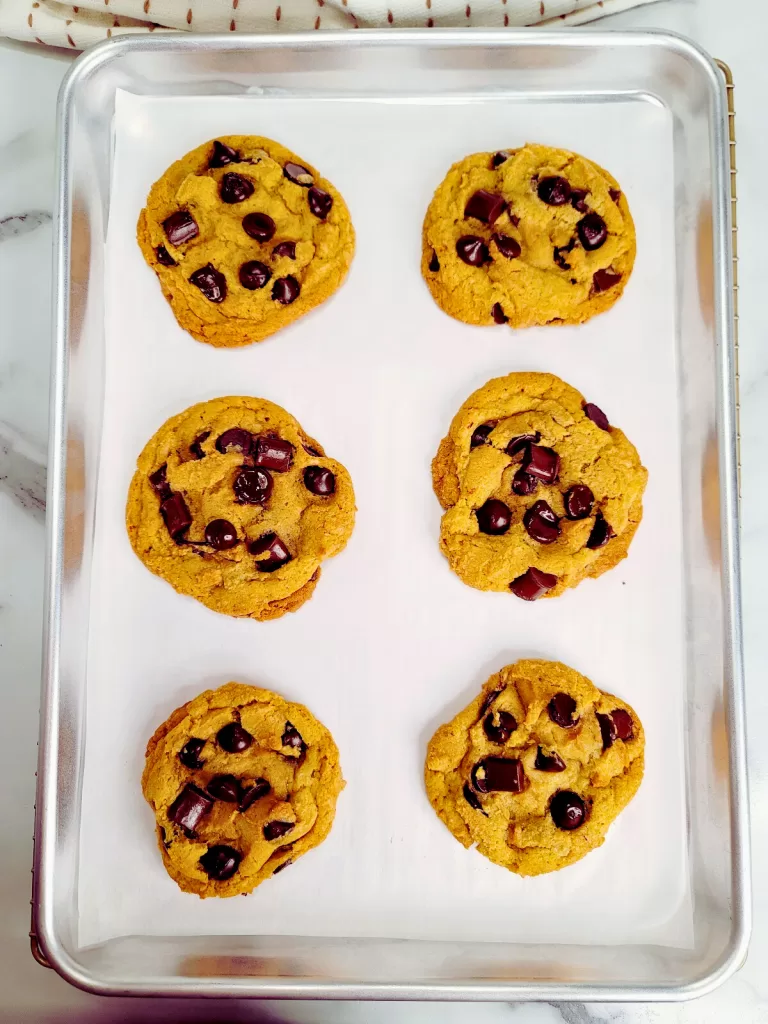
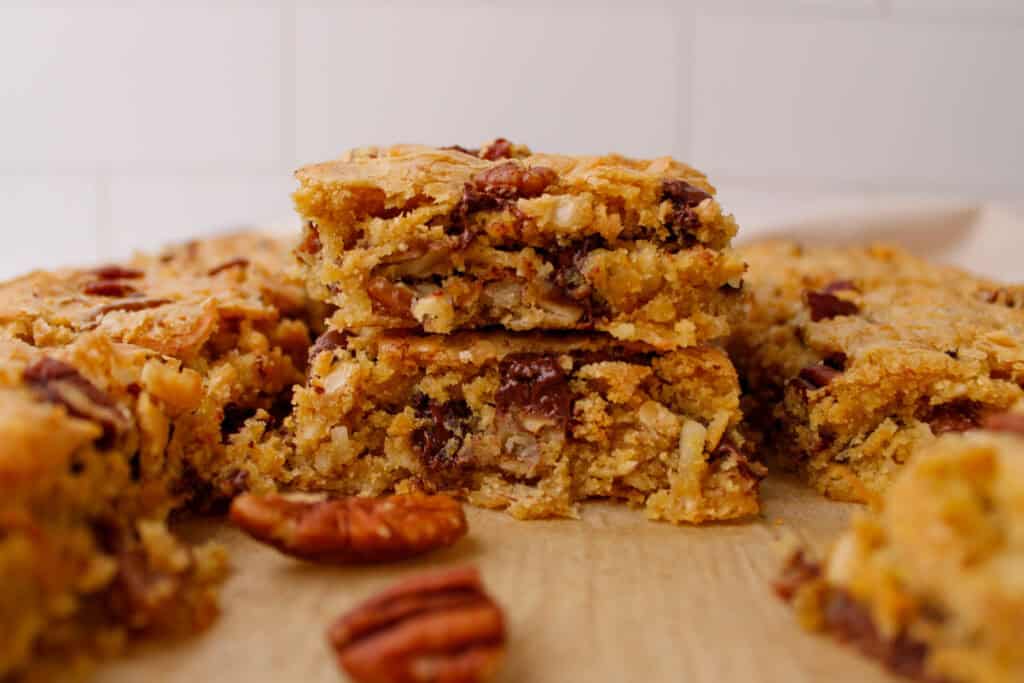
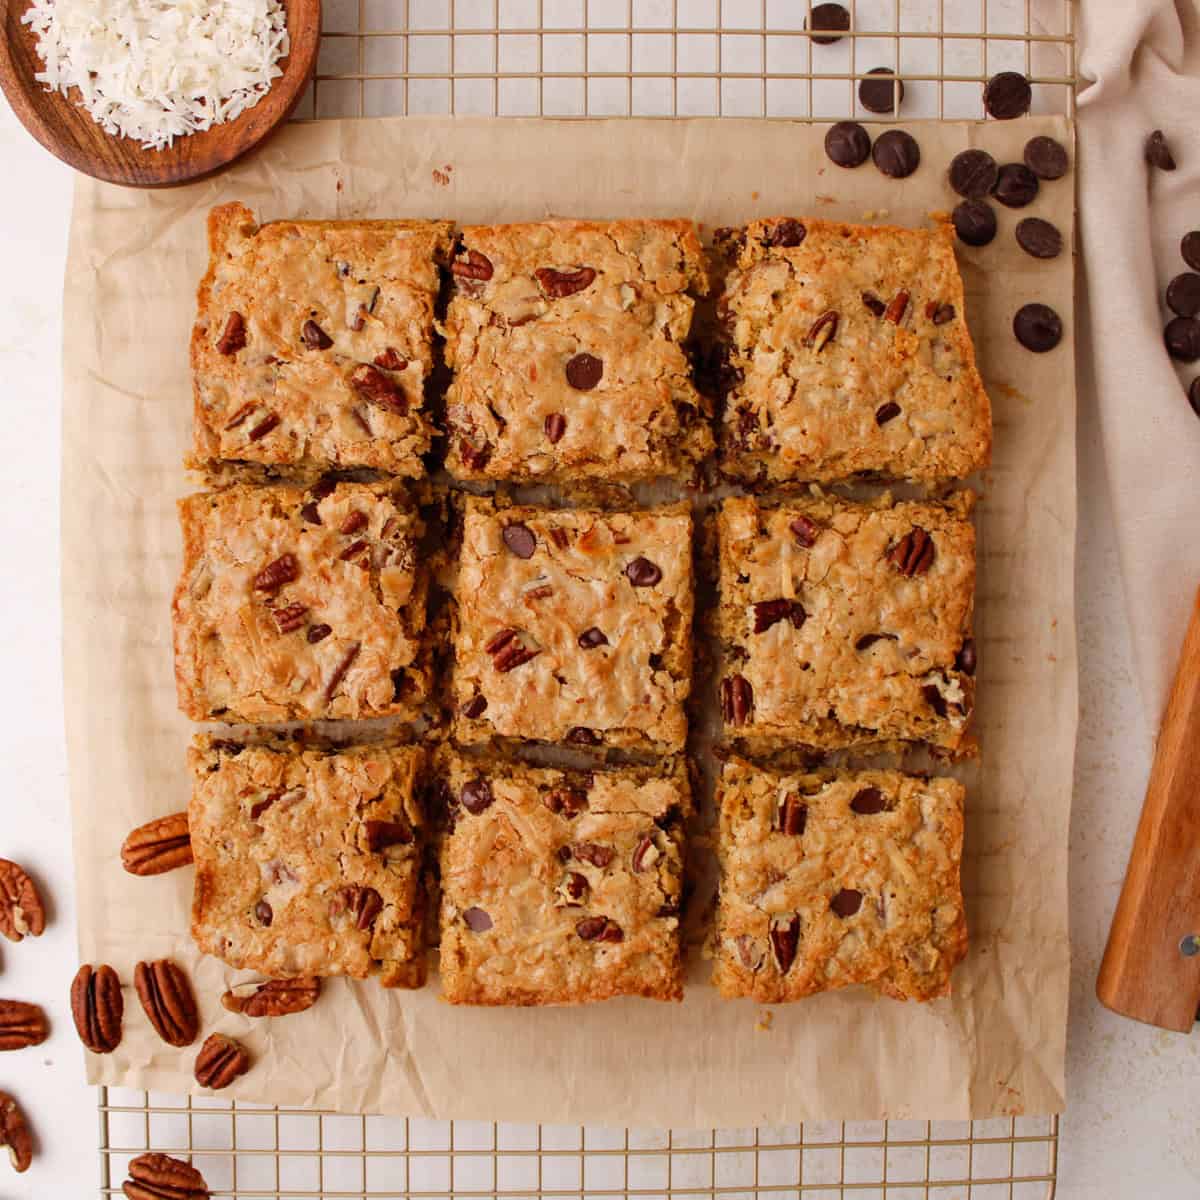
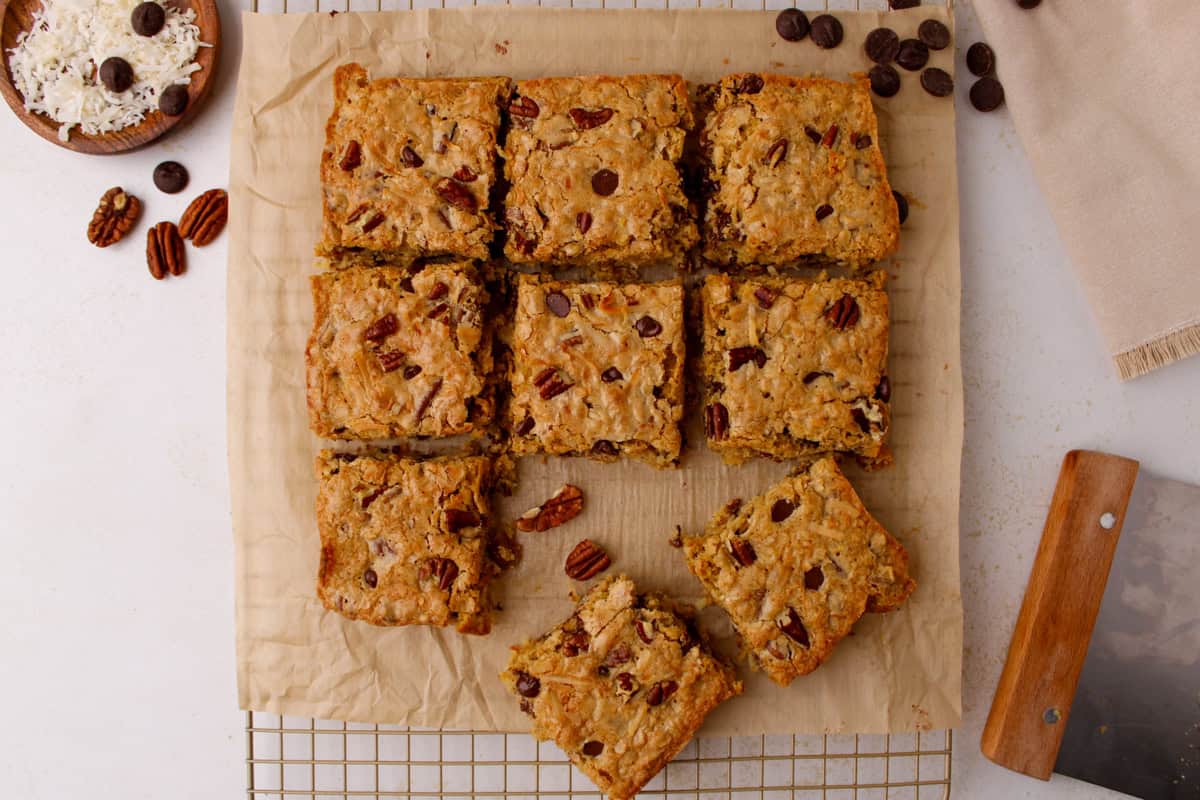
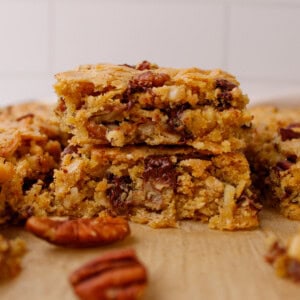
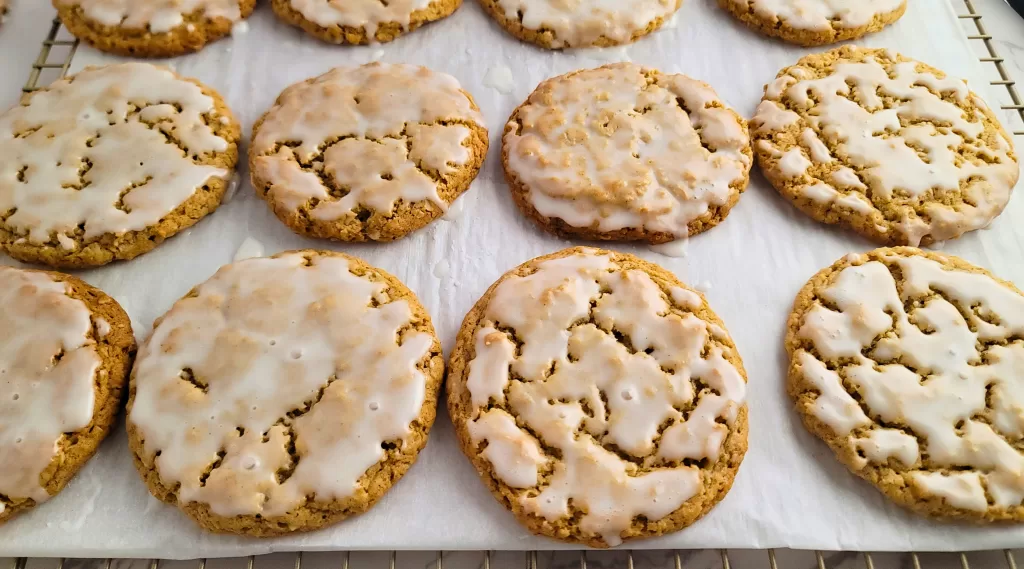
Blending a homemade chai spice mix with old-fashioned iced oatmeal cookies results in these beautiful Chai Spiced Oatmeal Cookies. With soft, chewy centers and crisp edges, this is the cookie recipe you didn't know you needed!
These cookies are without a doubt one of my favorite cookie creations. The combination of warming chai spices with the classic iced oatmeal cookies truly creates a one-of-a-kind cookie. Be sure to bake extra-these will disappear quickly!
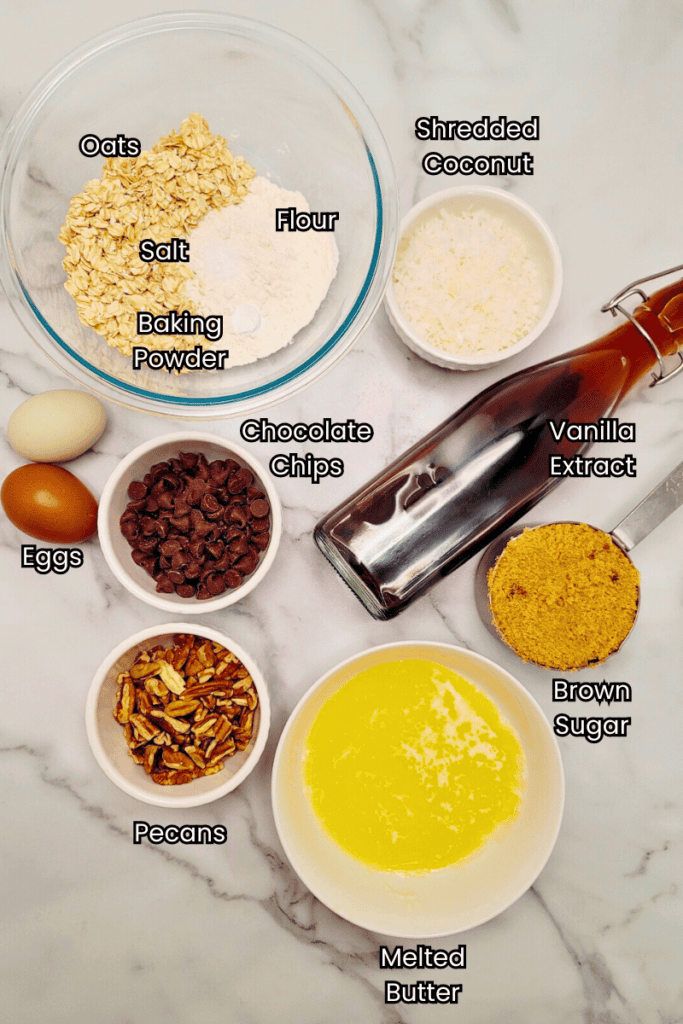
Ingredients
- Oats - Old-fashioned oats are recommended for this recipe. Avoid quick oats as they alter the texture of the cookies.
- Flour - All-purpose flour.
- Leaveners - Baking powder and baking soda.
- Seasonings/Spices - Salt, cinnamon, cardamom, ginger, allspice, cloves, and nutmeg.
- Butter - Unsalted butter works best.
- Milk - Your choice of milk or cream.
- Sugars - Granulated sugar, light brown sugar, and powdered sugar.
- Eggs
- Vanilla Extract
💡Expert Tip
The homemade chai spice blend featured in this recipe is perfect for all your chai-flavored creations. Consider making a large batch by multiplying the recipe by four and keeping it on hand for future use.
My Latest Videos
How To Make Chai Spiced Oatmeal Cookies
For the best texture, this recipe requires a food processor or blender to create a coarse meal out of the oatmeal before using it in the recipe.
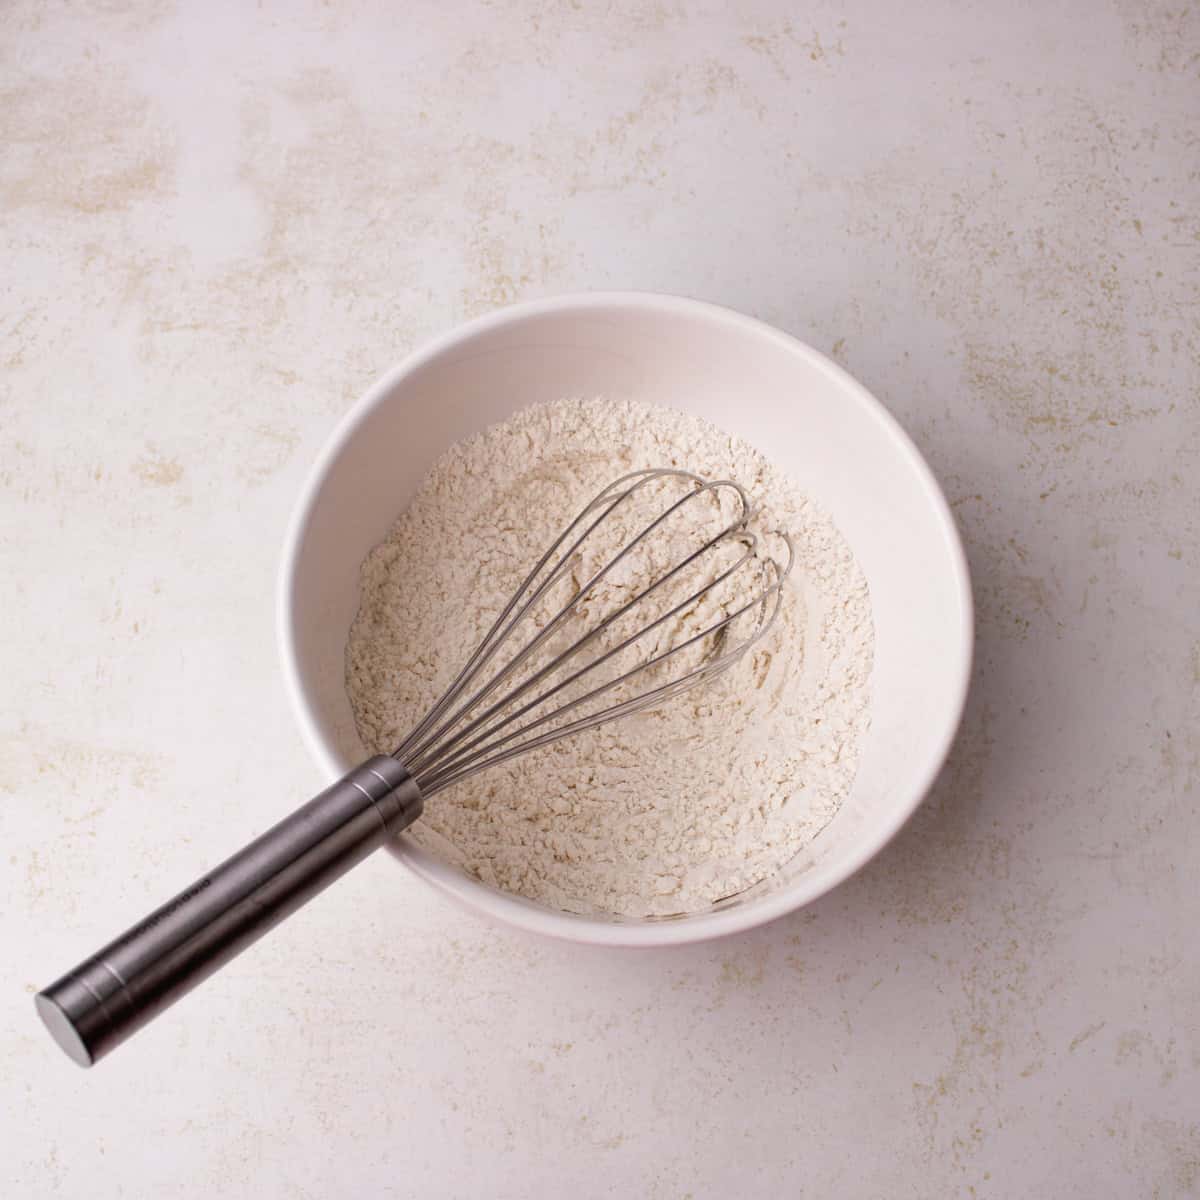
STEP 1
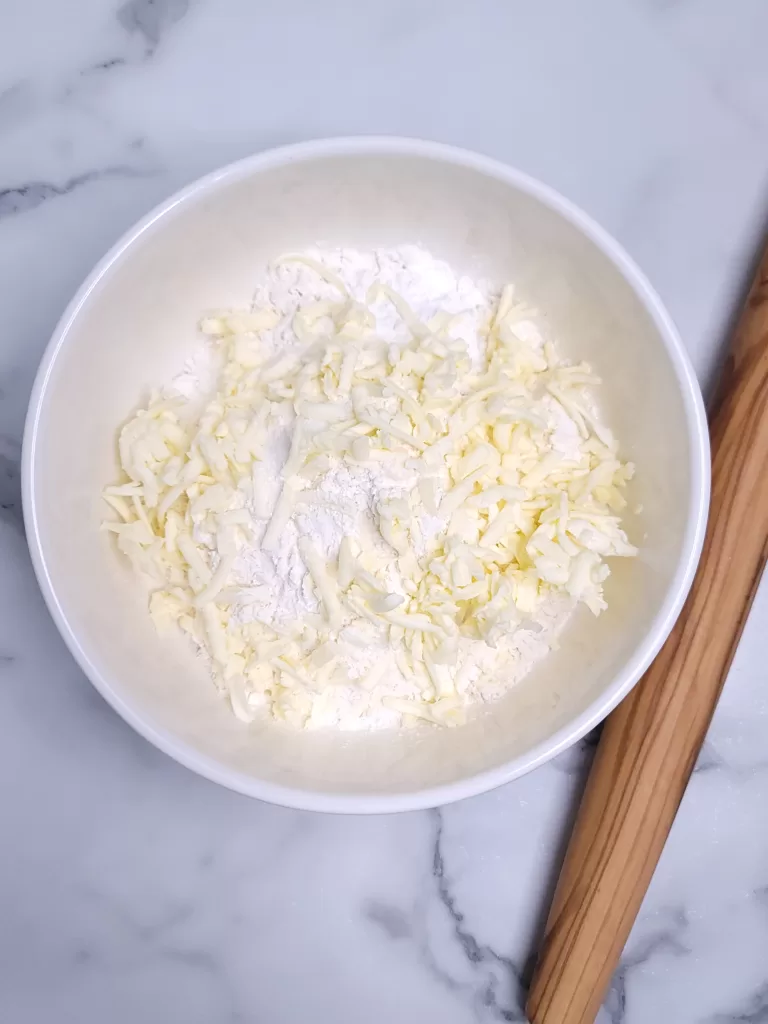
In a food processor or blender, pulse the oatmeal until it has the texture of coarse meal. Be careful not to over-process it into a flour. Pour into a large bowl and whisk in the salt, baking powder, baking soda, spices and flour.
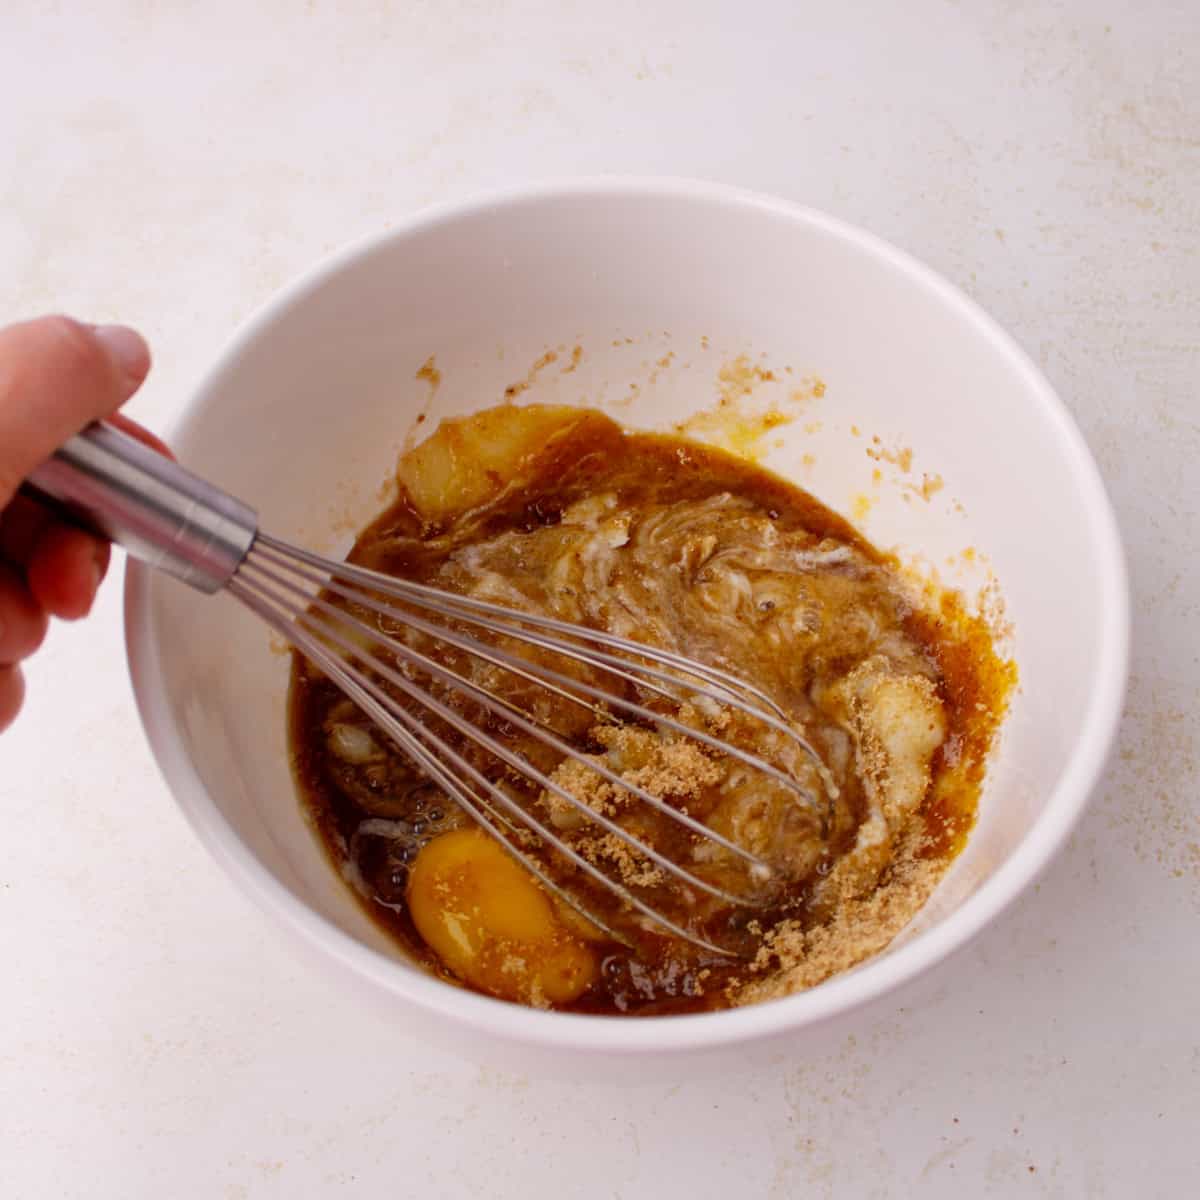
STEP 2
In a separate bowl, combine the melted butter, granulated sugar, brown sugar, and vanilla extract until well mixed. Then, add the eggs one at a time, mixing well after each addition.
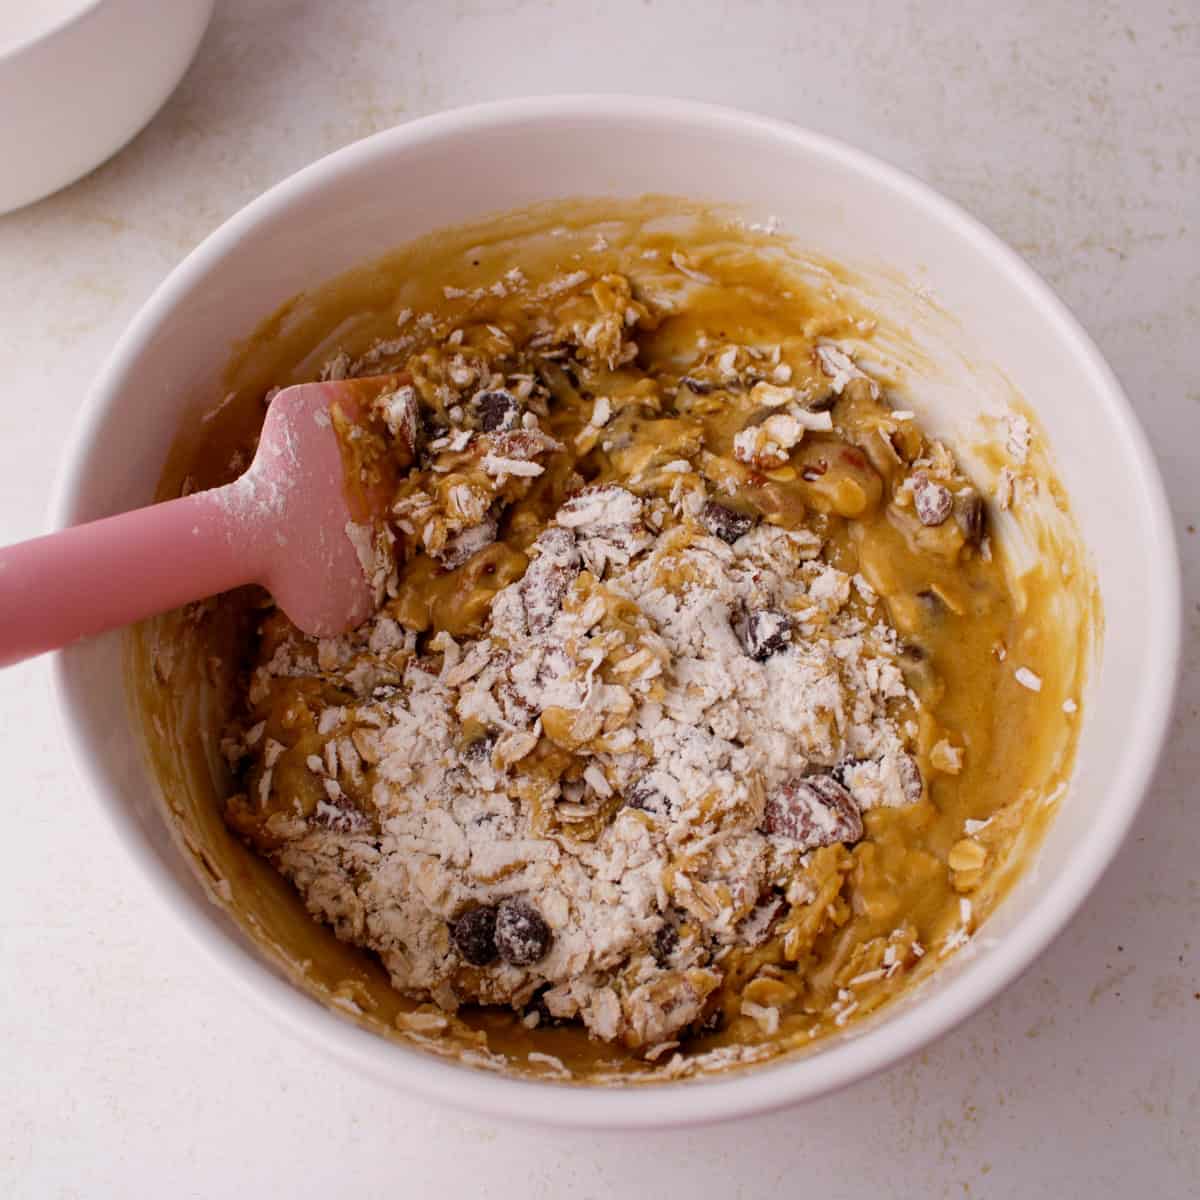
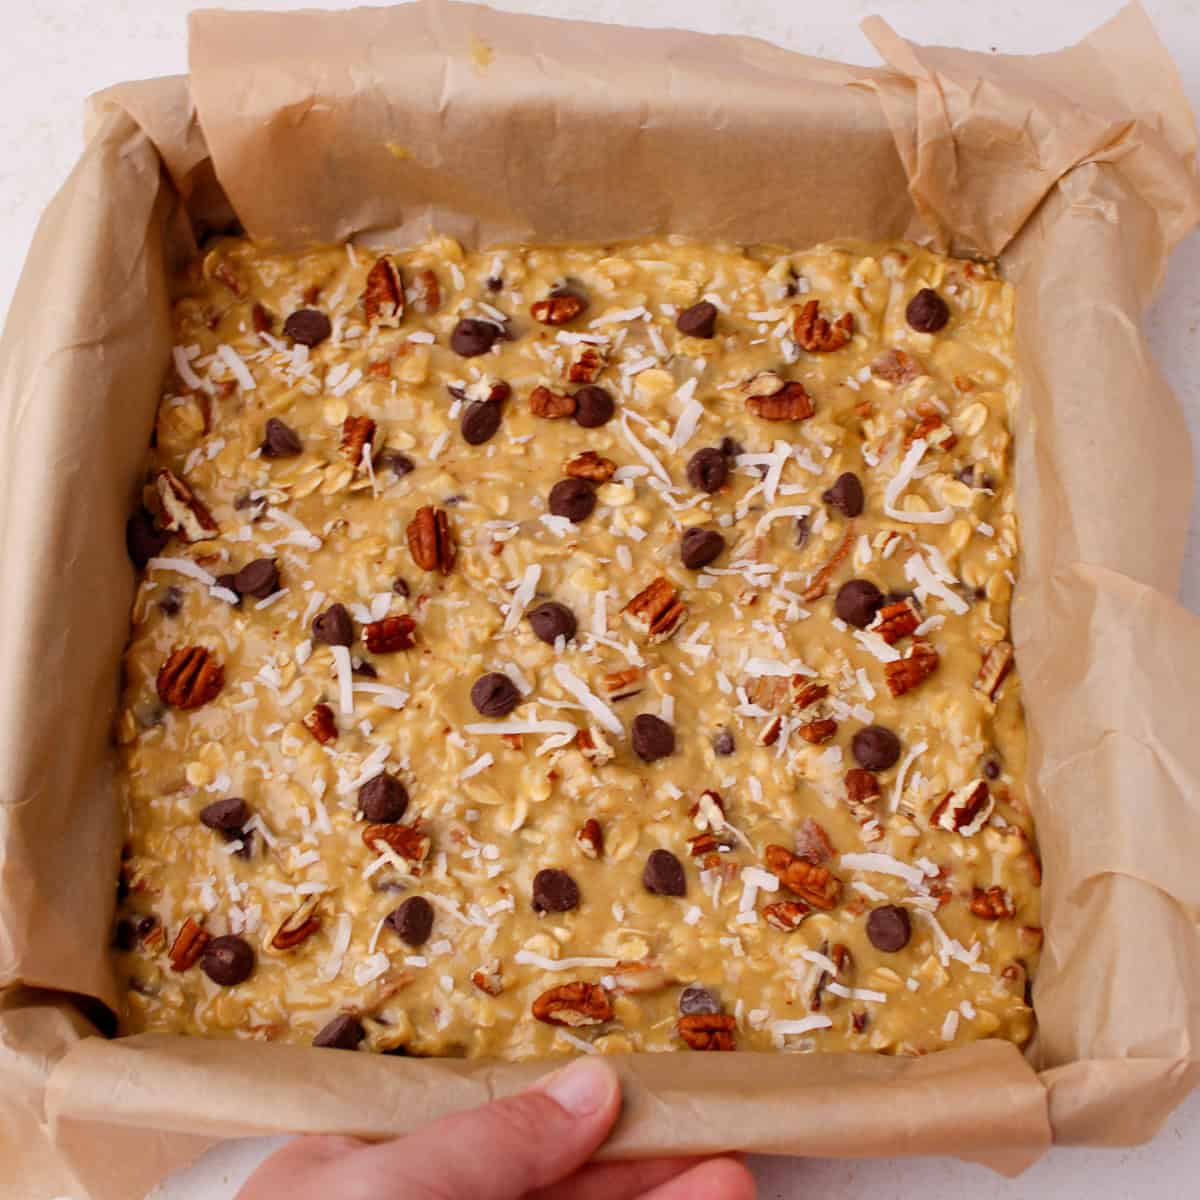
STEP 3
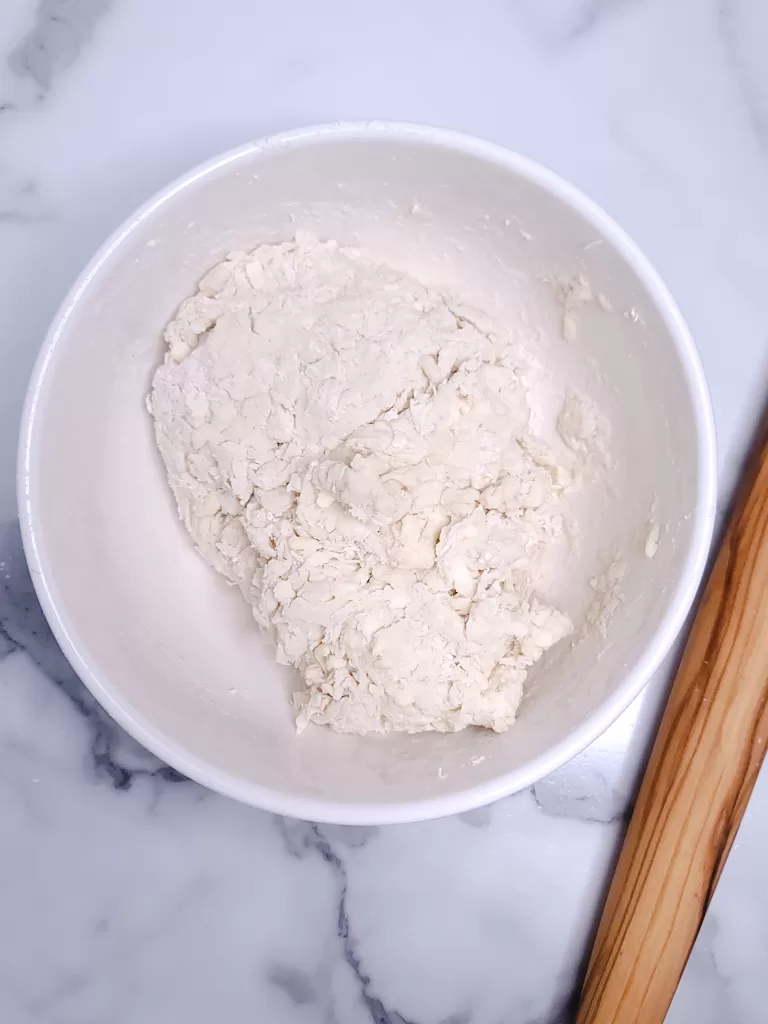
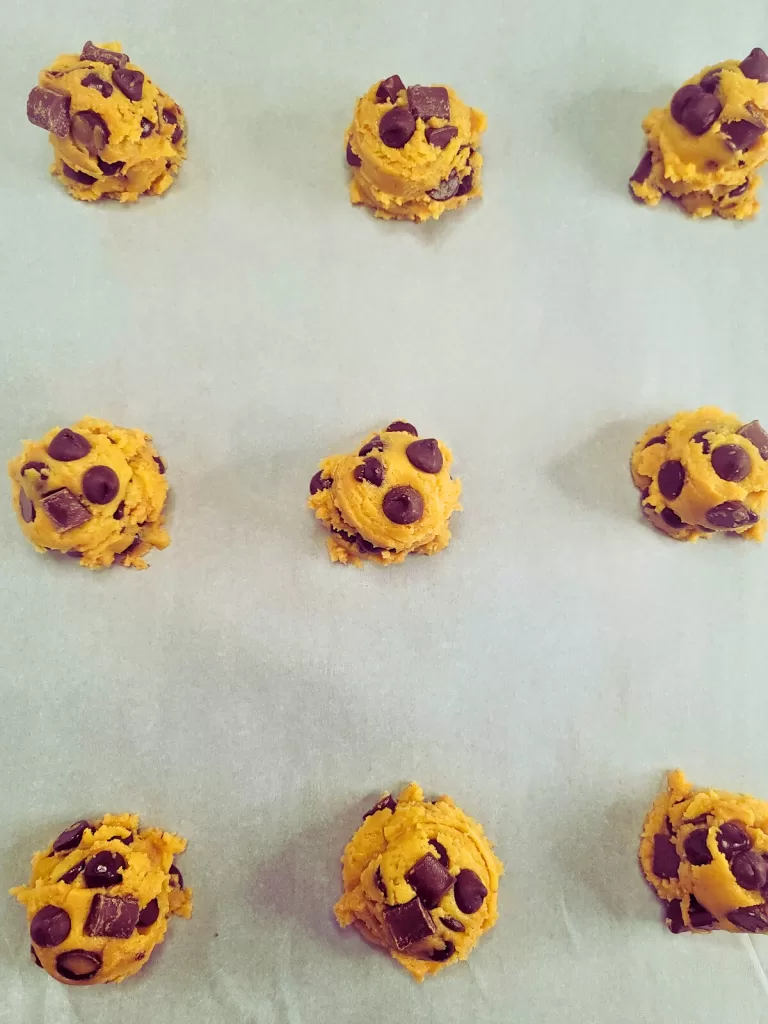
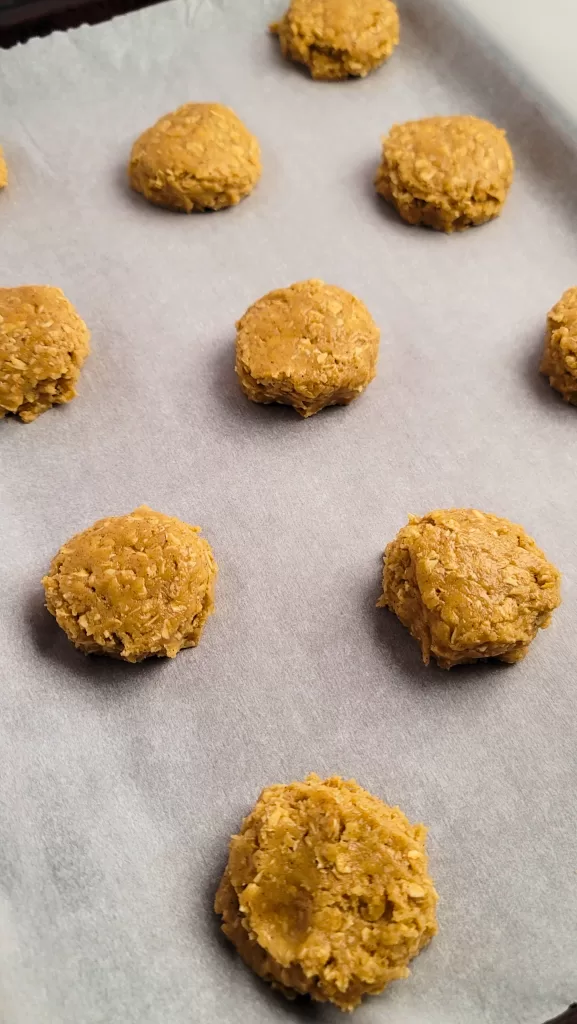
Now add the dry ingredients to the wet ingredients and mix well. Scoop onto a prepared baking sheet and bake for 14 minutes. Cool before icing.
STEP 4
In a small bowl whisk together the powdered sugar, milk and vanilla extract. Then, dip the top of each cookie into the icing and allow it to set before serving. Enjoy!

More Delicious Recipes
FOLLOW ME on Facebook, Pinterest, and YouTube to stay connected!
Tried This Recipe?
Leave a review below, I would love to hear how it turned out! ⭐⭐⭐⭐⭐
📖 Recipe

Chai Spiced Oatmeal Cookies
Ingredients
- 2 cups old fashioned oats
- 2 cups all-purpose flour
- 1 tablespoon baking powder
- 1 teaspoon baking soda
- 2 teaspoons ground cinnamon
- ¾ teaspoon ground cardamom
- ¾ teaspoon ground ginger
- ¼ teaspoon allspice
- ¼ teaspoon cloves
- ¼ teaspoon nutmeg
- ½ teaspoon salt
- 1 cup unsalted butter melted
- 1 cup granulated sugar
- ½ cup light brown sugar
- 1 ½ teaspoons vanilla extract
- 2 large eggs
Icing
- 2 cups powdered sugar
- 5 tablespoons milk
- 1 splash vanilla extract
Instructions
Cookie Dough
- Preheat an oven to 350°F and line a baking sheet with parchment paper.
- In a food processor or blender, pulse the oatmeal until it has the texture of coarse meal. Be careful not to over-process it into a flour. Pour into a large bowl and whisk in the salt, baking powder, baking soda, spices and flour.
- In a separate bowl, combine the melted butter, granulated sugar, brown sugar, and vanilla extract until well mixed. Then, add the eggs one at a time, mixing well after each addition.
- Now add the dry ingredients to the wet ingredients and mix well. Using a 1-ounce portion scoop or two rounded tablespoons, place the cookie dough onto the prepared baking sheet and bake for 14 minutes. Cool before icing.
Icing
- In a bowl whisk together the powdered sugar, milk and vanilla extract until fully combined.
Decorate the Cookies
- Dip just the tops of each cookie lightly into the icing, allowing any excess to drip off before setting them on a cooling rack. Enjoy!