Nothing beats a warm bowl of soup on a chilly day. Whether you are in the mood for a classic vegetable soup or a rich and hearty bowl of Chicken and Dumplings, this post of 20 Delicious Soups has got you covered.

Soup season is fast approaching, and for some of you, it will be here a lot sooner than it will be for me here in hot East Texas. We are wrapping up, what I hope, is the last of the triple digit weather this year and moving into slightly cooler weather. I say cooler, it's still forecasted to be in the 80s. That doesn't stop me from dreaming of digging into warm, comforting bowls of soup.
My Latest Videos
Every year, around this time I start batch making soups to keep my freezer stocked. When the cold winter days arrive, I'll have a freezer full of delicious soups ready for me to thaw and reheat. Batch making soups and freezing them is my favorite way to make freezer meals.
With help from several of my fellow bloggers, I have compiled a list of 20 fantastic soups. If you are looking for an Instant Pot soup recipe, it's here! If you want a simple stove-top recipe that you can just throw together and have ready in 30 minutes, it's here!
20 Delicious Soups
Get your soup pots ready, slip into some cozy socks, and dive into this list of delicious soups. I'm confident you'll emerge with several tasty recipes to include in your collection.
Ground Turkey Taco Soup

A quick, easy and extremely flavorful Ground Turkey Taco Soup. Made with good-for-you ingredients like ground turkey, black beans and chicken stock, this soup is definitely a winner anytime. Grab the recipe here!
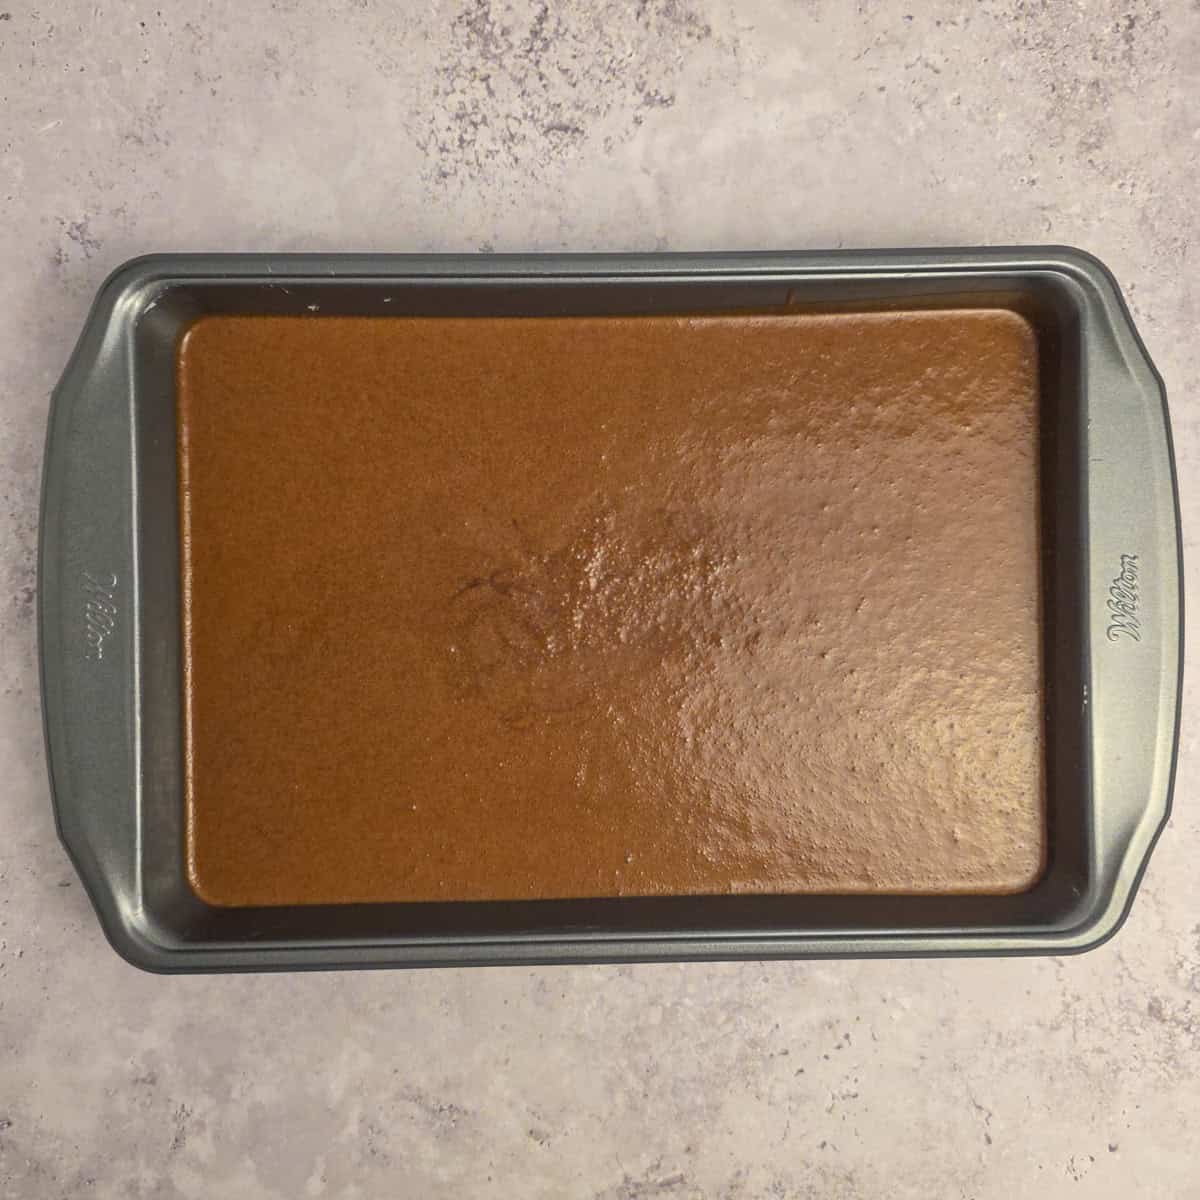
Butternut Squash Soup

Rich and creamy roasted butternut squash soup is a great way to warm up on a cold winter day! Grab the recipe here!
Lemon Chicken and Rice Soup

Chicken bone broth infused with herbs, cooked with chicken, rice, lemon juice and lots of veggies. Comfort food for the soul! Grab the recipe here!
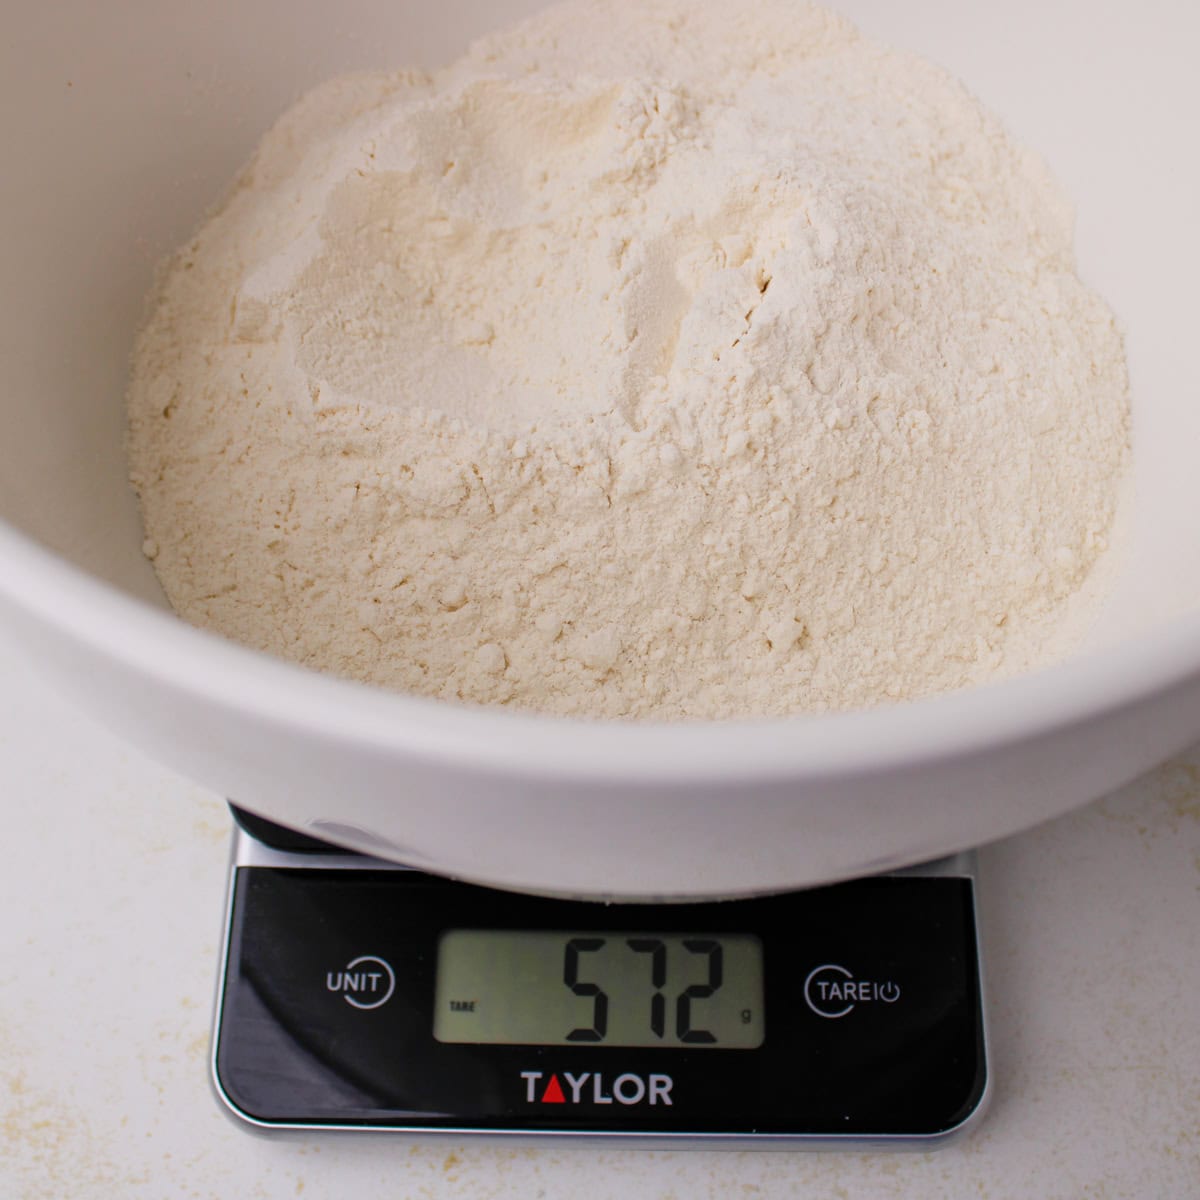
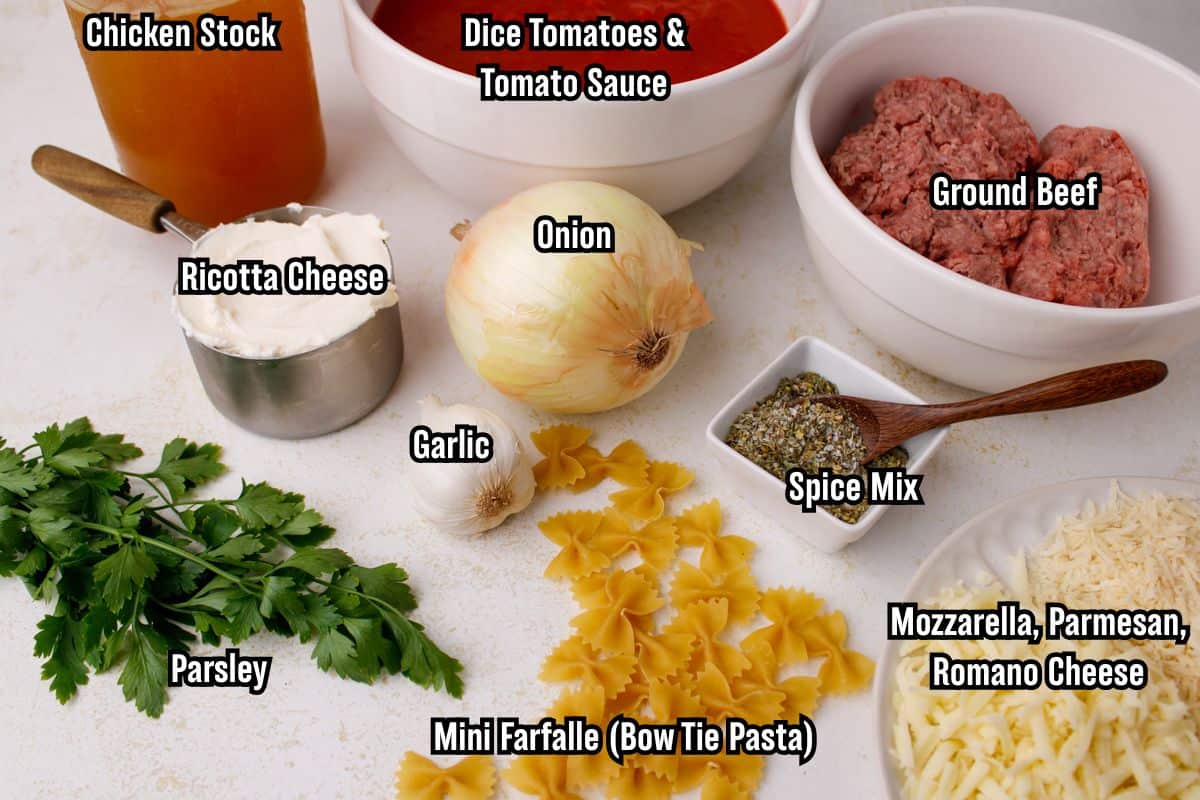
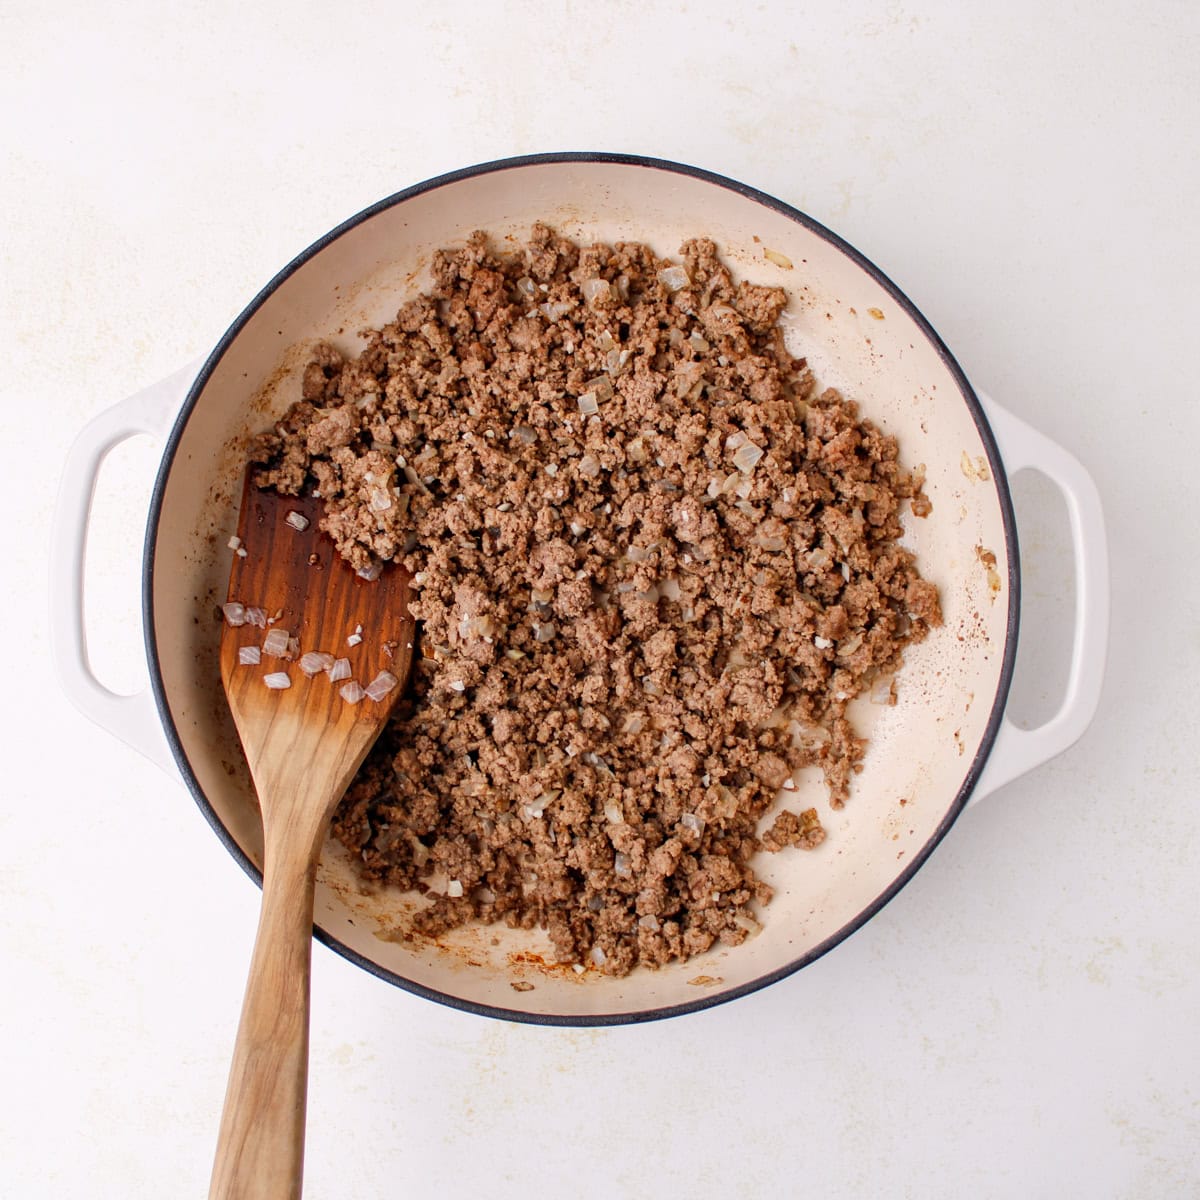
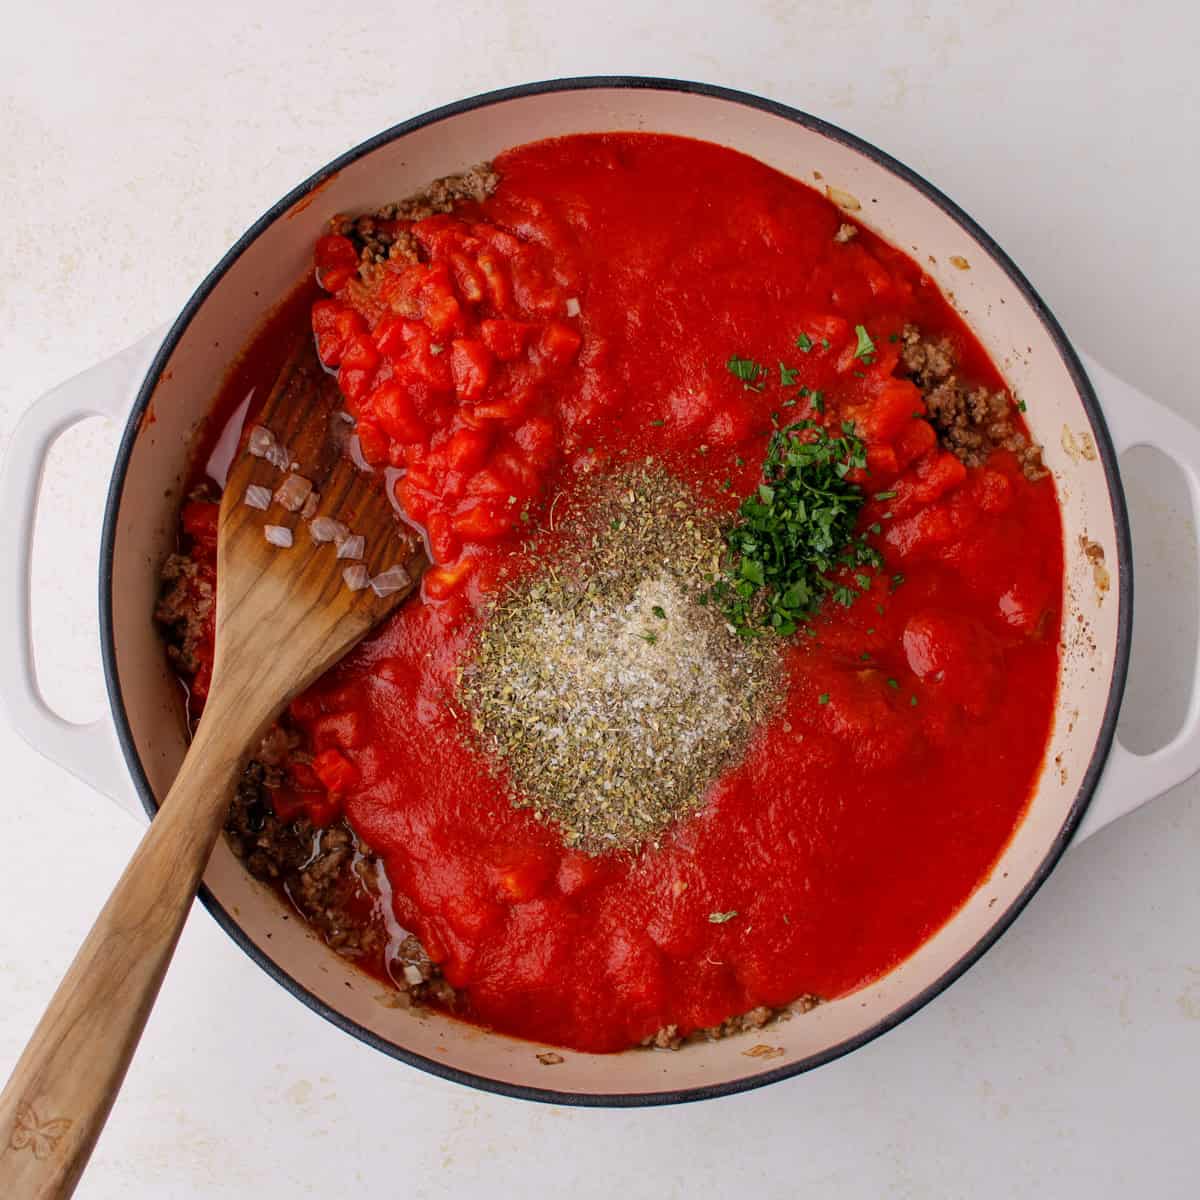
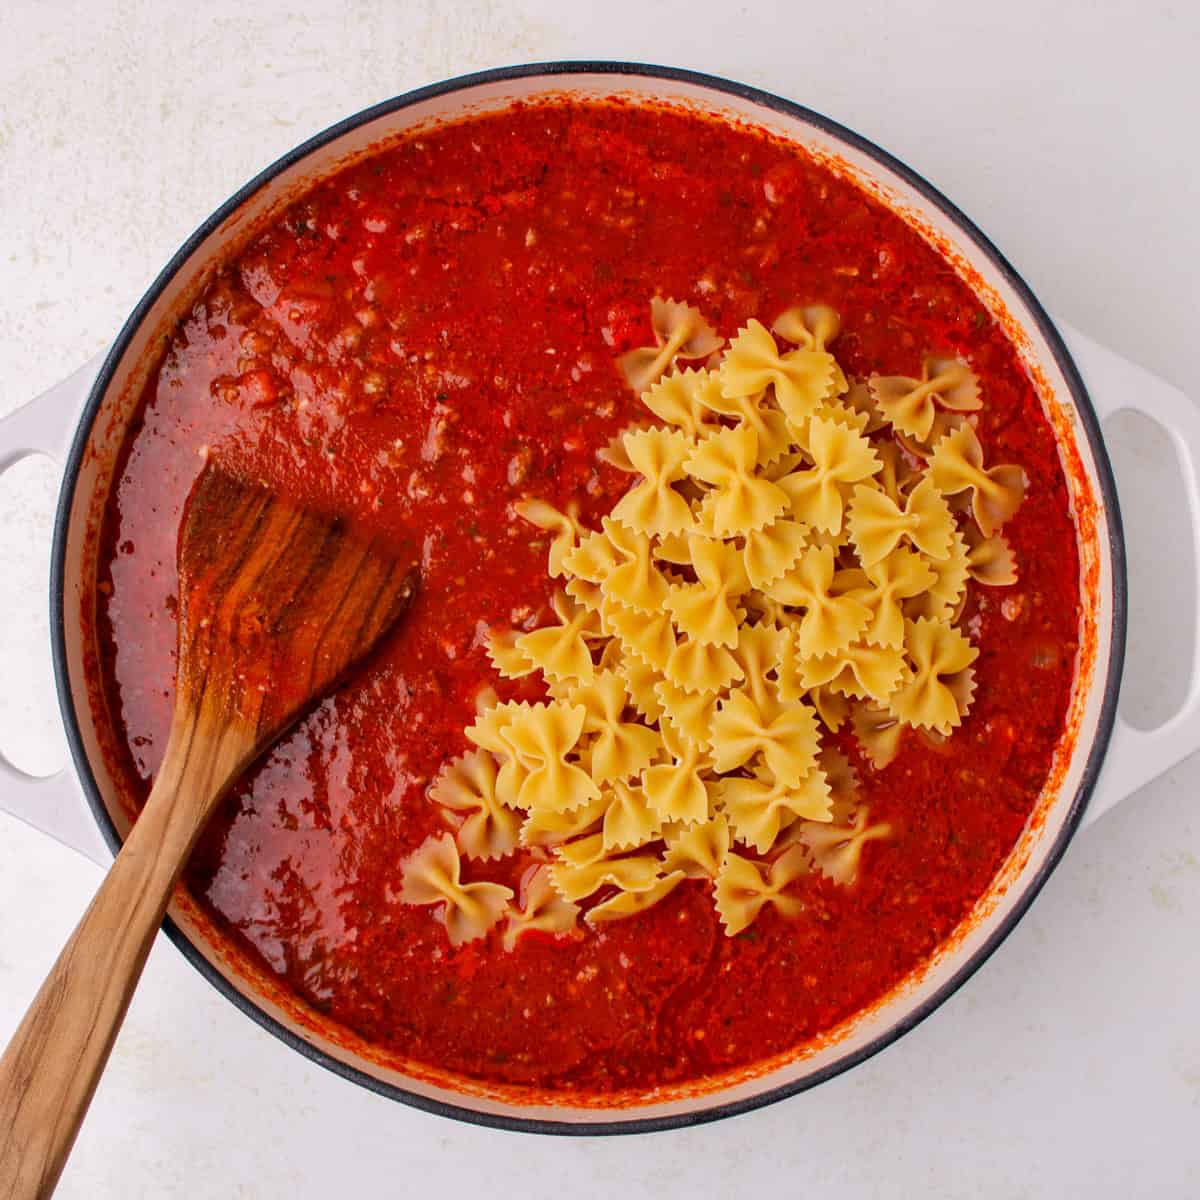
Lasagna Soup

The viral Tik Tok Lasagna Soup! A hearty beef lasagna soup with fresh ricotta cheese, mozzarella, parmesan cheese, and fresh herbs. An Italian classic made into a comforting soup! Grab the recipe here!
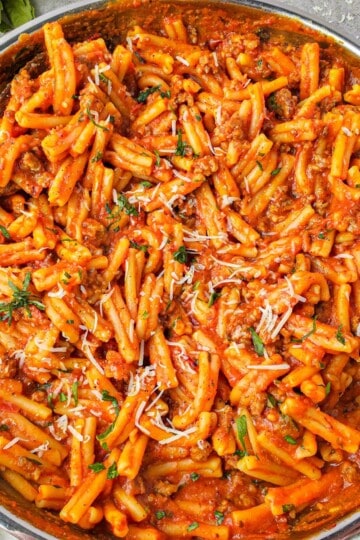
Italian Sausage Gnocchi Soup
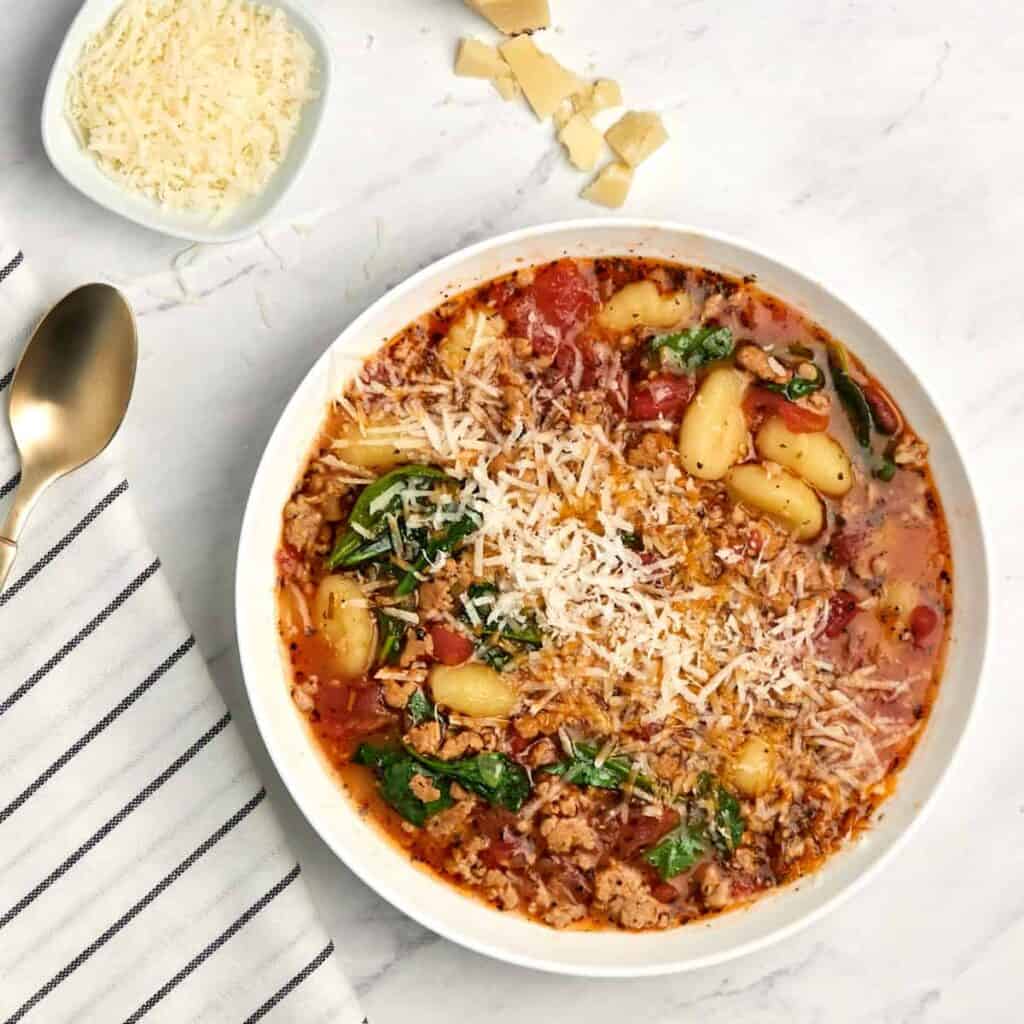
This 30-minute one-pot Italian Sausage Gnocchi Soup is made from canned tomatoes, packaged gnocchi, and sausage and makes the perfect weeknight meal. Grab the recipe here!
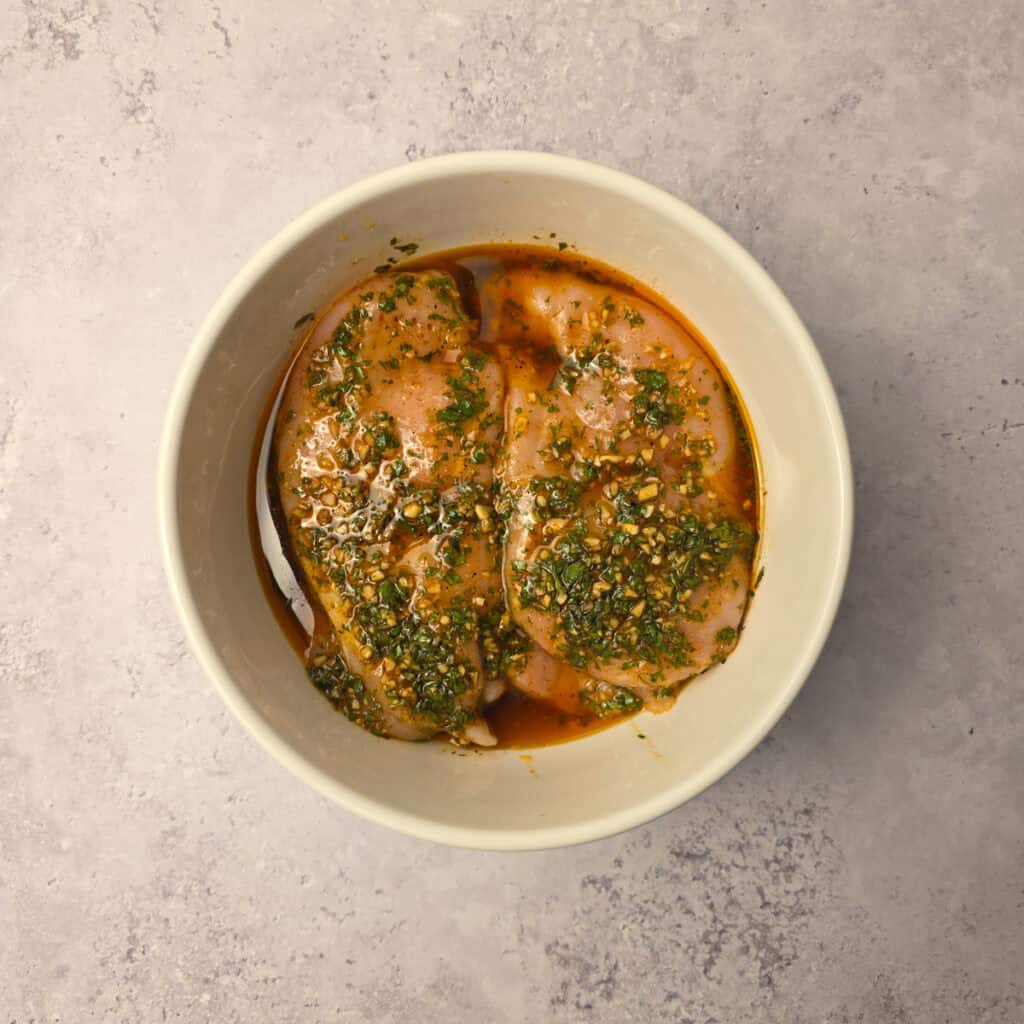
Chicken and Dumplings
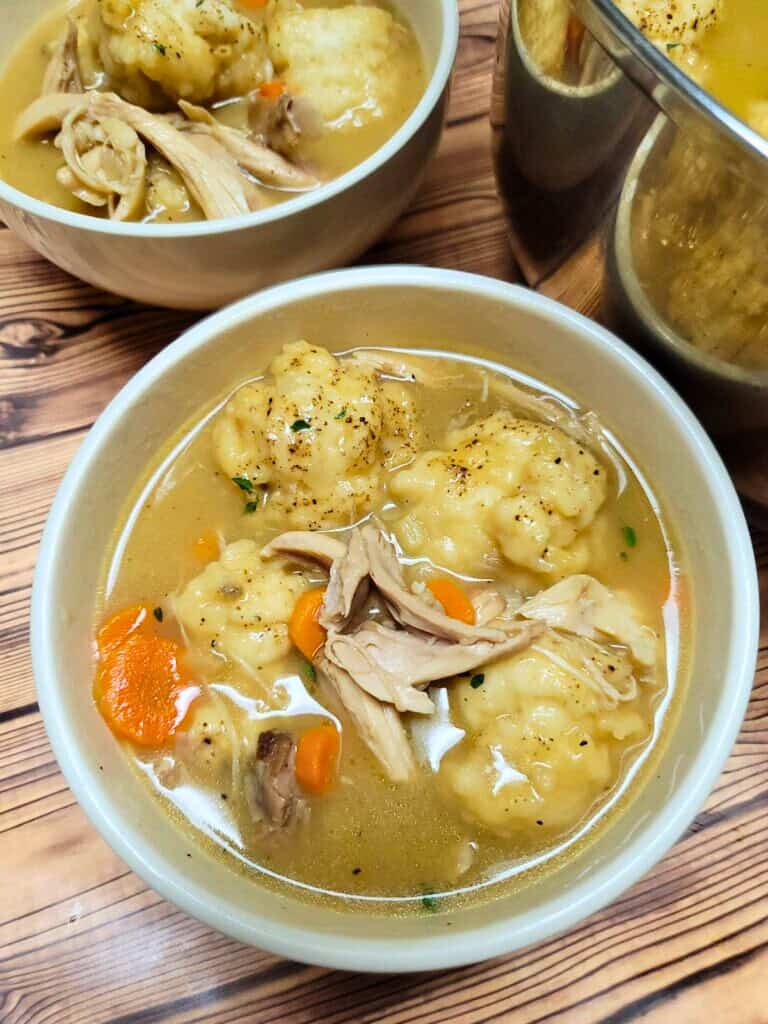
Traditional Chicken and Dumplings are perfect for those cold days and nights. Rich chicken broth full of tender chicken, carrots, celery and the BEST fluffy dumplings. Grab the recipe here!
Pumpkin & Sweet Potato Soup with Pancetta & Sage

This soup is perfect for the Fall and Winter months! Roasted pumpkin and sweet potato are pureed smooth with a hint of aromatic baking spice. This cozy soup is topped with buttery croutons, fried sage leaves and crispy pancetta! Grab the recipe here!
Spinach Tortellini Soup
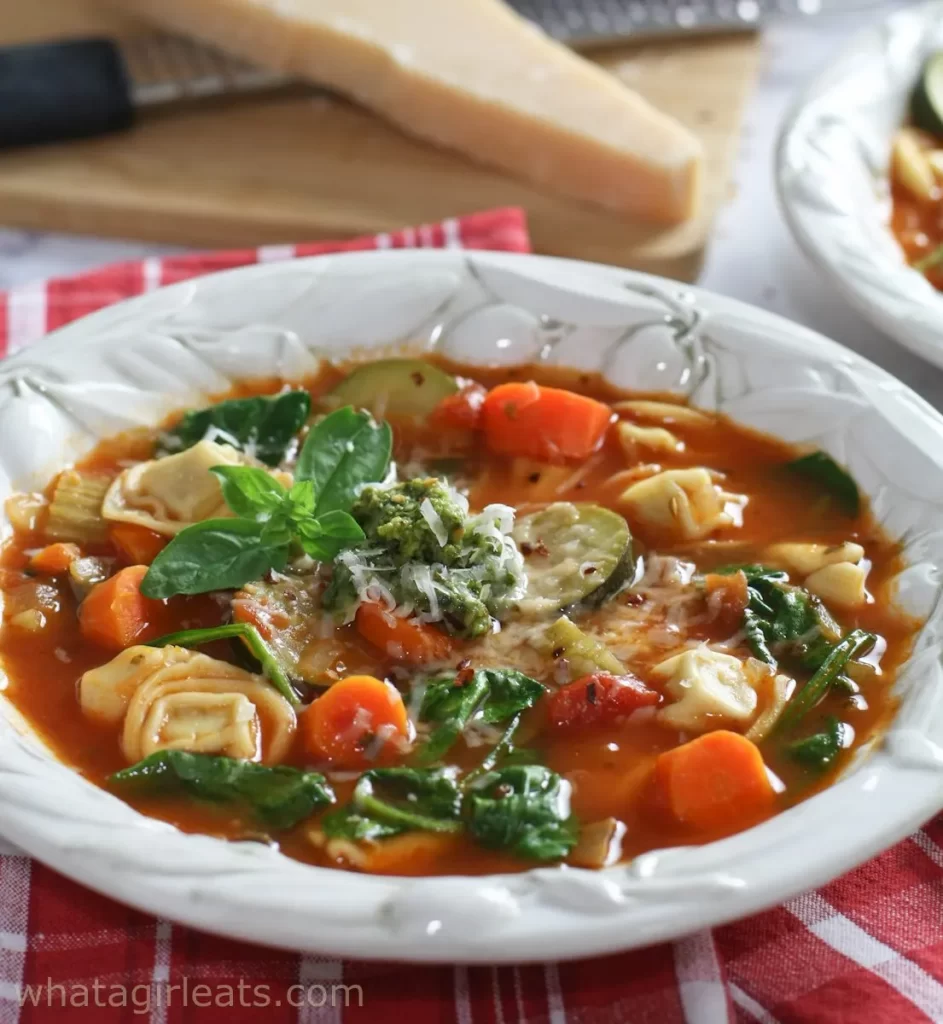
Winter Soup with fresh tortellini, spinach and pistou. Grab the recipe here!
Broccoli Soup

Warm and comforting, this broccoli soup is the perfect soup for cooler weather. It is super easy to make and comes together in just 30 minutes! Grab the recipe here!
Slow Cooker Chicken Noodle Soup

This Slow Cooker Chicken Noodle Soup recipe is a soul warming crockpot soup filled with intense and flavorful chicken flavor, vegetables galore and tender egg noodles. Grab the recipe here!
Rainbow Soup
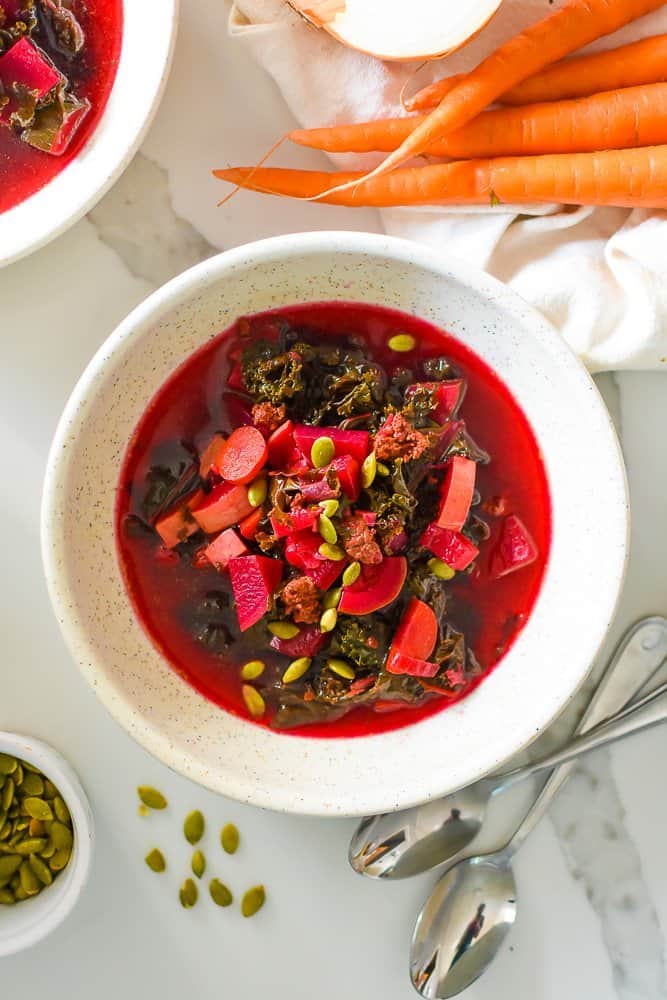
Nourishing soup brimming with the colors and flavors of fall produce. Grab the recipe here!
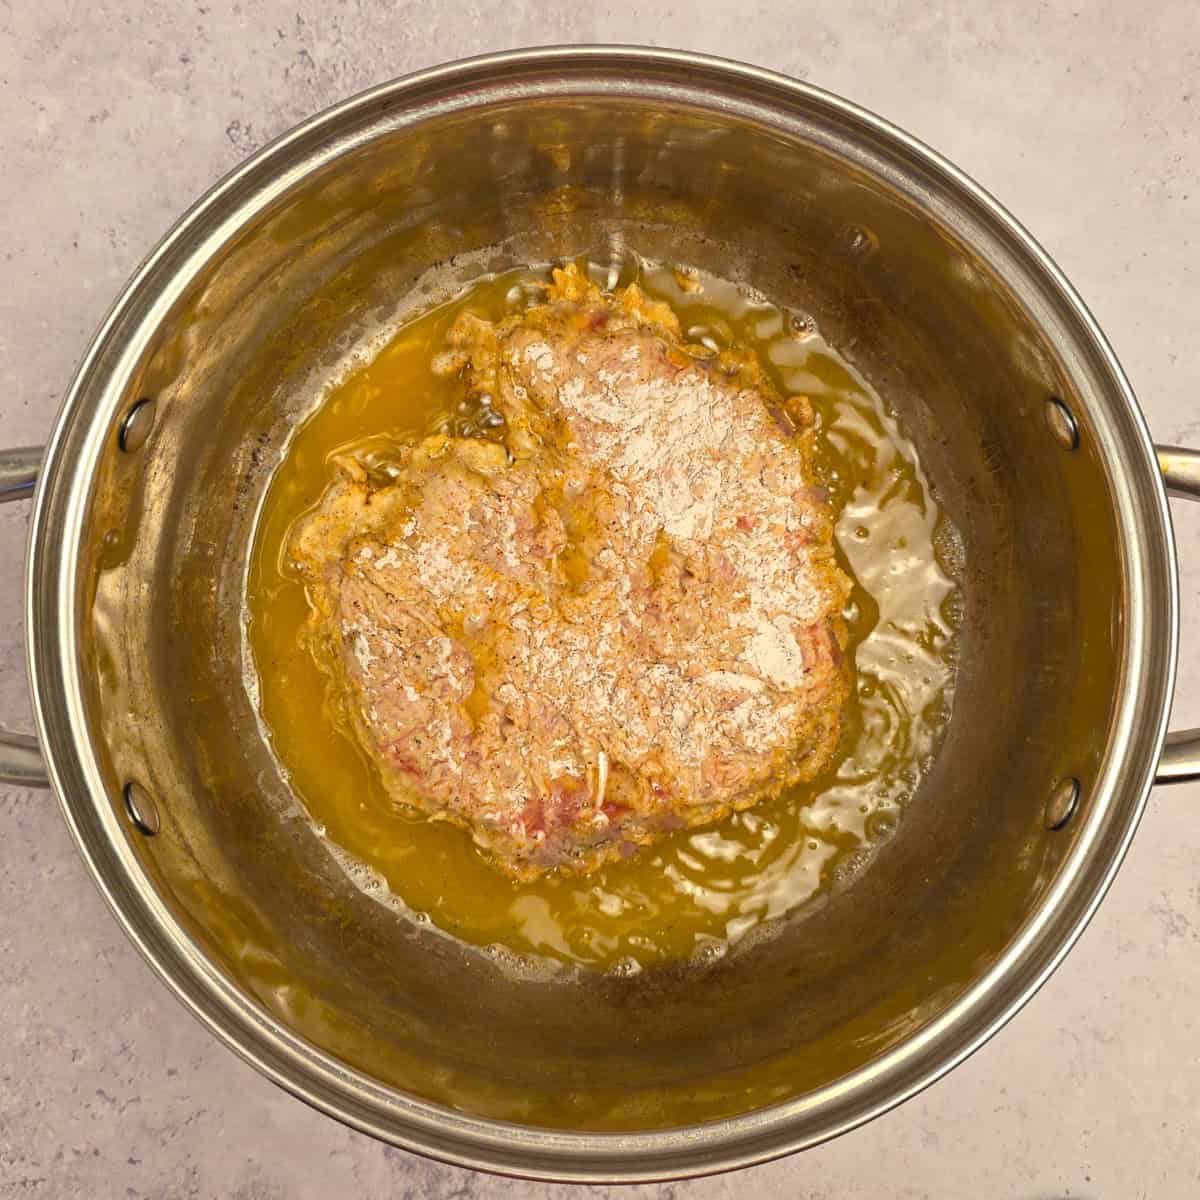
Hearty Beef and Gnocchi Soup
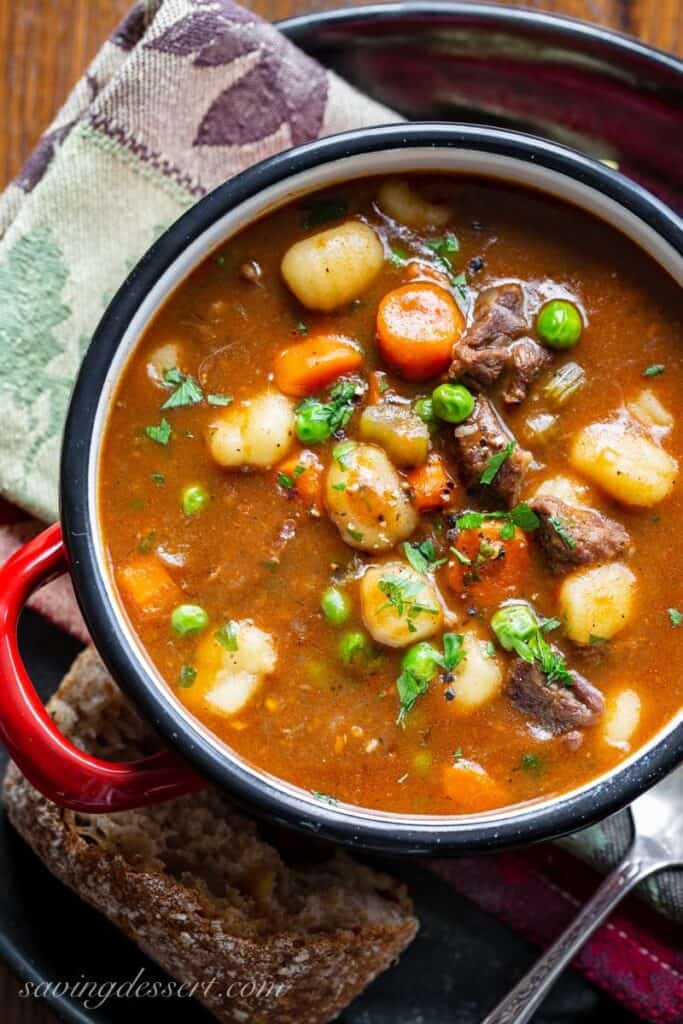
A warming and delicious chunky soup worthy of an entire meal. Serve with crusty bread to sop up all the delicious broth. Grab the recipe here!
Coconut Curry Sweet Potato Soup

Sweet potatoes, chicken and chickpeas in a rich and flavorful coconut curry broth. This Coconut Curry Sweet Potato Soup may become your new favorite soup. Garnish with cilantro for added flavor. Grab the recipe here!
Homemade Vegetable Soup
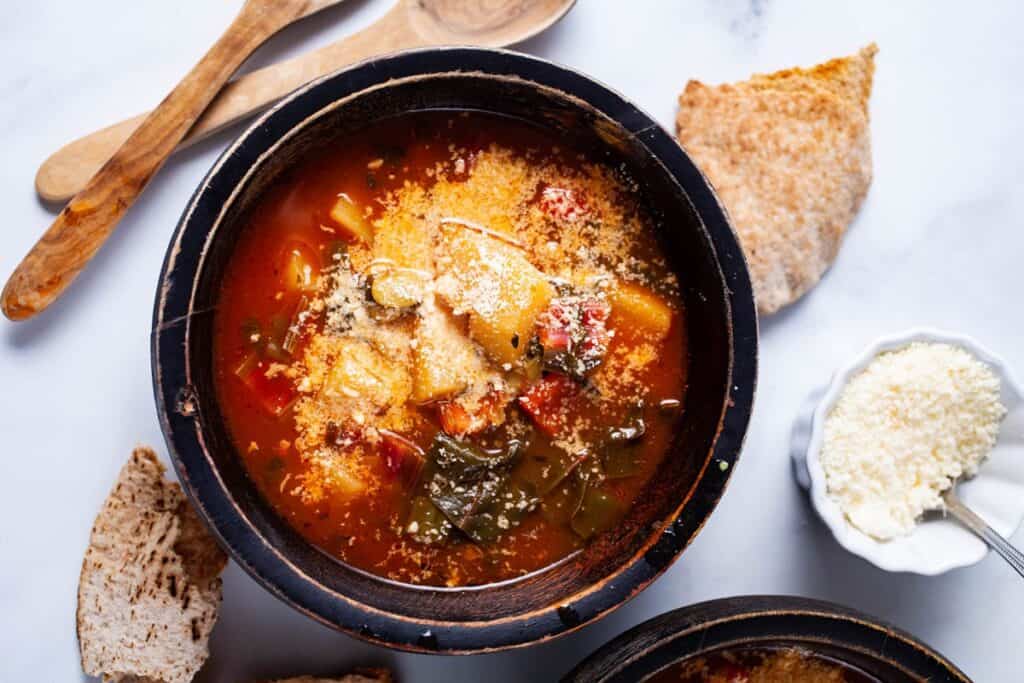
An easy homemade chunky vegetable soup recipe that's healthy, hearty, and full of Italian flavors. It is also incredibly filling, perfect for lunch or dinner paired with farmer's bread or a salad on the side. Grab the recipe here!
Creamy Southwest Chicken Soup

A flavorful blend of spices adds big flavor to this Creamy Southwest Chicken Soup. Make use of pantry staples to create this easy, super satisfying meal. Grab the recipe here!
Instant Pot Potato Soup

This Instant Pot Potato Soup recipe is easy and very flavorful. With very few ingredients and very little prep time, you can have this instant pot loaded potato soup on the table in under 30 minutes. Grab the recipe here!
Zuppa Toscana Soup
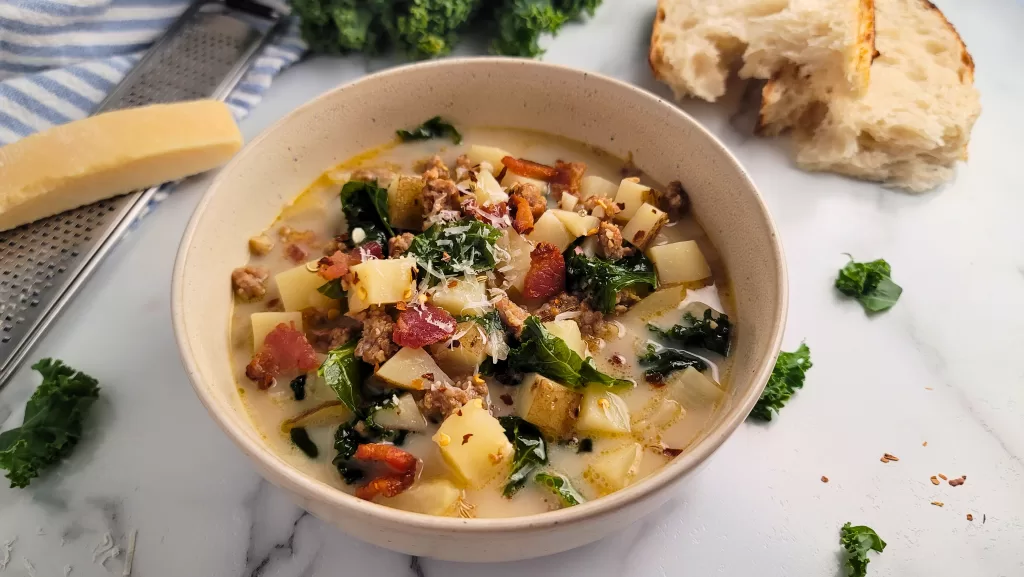
The best one-pot soup. Zuppa Toscana is packed full flavor from Italian sausage, bacon, kale and a rich creamy broth. Simple and easy to make from scratch. Grab the recipe here!
Instant Pot Butternut Squash Soup

Instant Pot Butternut Squash Soup is so quick and easy to make using your pressure cooker. This delicious recipe uses butternut squash, rosemary, sage, some aromatics, and heavy cream to yield a velvety and creamy soup full of Fall flavors. Grab the recipe here!
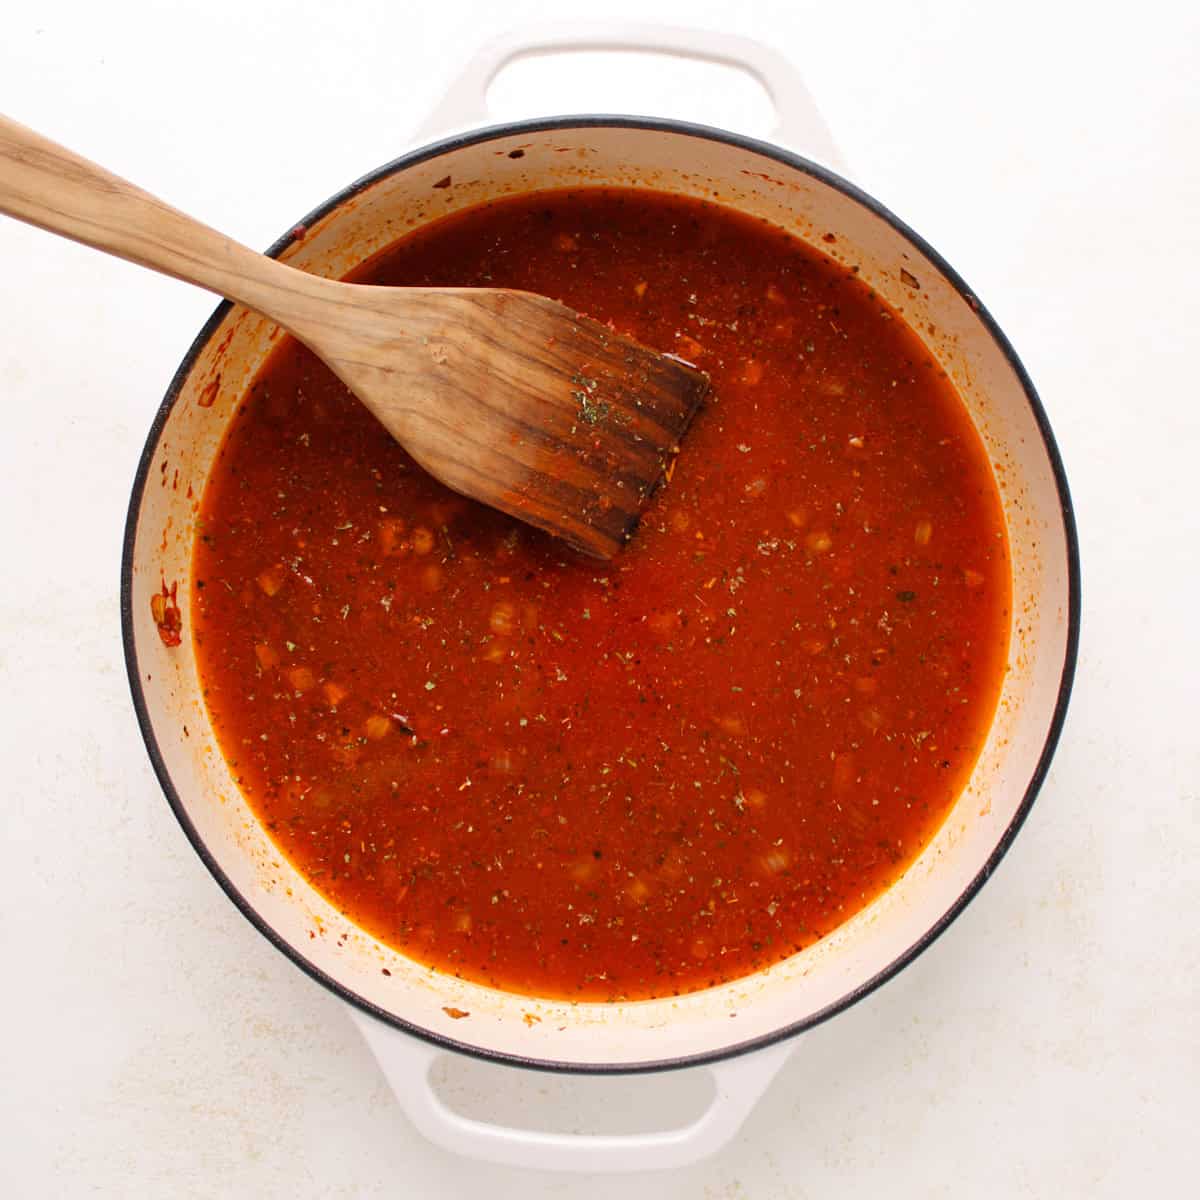
Moroccan Harira Tomato Soup with Chickpeas and Lentils

With its velvety, aromatically spiced tomato base and hearty lentils, every spoonful is like a hug in a bowl. Grab a spoon, cozy up on the couch, and get ready to soup it up! Grab the recipe here!
Creamy Chicken Noodle Soup
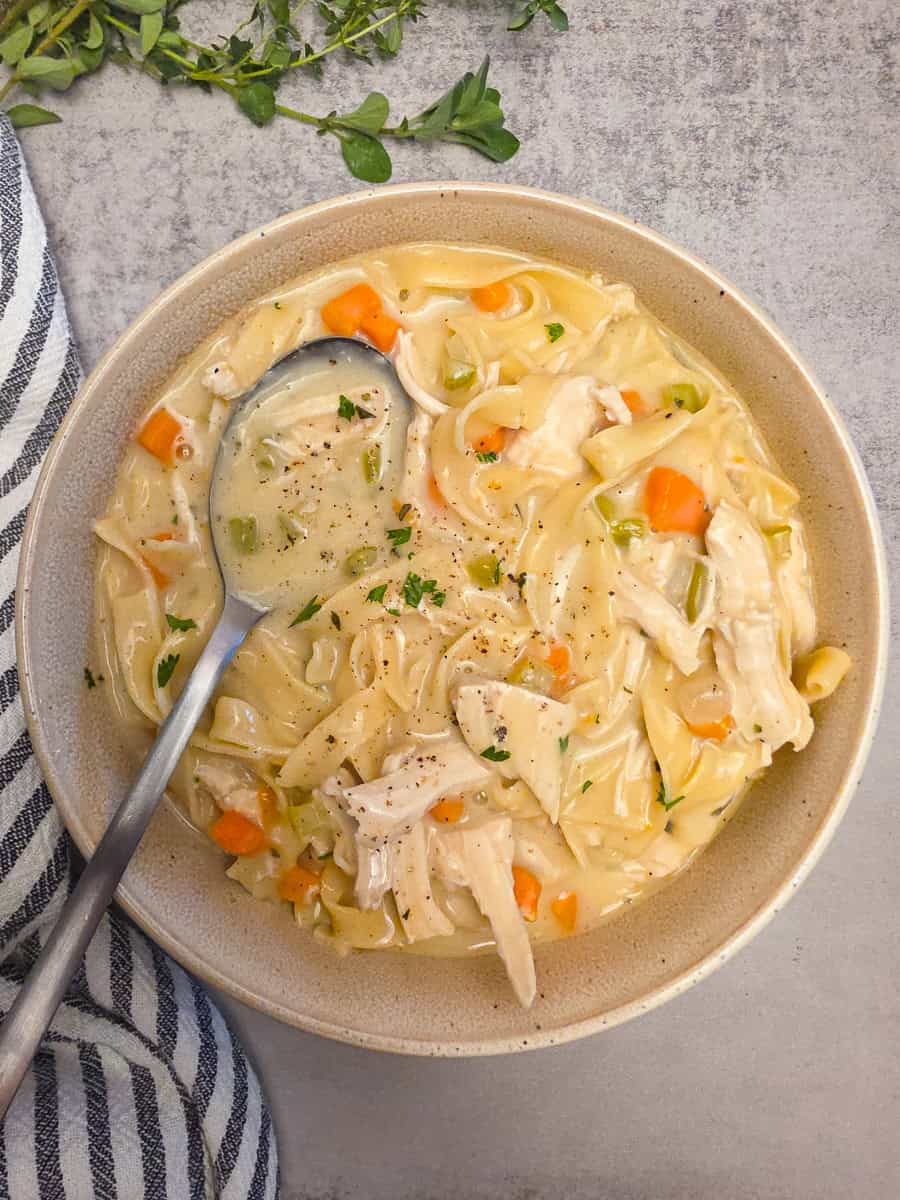
Creamy, cozy, and loaded with tender chicken, egg noodles, veggies, and a rich homemade broth. This Creamy Chicken Noodle Soup recipe is everything you want on a chilly day. Grab the recipe here!
More Delicious Recipes
FOLLOW ME on Facebook, Pinterest, and YouTube to stay connected!