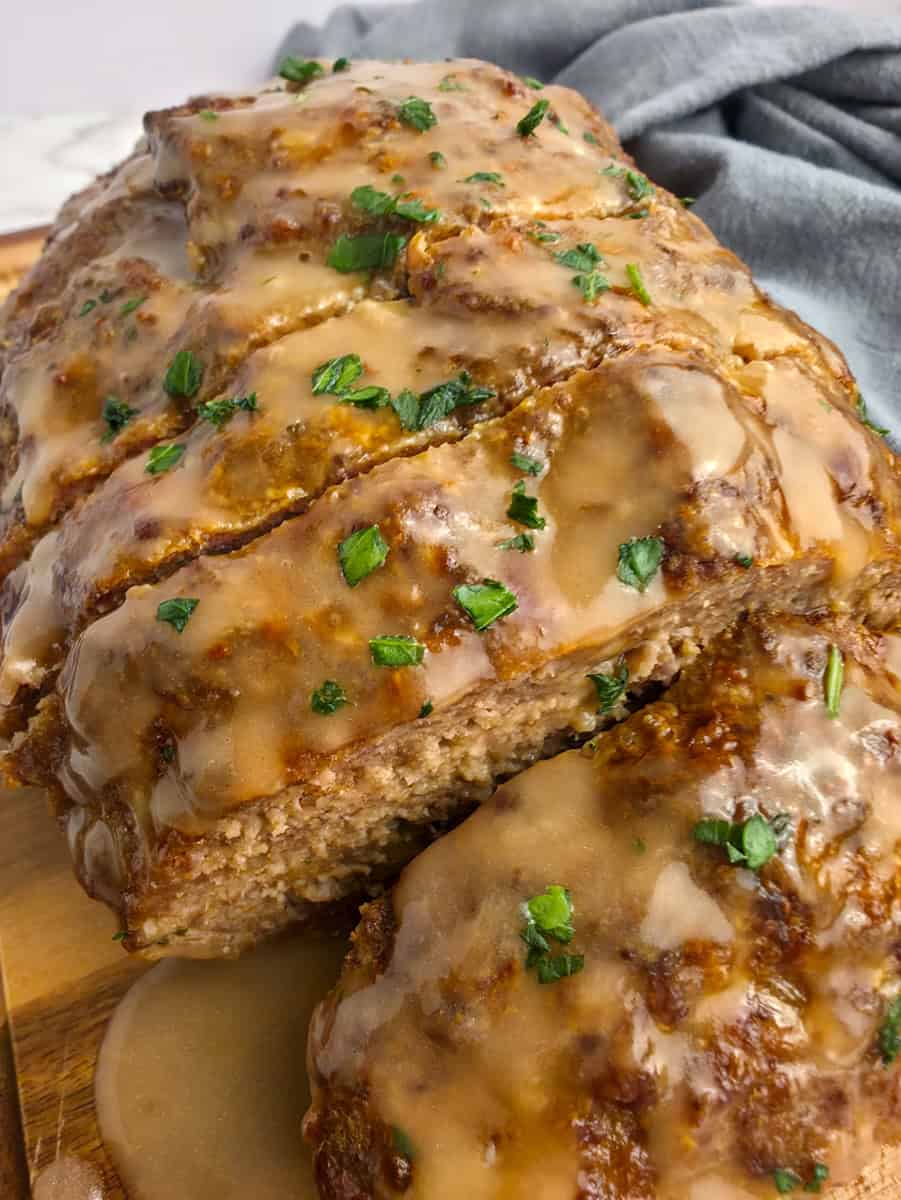
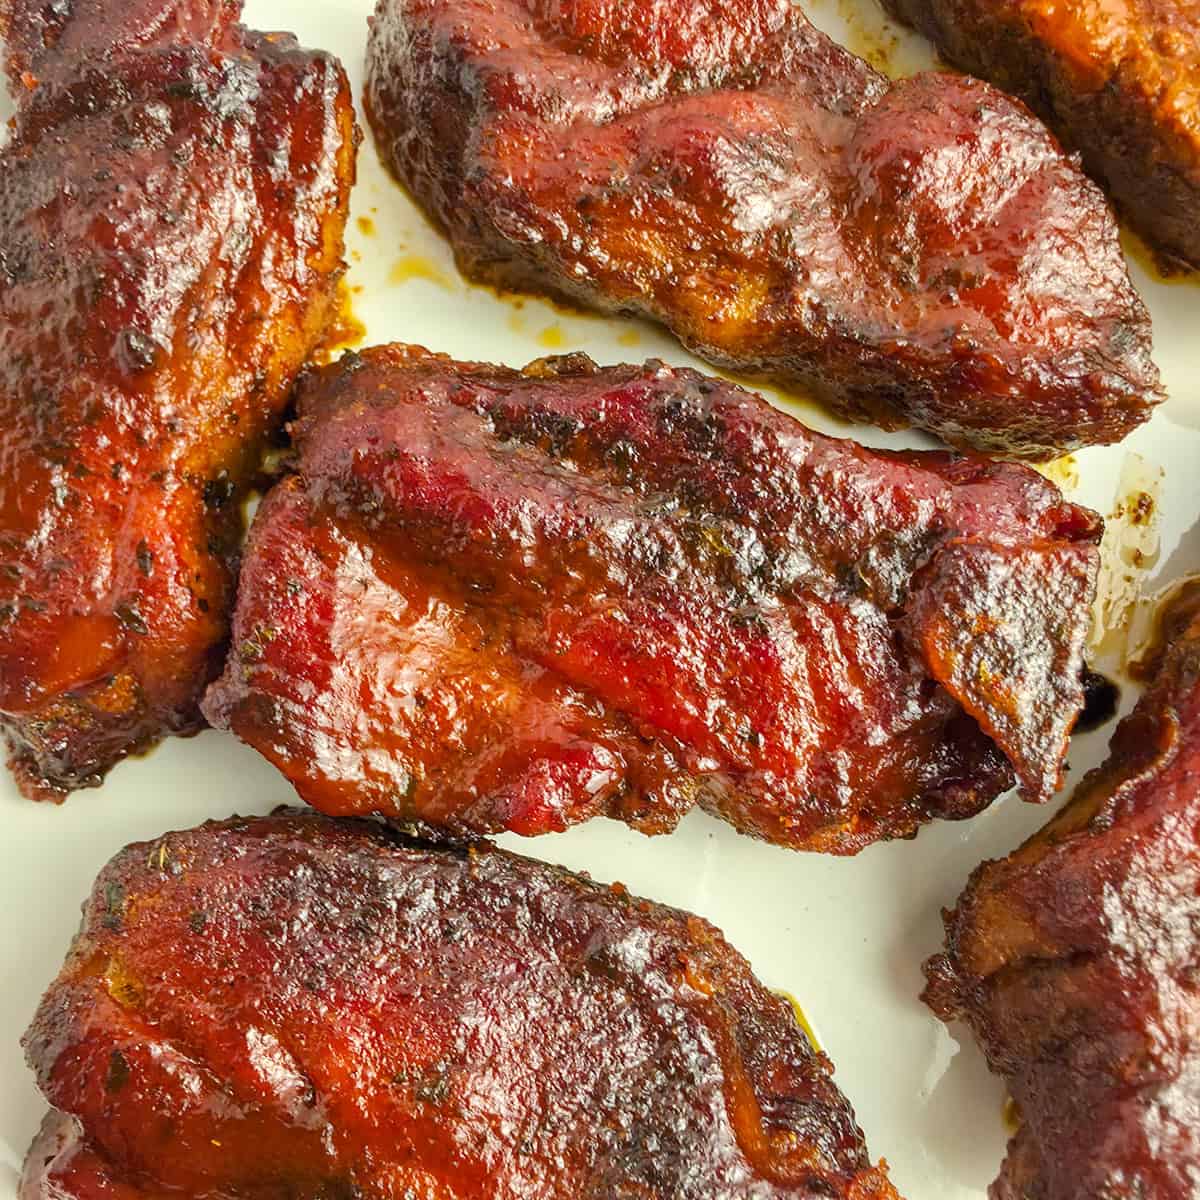
Tender bone in pork chops seared until golden brown, then smothered in a rich, creamy garlic sauce, this Creamy Garlic Pork Chops recipe is perfect for a quick and comforting weeknight dinner. Simple ingredients, bold flavor, and plenty of sauce make this one a dinner everyone looks forward to.

My family never complains when dinner involves a creamy garlic sauce. Whether it's my creamy garlic parmesan chicken pasta or creamy garlic pizza sauce, it's always a hit around here. These bone in pork chops are no exception. They cook up juicy and flavorful, and that creamy garlic sauce is perfect for spooning over mashed potatoes, rice, or even roasted vegetables.
If you love pork chop dinners, you might want to give some of our other favorites a try. Like my oven baked pork chops or smothered pork chops.
Key Ingredients & Substitutions
- Bone In Pork Chops - About ¾- to 1-inch-thick works best for juicy results. Boneless pork chops can be substituted; just keep in mind they may cook faster.
- Chicken Stock - Adds depth of flavor to the sauce. Chicken broth is a good substitute.
- Heavy Cream - Creates that rich, creamy texture.
- Garlic - Fresh minced garlic gives the best flavor.
- Parmesan Cheese - For additional flavor. Can be omitted if needed, the sauce will still taste great.
See the recipe card below for the full list of ingredients and measurements.
How To Make Creamy Garlic Pork Chops
These Creamy Garlic Pork Chops come together quickly in one skillet. Here is how I pull it all together:
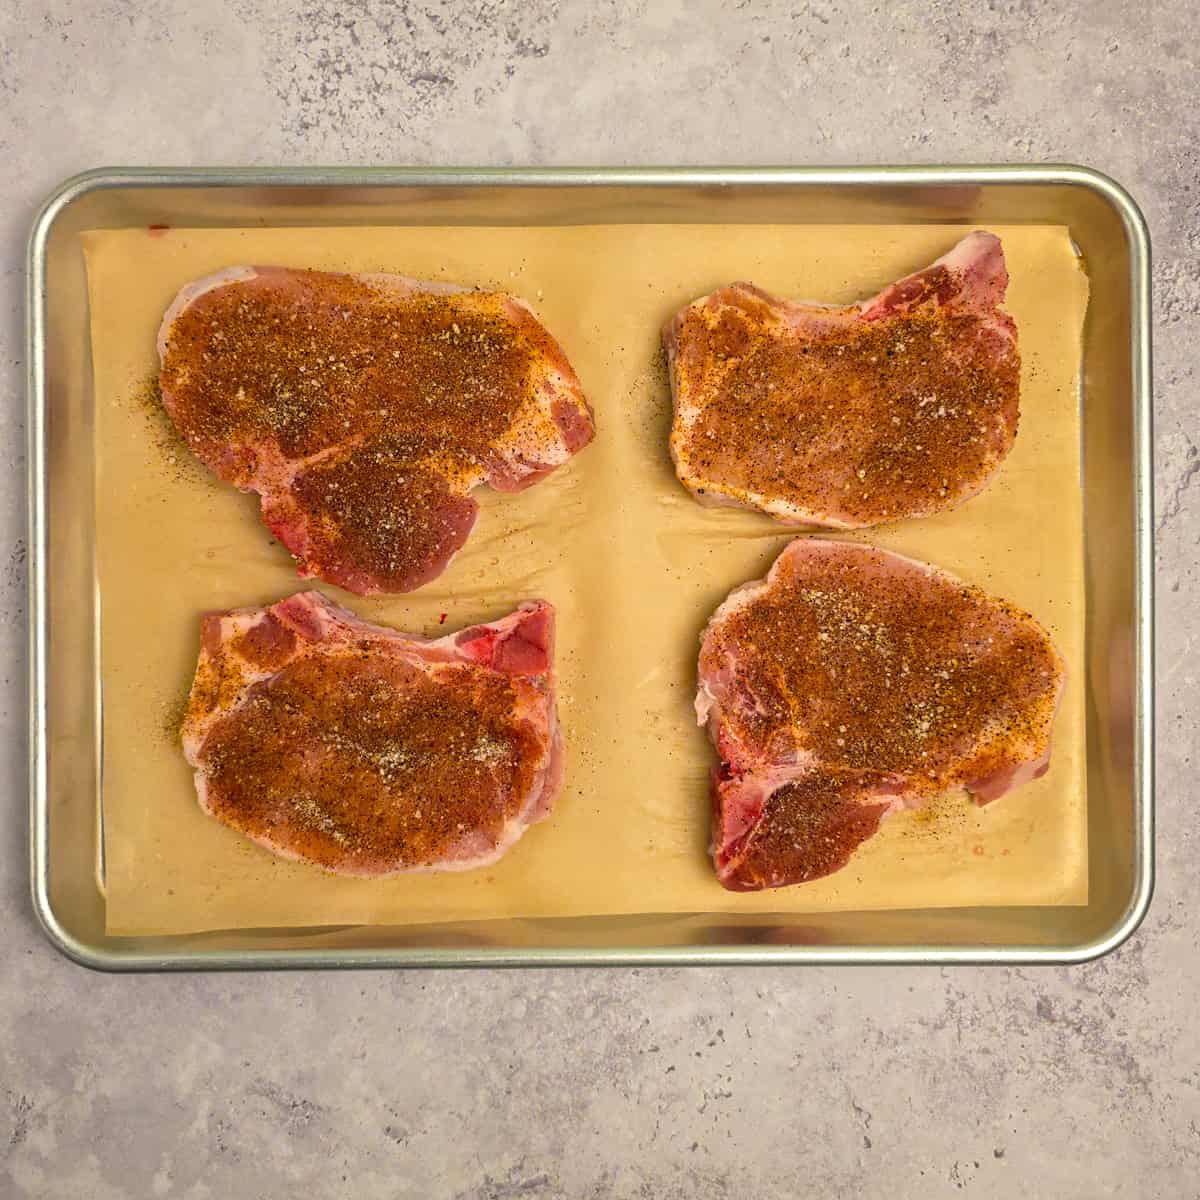
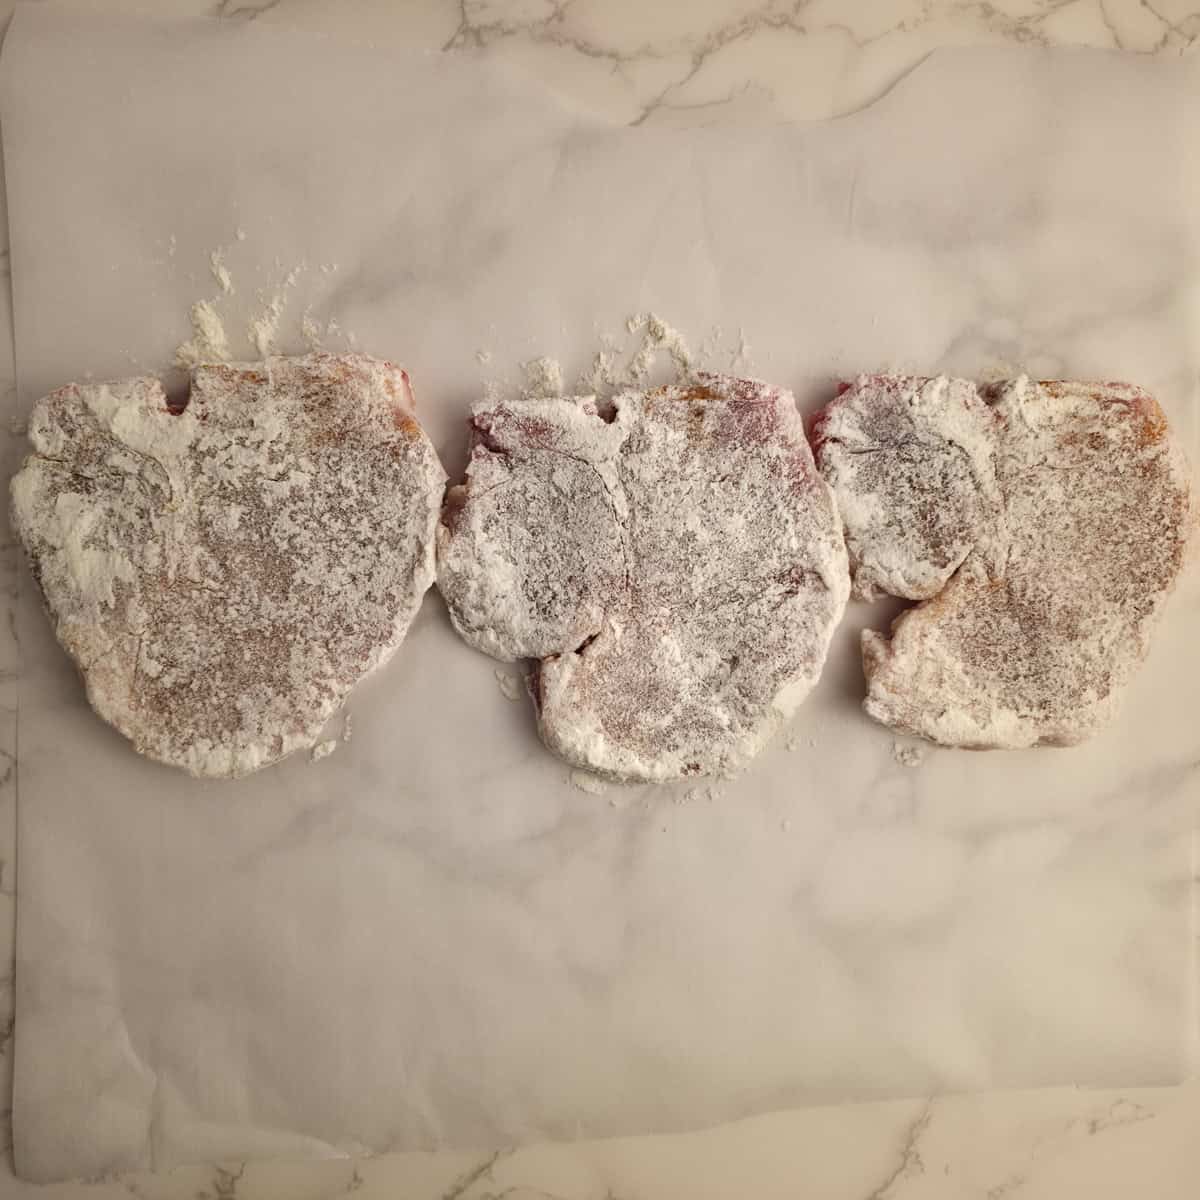
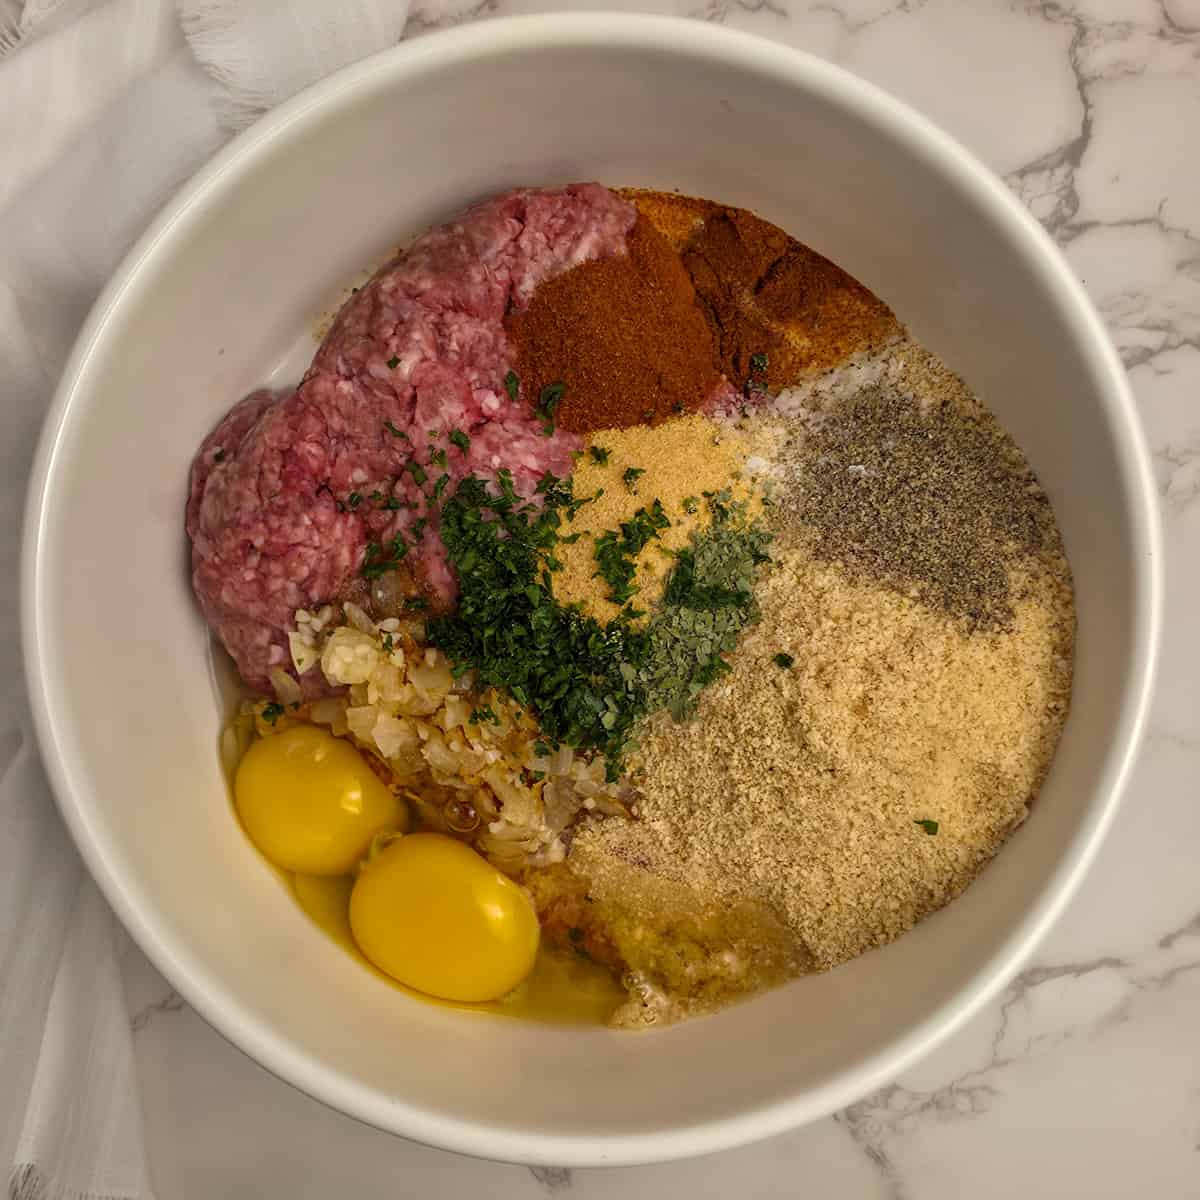
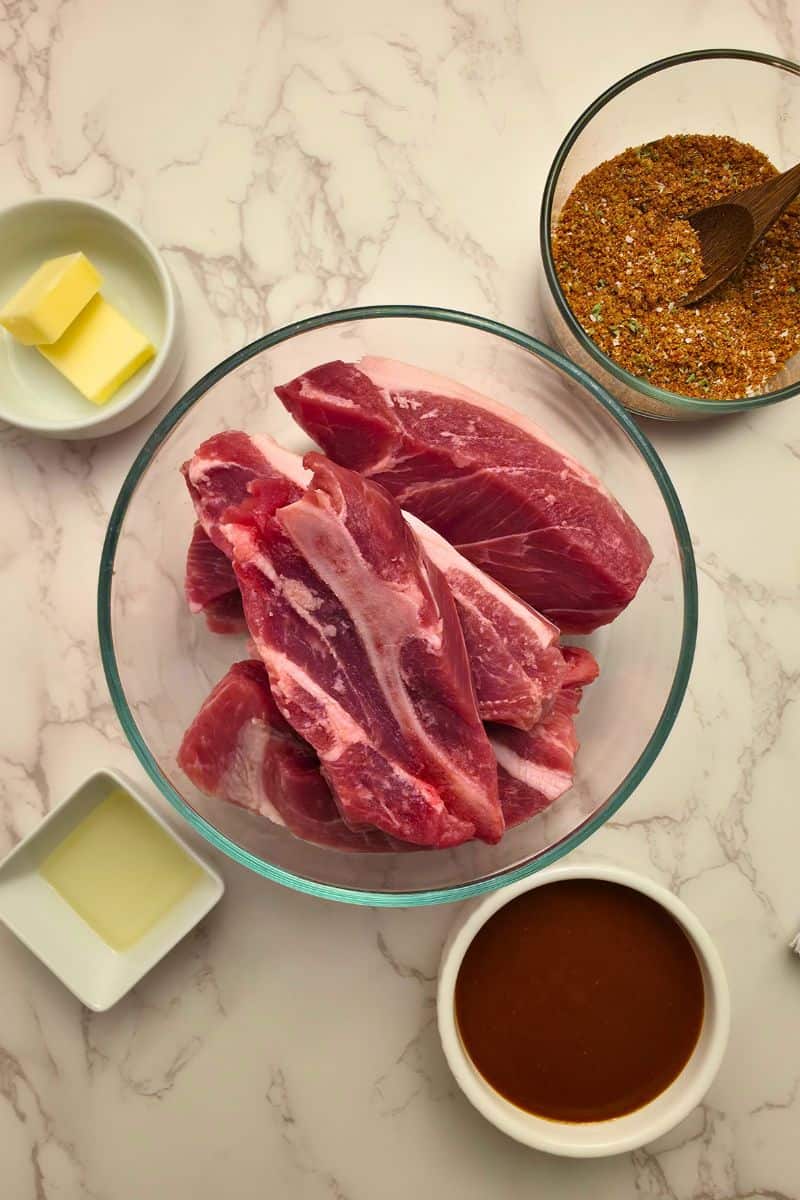
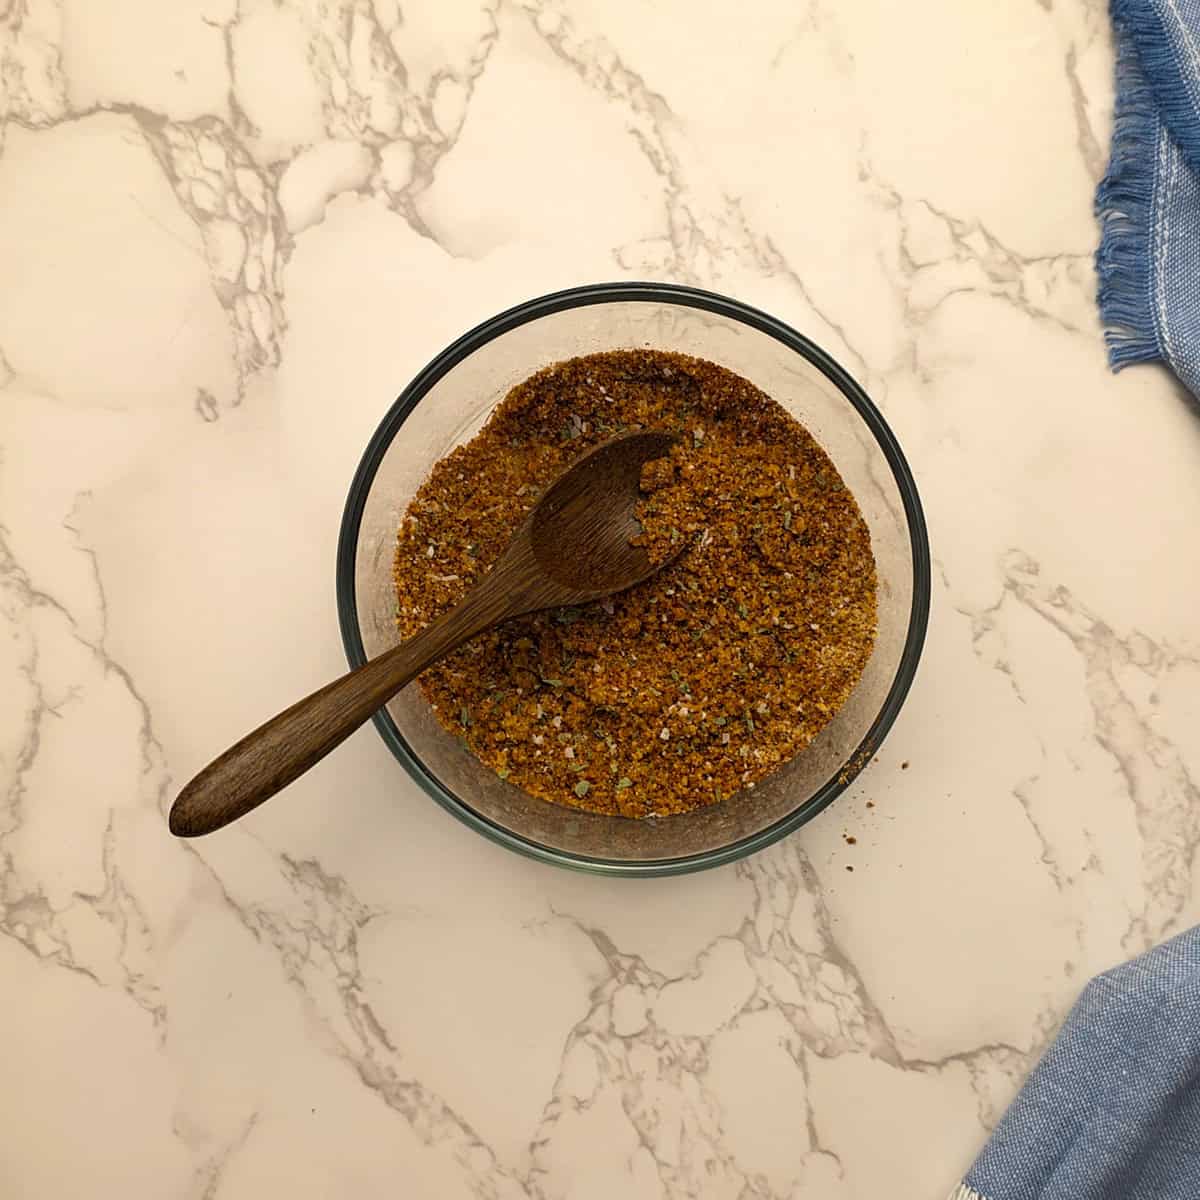
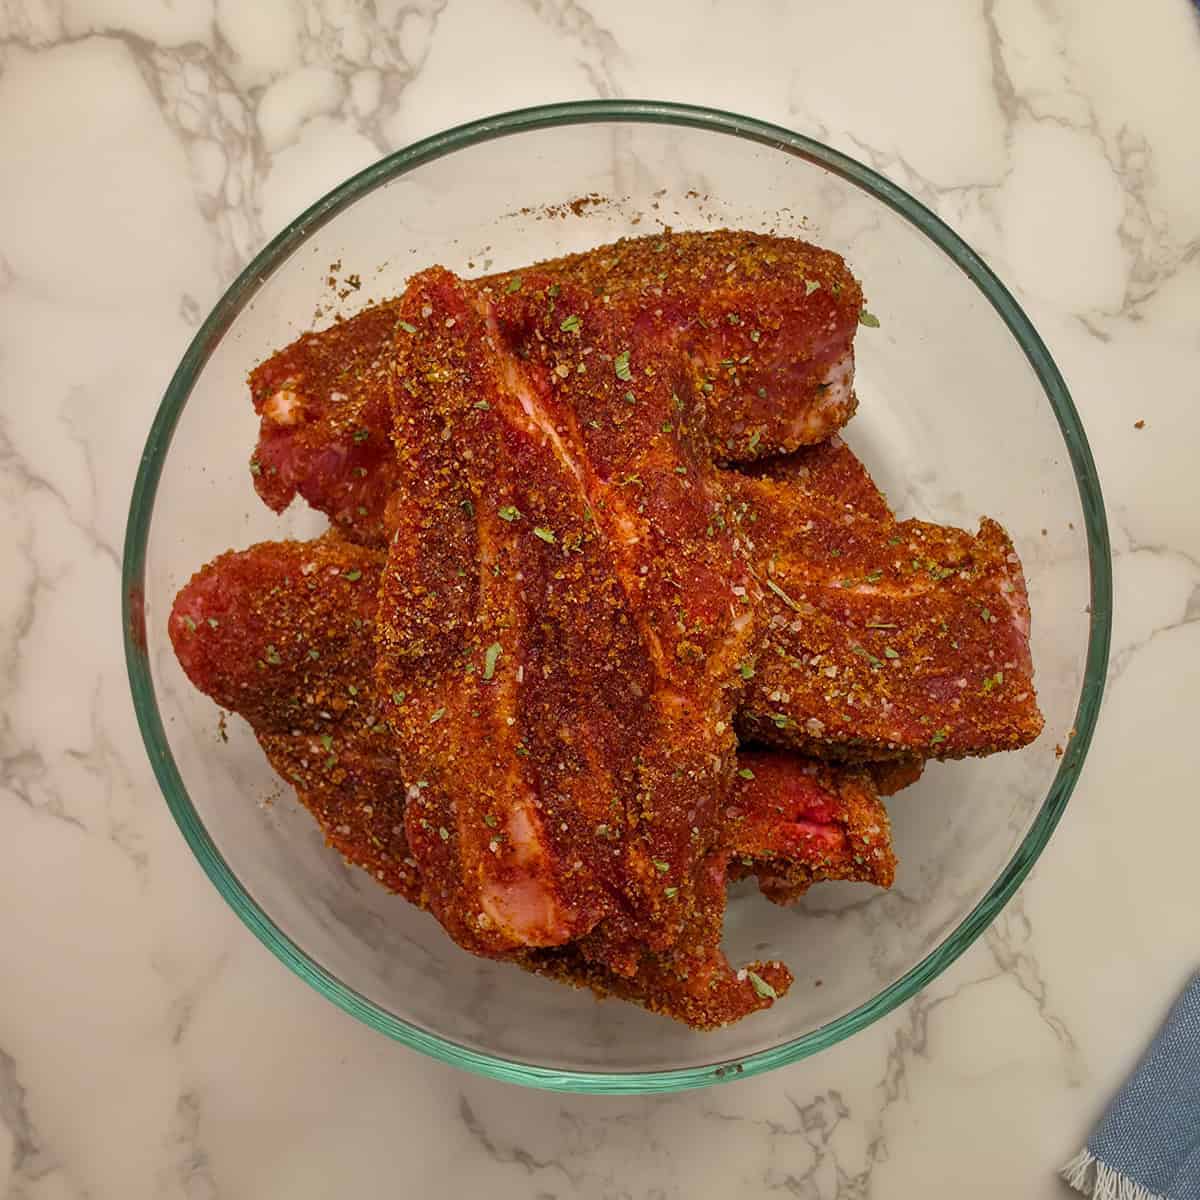
- Pat the pork chops dry then season generously on both sides with the spice mixture.
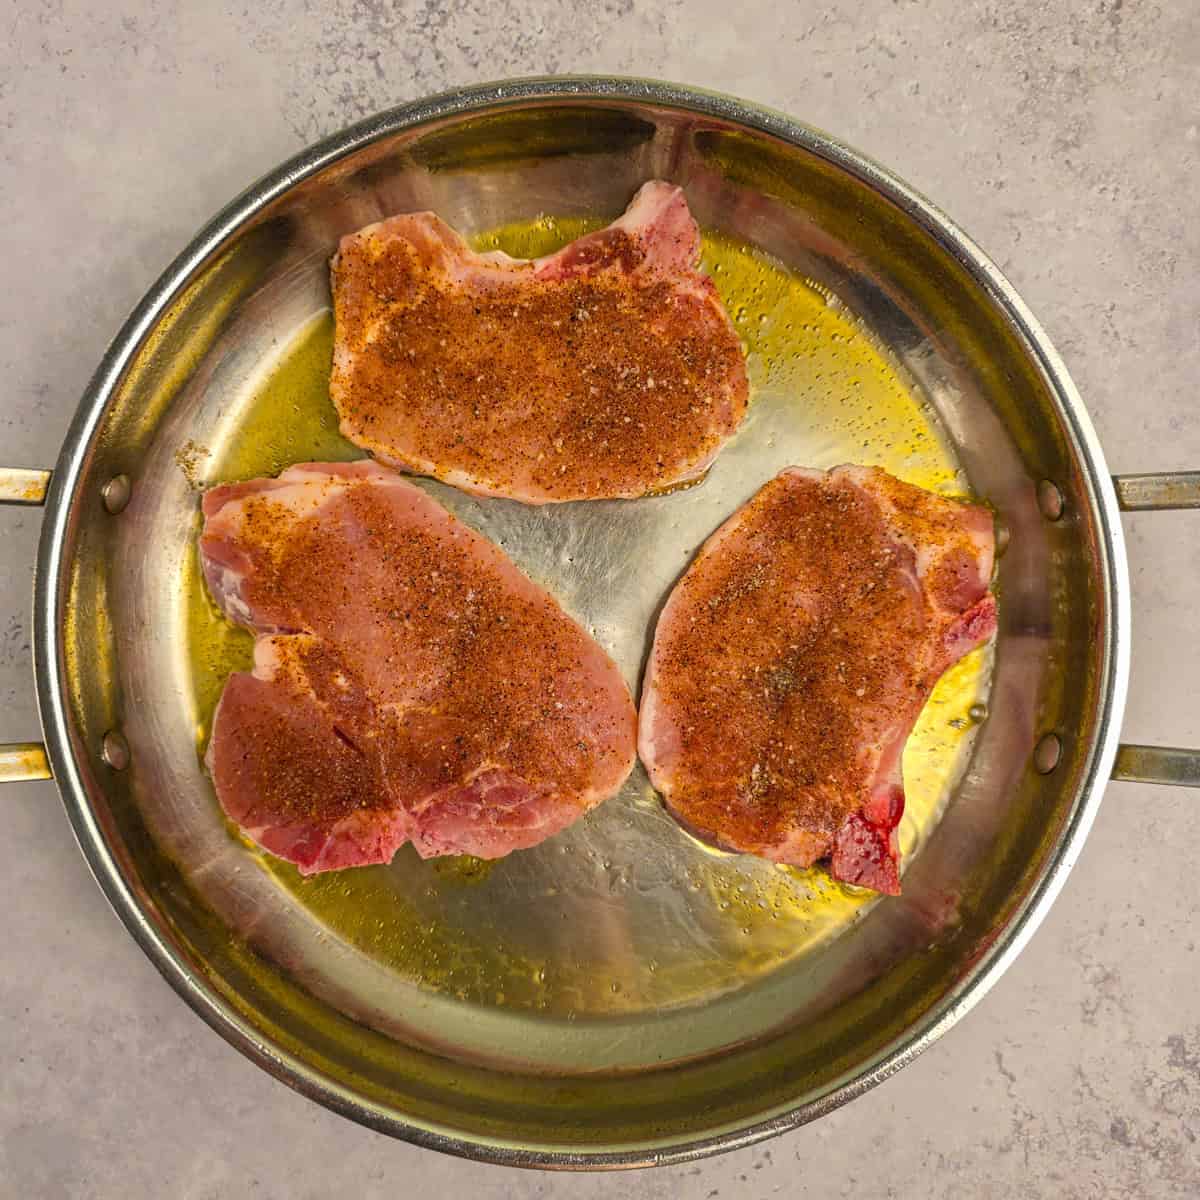
- Sear the pork chops in a hot skillet until golden brown, then remove and set aside.
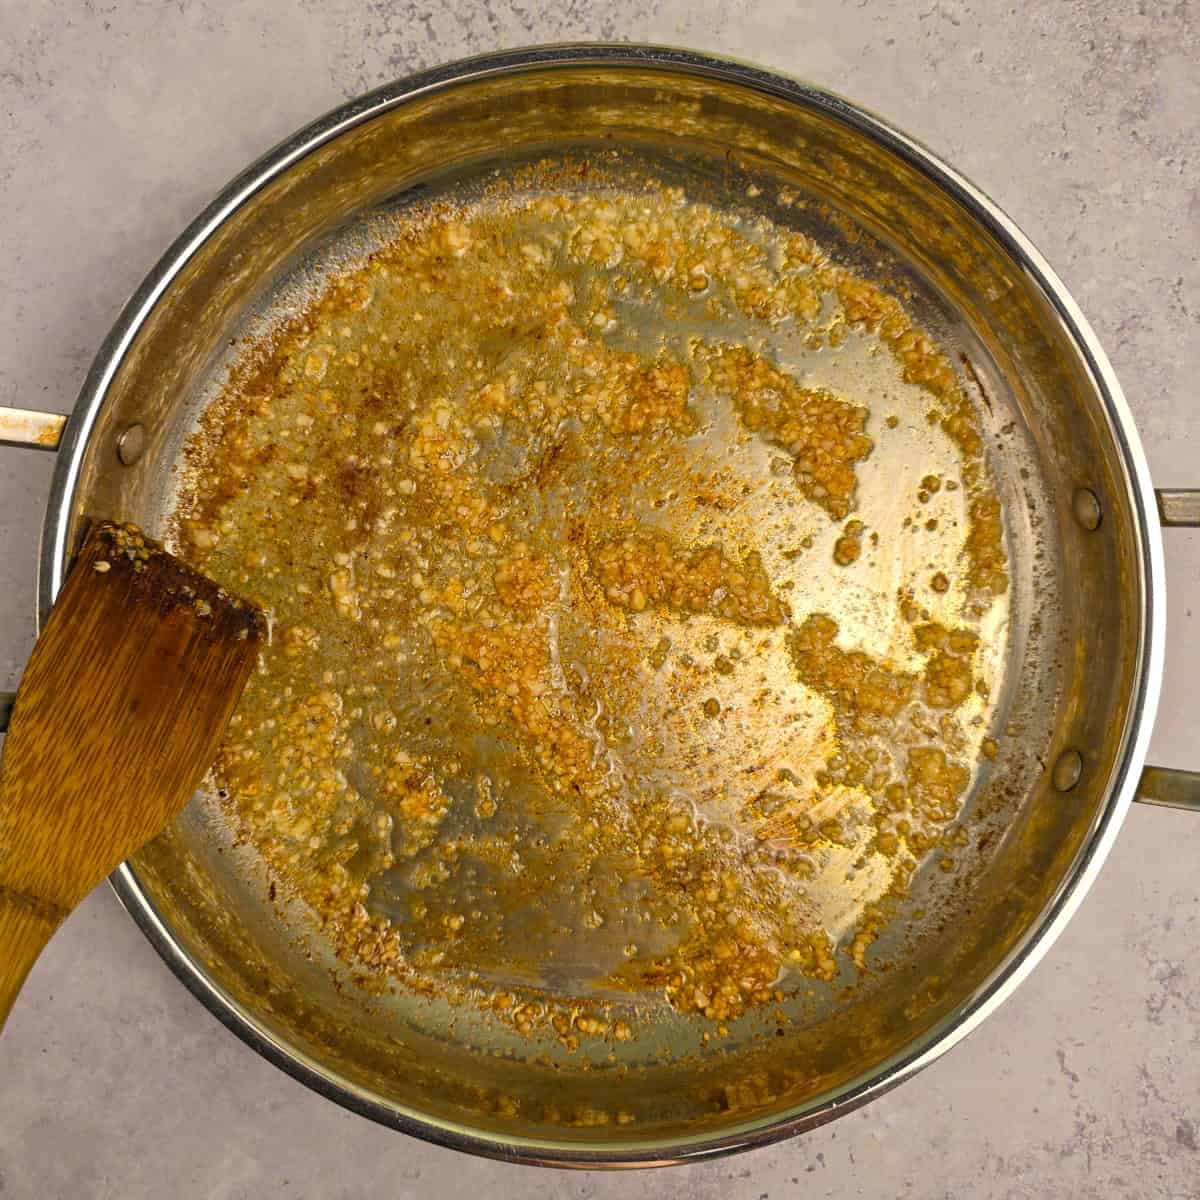
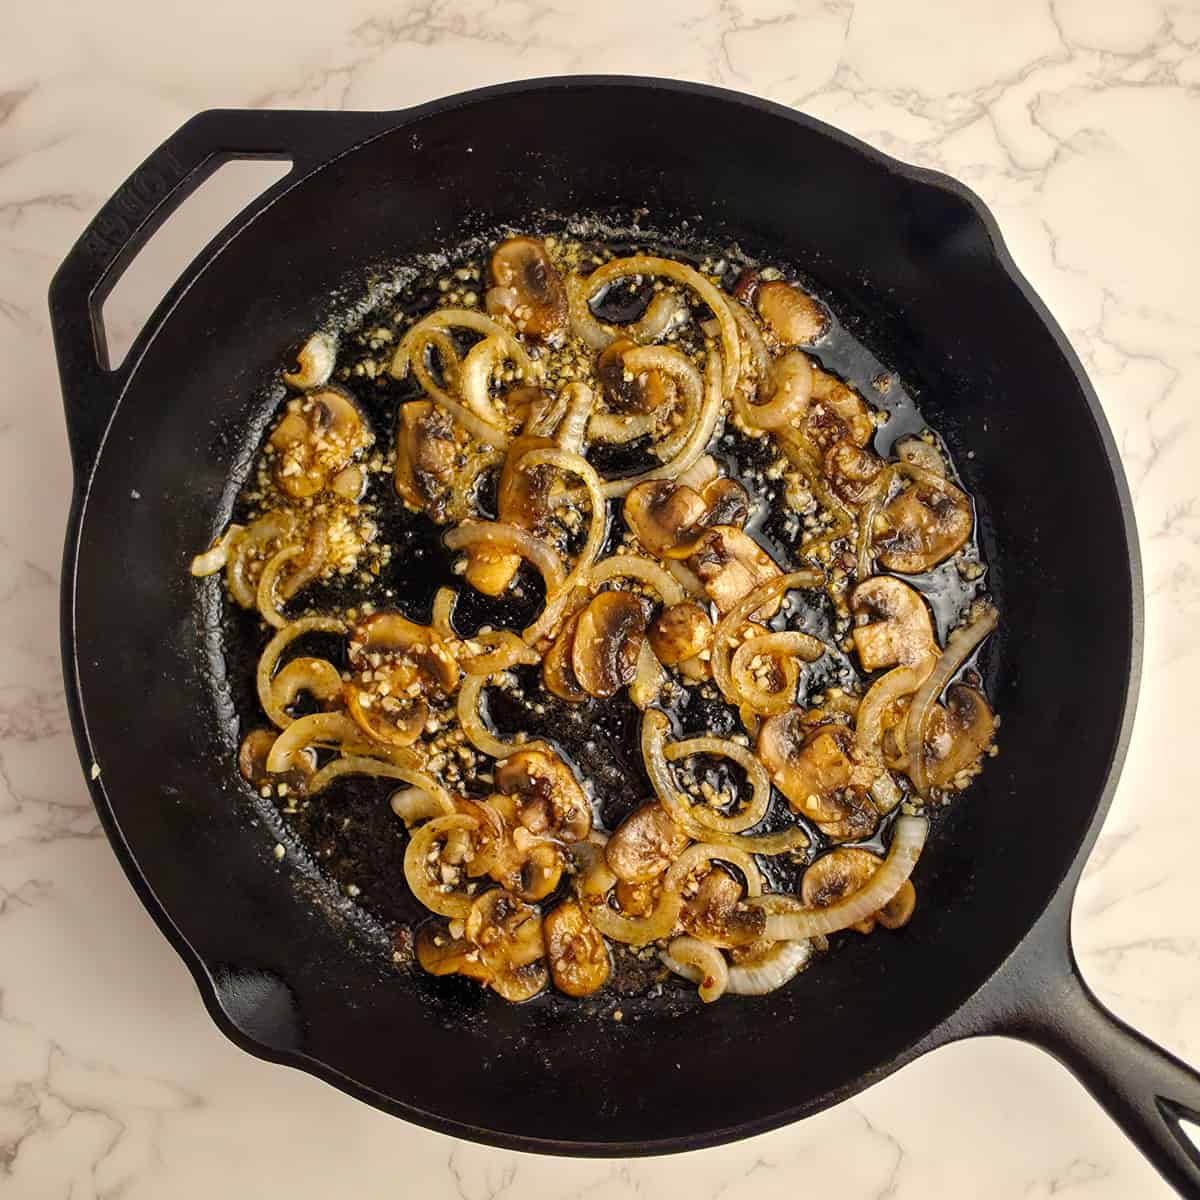
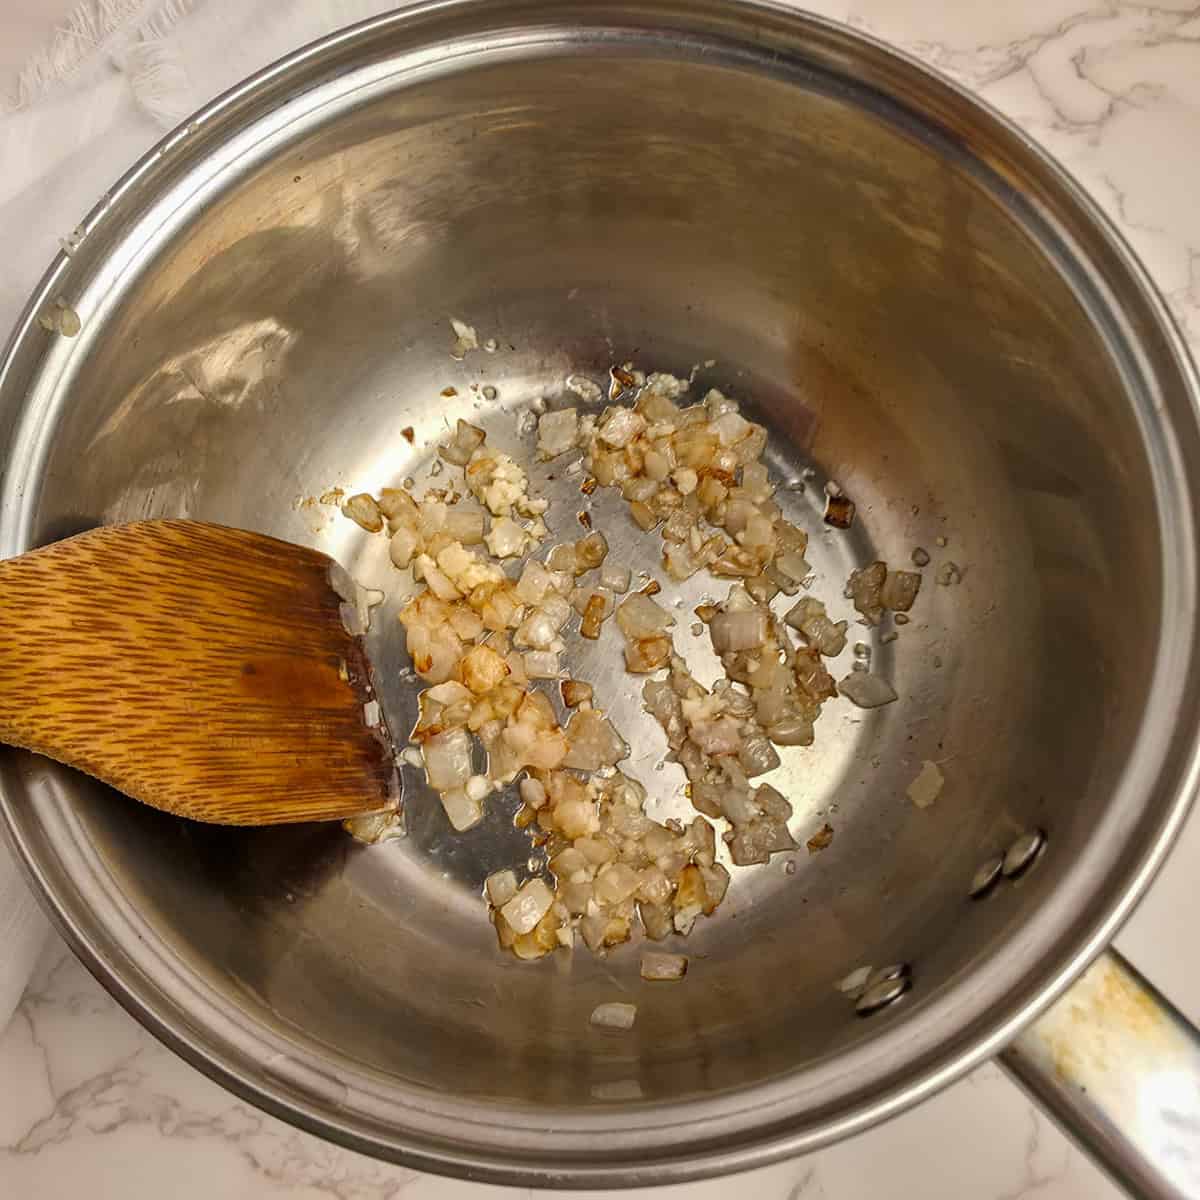
- Sauté the minced garlic in the butter until fragrant.
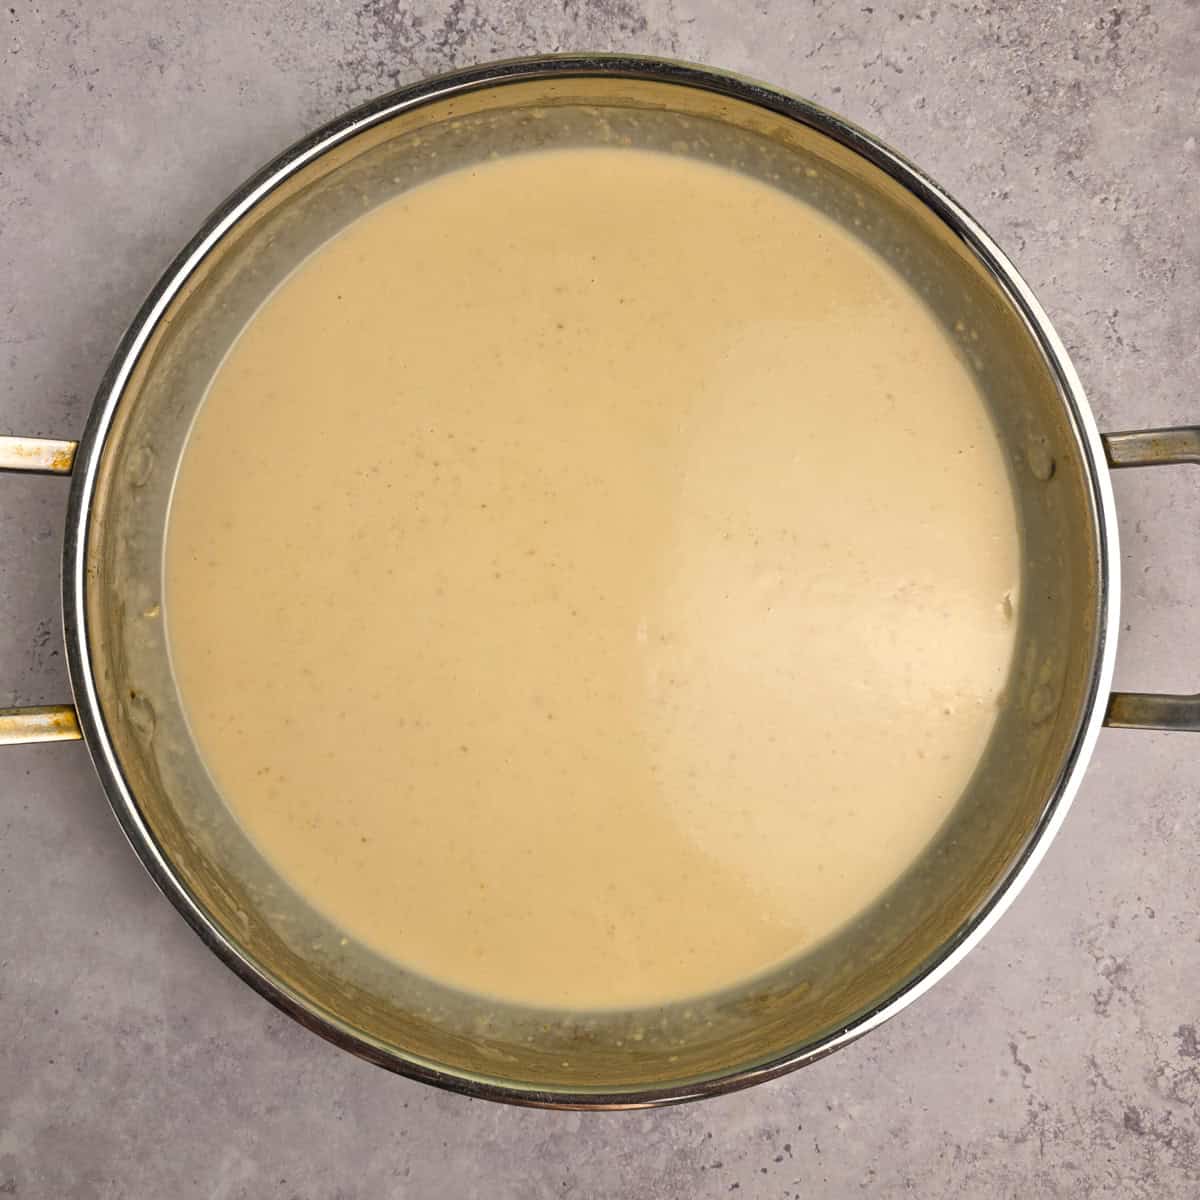
- Whisk in the chicken stock, heavy cream and parmesan cheese, until smooth. Let the sauce simmer gently until slightly thickened.
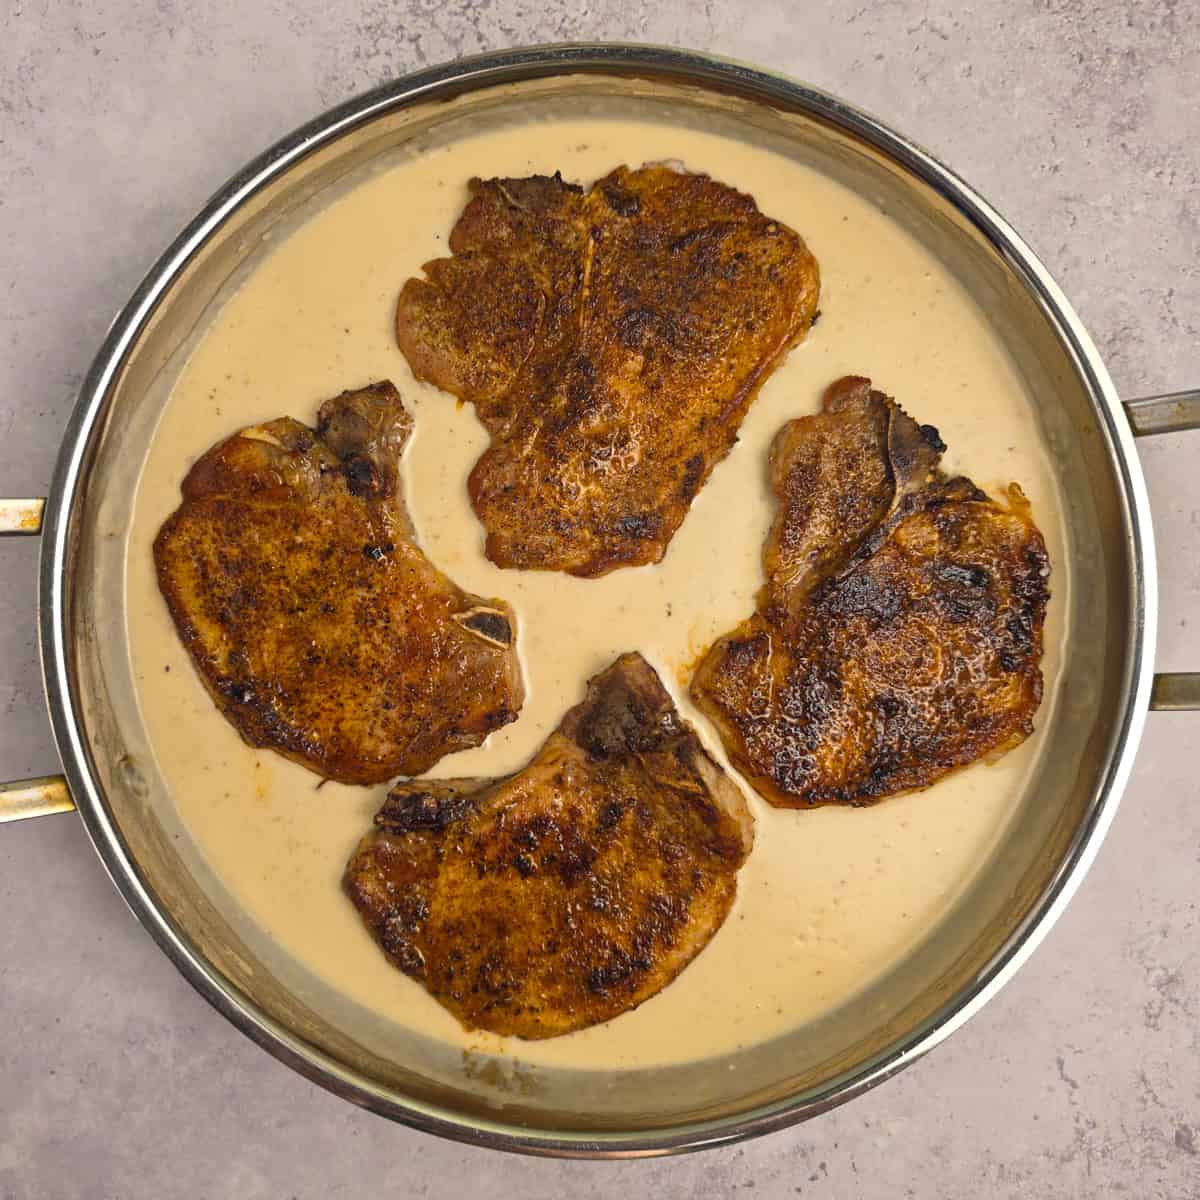
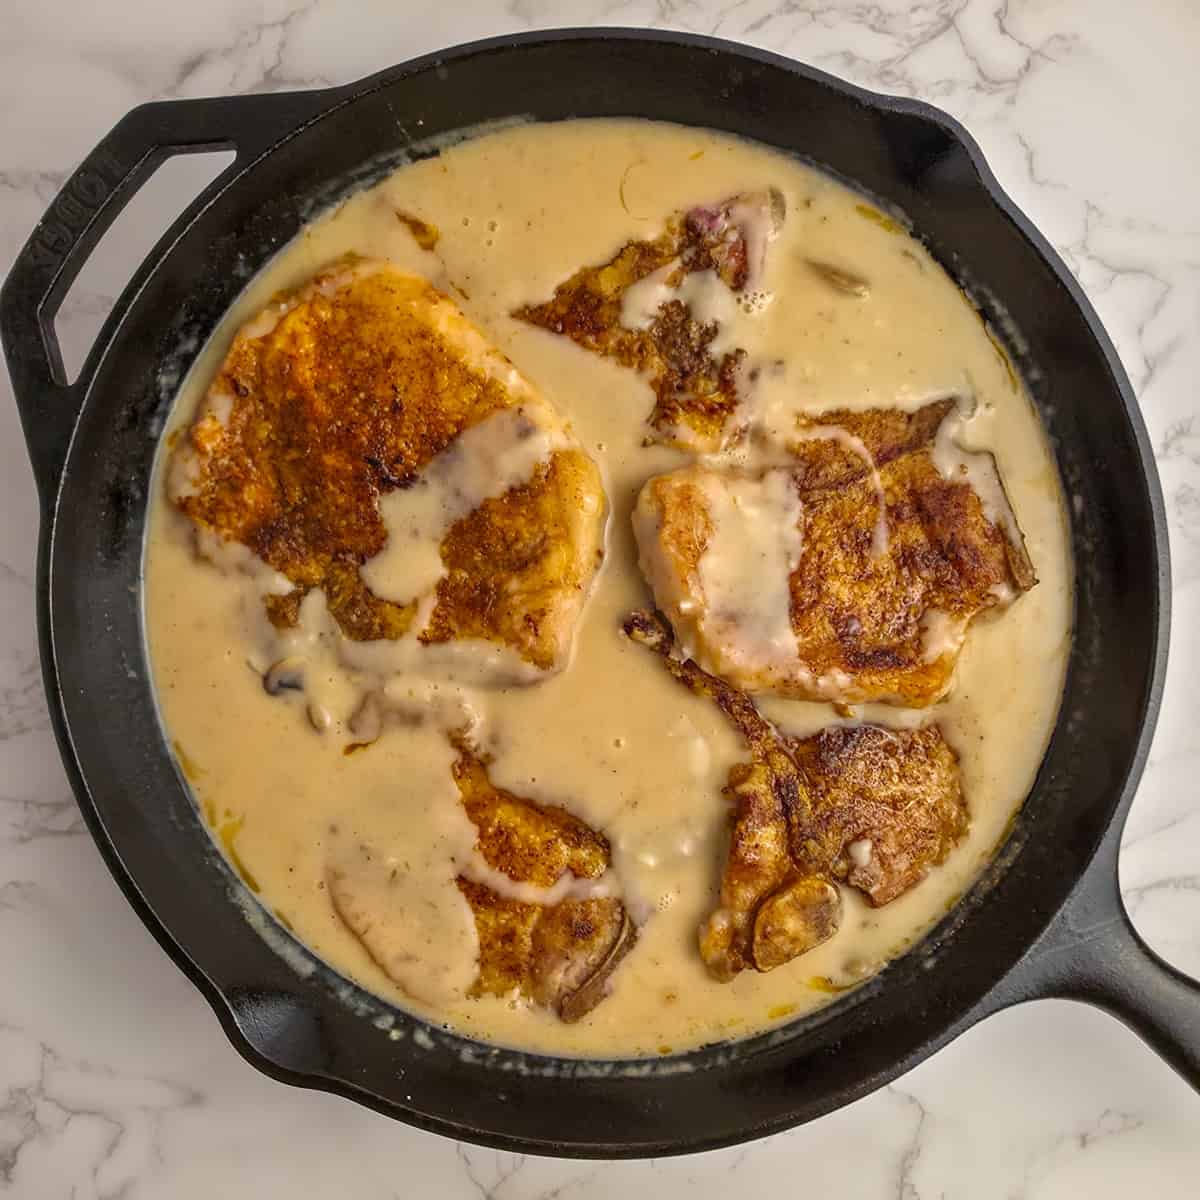
- Add the pork chops back to the pan, with any juices on the plate, and simmer gently in the sauce.

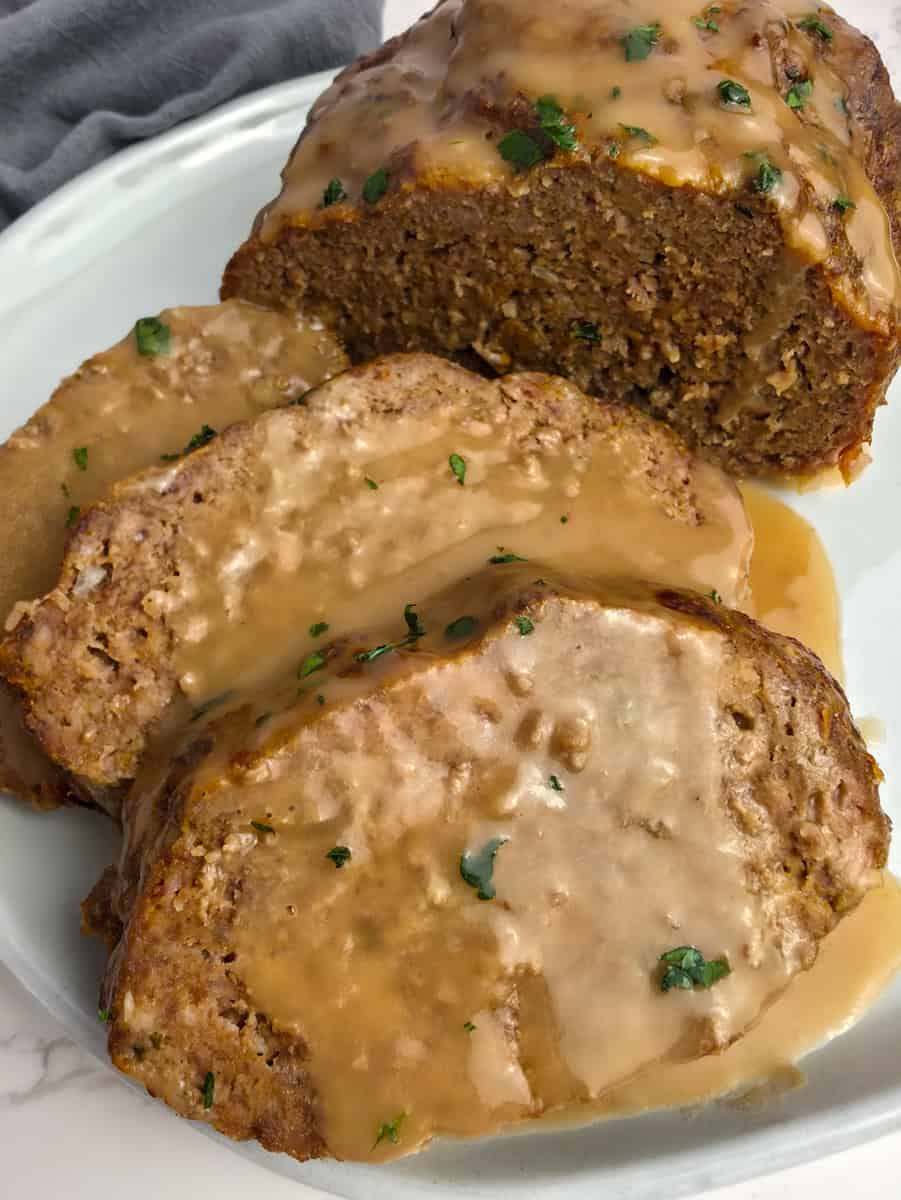
- Garnish with parsley and serve Enjoy!
See the recipe card below for the full recipe.
👉 Sky's Tips
- This recipe works best with bone in pork chops that are ¾ to 1 inch thick.
- Use a meat thermometer to avoid overcooking. Pork chops are done at 145°F.
- For a thinner sauce, add a splash of extra chicken stock.
- Boneless pork chops can be used.
- Sautéed mushrooms are a great addition to this recipe. Fresh spinach can also be added at the end.

Storage
Store leftovers in an airtight container in the refrigerator for up to 4 days. Reheat gently on the stovetop, adding a splash of chicken stock if needed to thin out the sauce.
Frequently Asked Questions
Yes. Boneless pork chops work well but cook faster, so keep an eye on them to prevent drying out.
The secret to a good creamy sauce is using heavy cream. The higher fat content helps the sauce thicken beautifully without breaking, especially when you let it simmer gently.
These Creamy Garlic Pork Chops are the kind of recipe you'll want to keep in your regular dinner rotation. Cozy, flavorful, and made with simple ingredients, they're proof that a homemade meal doesn't have to be complicated.
-Sky🩷
More Delicious Recipes
FOLLOW ME on Facebook, Pinterest, and YouTube to stay connected!
If you tried this Creamy Garlic Pork Chops recipe or any other recipe on my blog, please leave a 🌟star rating and let me know how it went in the comment section below!
📖 Recipe

Creamy Garlic Pork Chops
Ingredients
Pork Chops
- 4 bone in pork chops about ¾-1 inch thick
- 1 ¼ teaspoons salt
- ½ teaspoon pepper
- ½ teaspoon paprika
- 2 tablespoons olive oil or any neutral tasting oil
Creamy Garlic Sauce
- 2 tablespoons butter
- 5 cloves garlic minced
- 2 tablespoons all-purpose flour
- ¾ cup chicken stock
- 1 cup heavy cream
- ¼ cup grated parmesan cheese
- ¼ teaspoon salt
- pepper to taste
- 1 tablespoon fresh parsley minced
Instructions
- For the pork chops: In a small bowl, mix together the salt, pepper, and paprika. Pat the pork chops dry with a paper towel and season on both sides with the spice mix.
- Heat a large skillet over medium-high heat. Add in the oil, then sear the pork chops for 4 to 5 minutes per side until golden brown and the internal temperature reaches 145°F. Remove from the skillet and set aside.
- For the sauce: Reduce the heat to medium-low. Add the butter and minced garlic to the skillet and sauté for about 1 minute or until fragrant.
- Stir in the flour and cook for 1 minute to make a roux.
- Slowly whisk in the chicken stock and heavy cream until smooth. Stir in the parmesan cheese, salt and pepper to taste. I used about ¼ teaspoon of salt, but the amount may vary depending on the salt content in the stock you use. Let simmer gently until slightly thickened.
- Once the sauce is fully combined and creamy, put on low heat and place the pork chops back in the skillet. Cook for 5 to 6 minutes to warm the pork chops through. Fully Coat with the sauce. Garnish with parsley. Enjoy!
Notes
- Bone in pork chops stay juicier, but boneless can be substituted with reduced cooking time.
- Add sliced mushrooms and/or spinach for additional flavor.
- Pork chops are fully cooked when they reach an internal temperature of 145°F.


