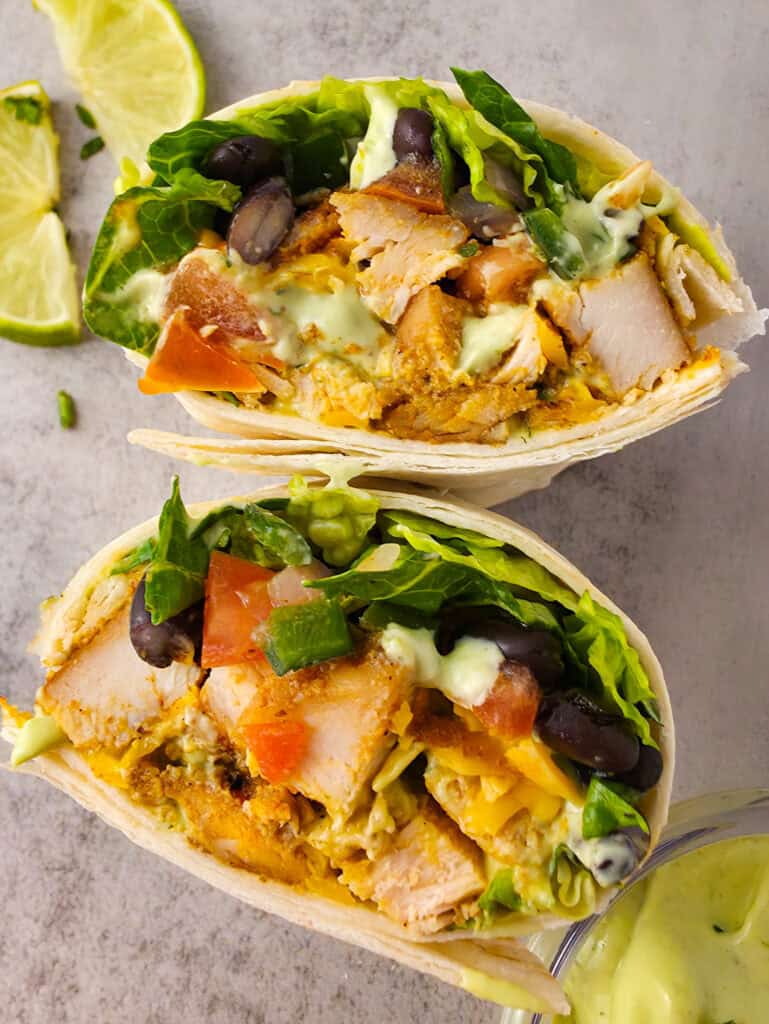
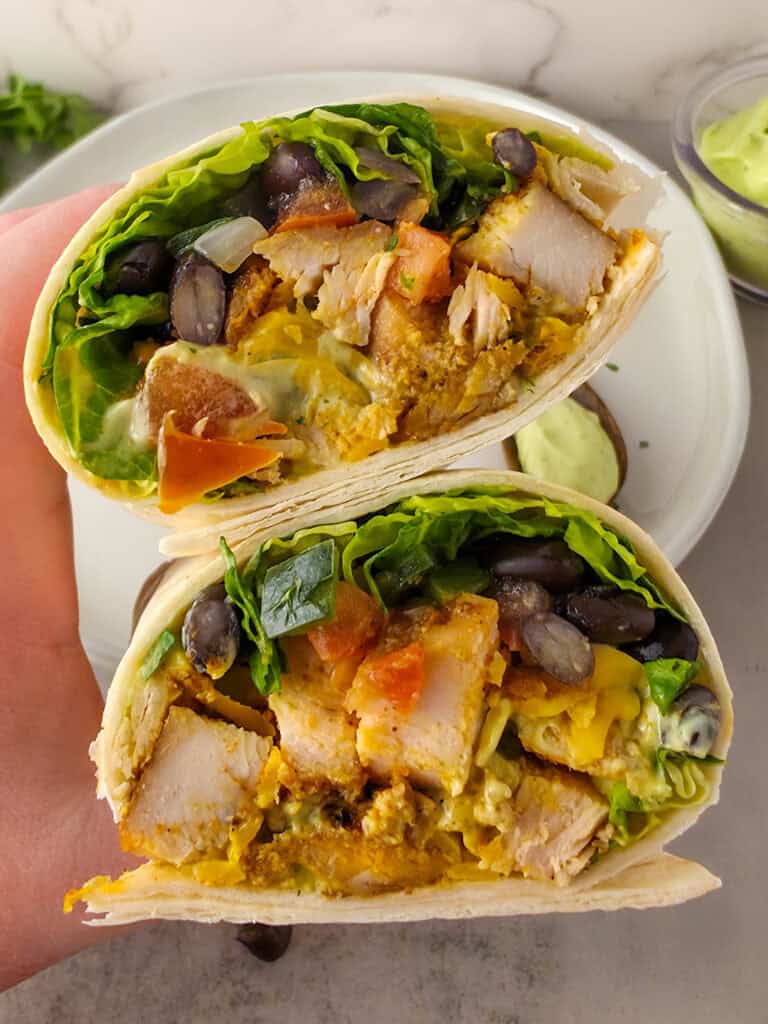
Chicken wraps are always a go-to for a quick lunch, and this Southwest Chicken Wrap recipe is one of my favorites. The combination of avocado, black beans, and a beautifully seared chicken breast makes this wrap absolutely delicious. The avocado dressing in this recipe adds a bit of brightness to the wrap-plus, it tastes amazing!
If you're a fan of easy and flavorful wraps, you might also love my Chicken Bacon Ranch Wraps for a creamy, savory option or my Caesar Salad Wraps for a fresh twist on a classic salad!
👇Jump to:
My Latest Videos
Key Ingredients & Substitutions
- The creamy avocado dressing in this recipe adds a delicious kick to these southwest chicken wraps, but feel free to swap it out with your favorite premade dressing or even a dollop of guacamole for a quicker, equally tasty option!
- The poblano pepper adds a delicious, smoky flavor to the wrap, but if you prefer something milder, you can easily substitute it with a bell pepper.
- Don't have a can of black beans on hand? Pinto beans make a perfect substitute!
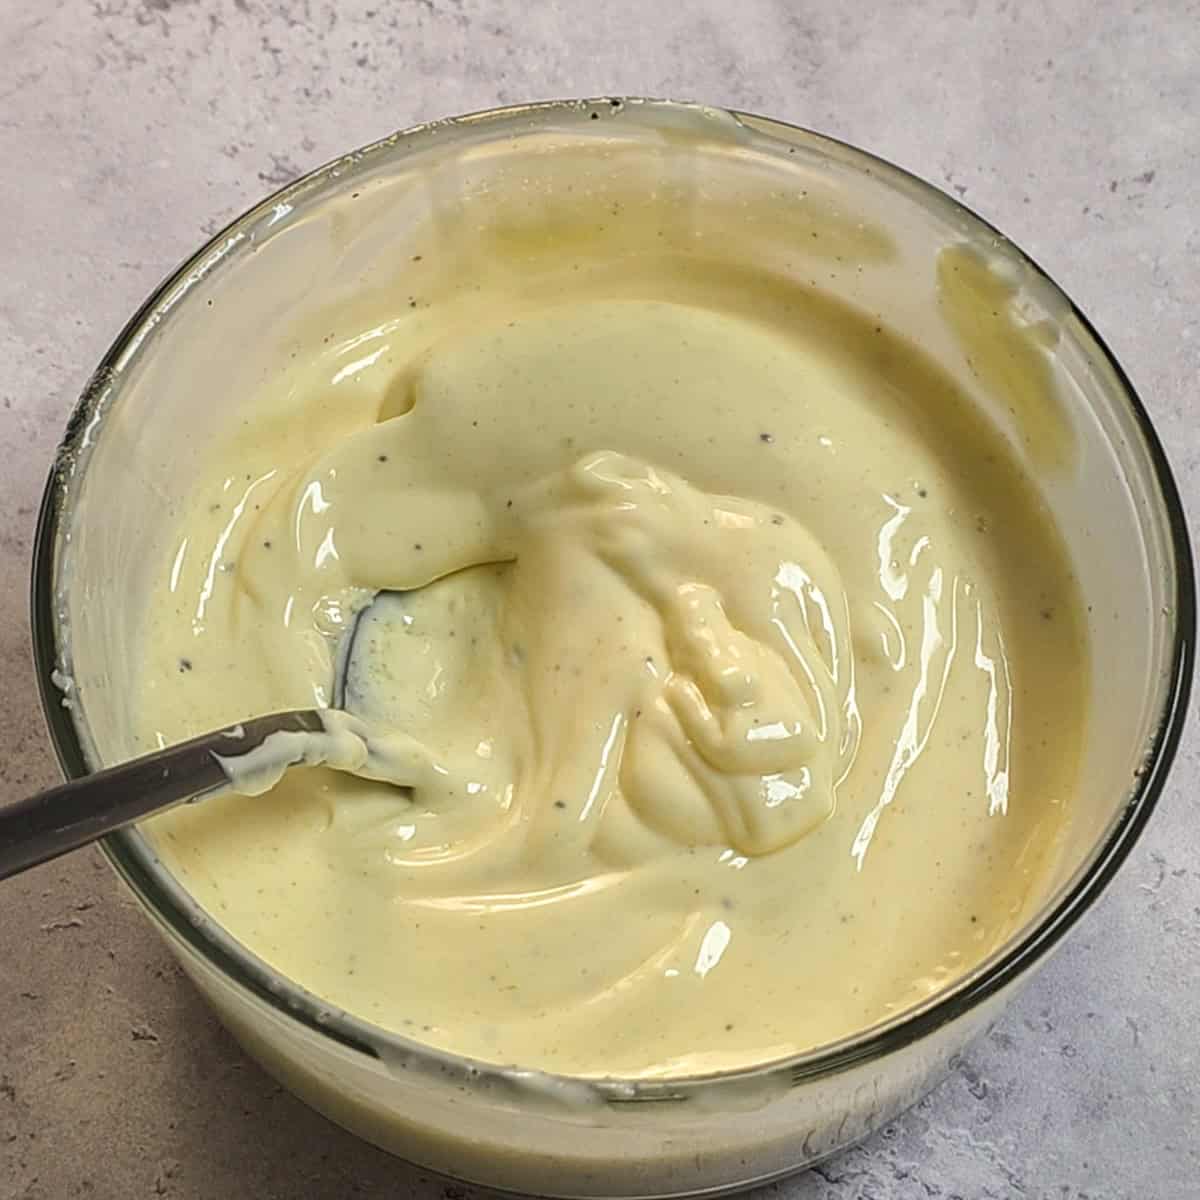
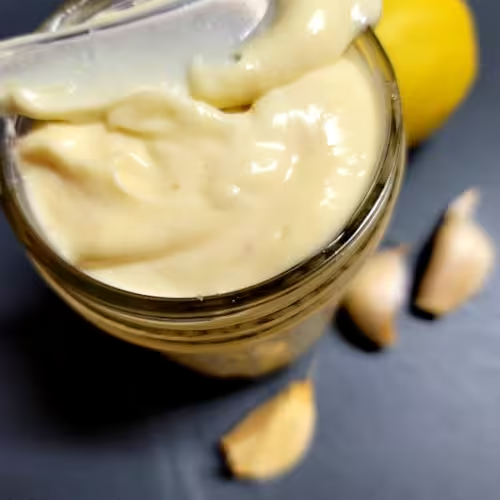
How to Make Avocado Dressing
This dressing is best used the day that you make it. I like to make the dressing first so that it has time for the ingredients to marry while cooking the chicken.
Choose a ripe avocado, rinse, cut and scoop the avocado into a medium bowl. Mash the avocado until it is smooth.
Add in the mayo, chopped cilantro, lime juice, and seasonings. Mix well.
How to Make Southwest Chicken Wraps
STEP 1
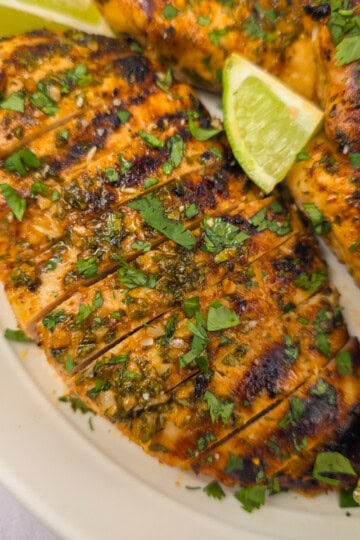
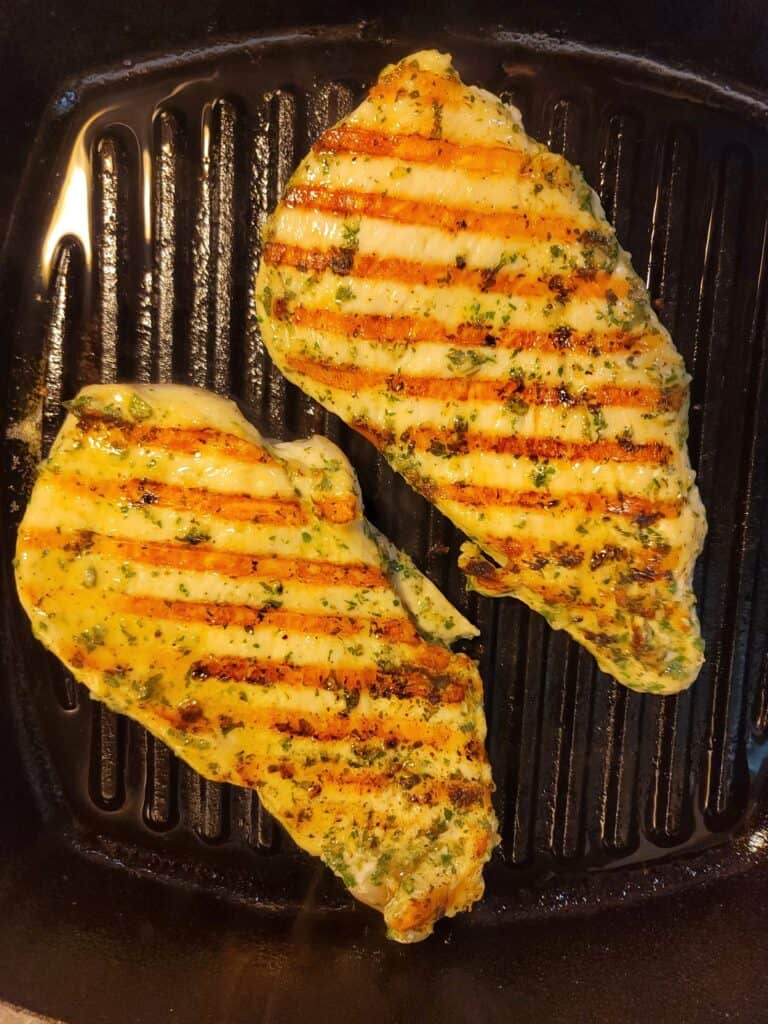
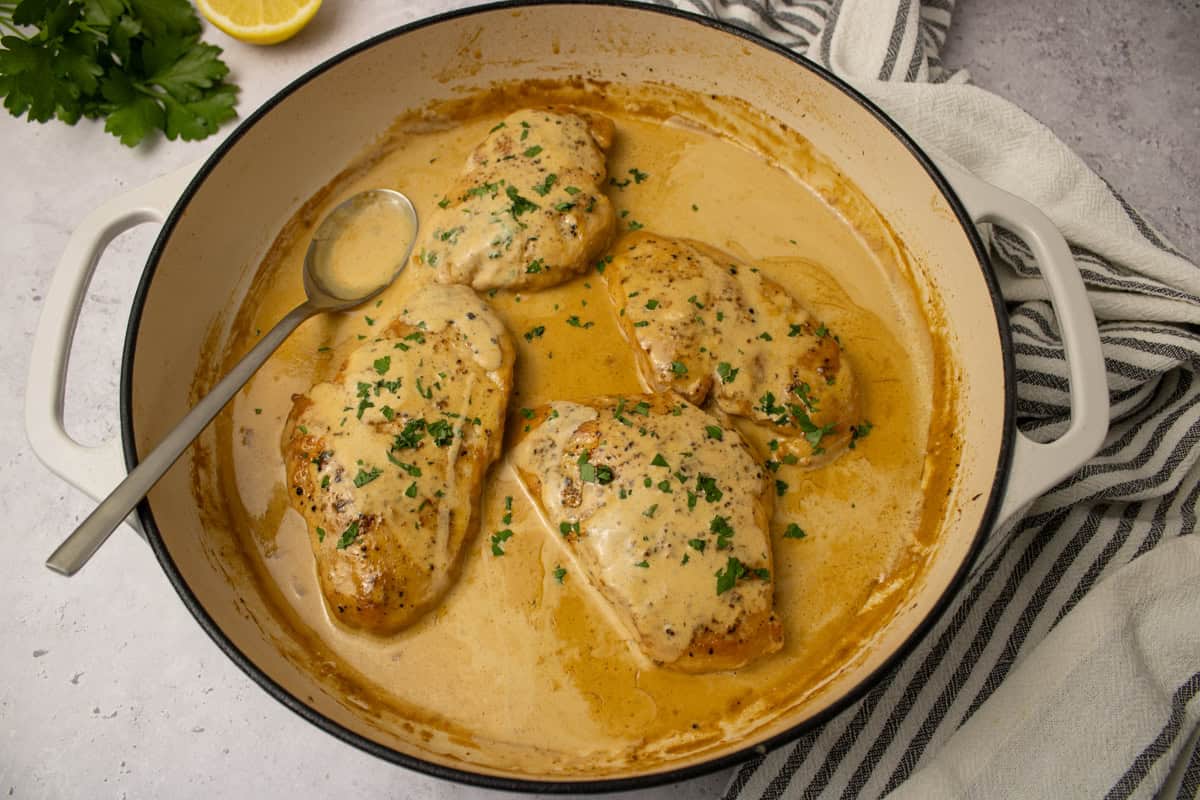
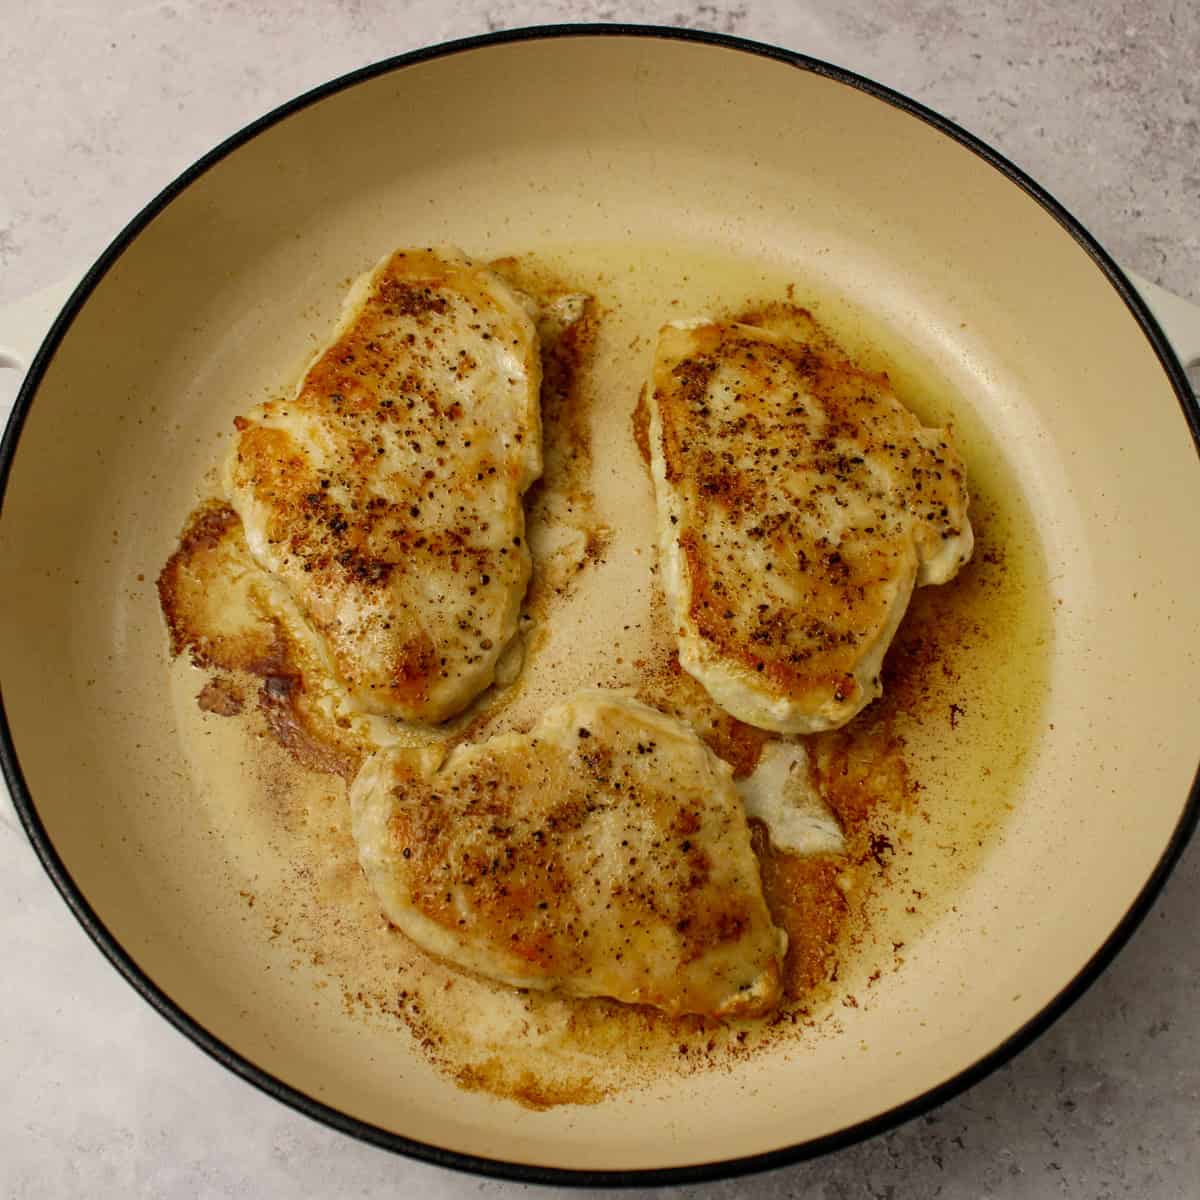
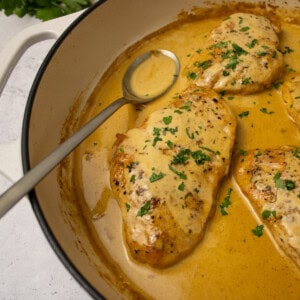
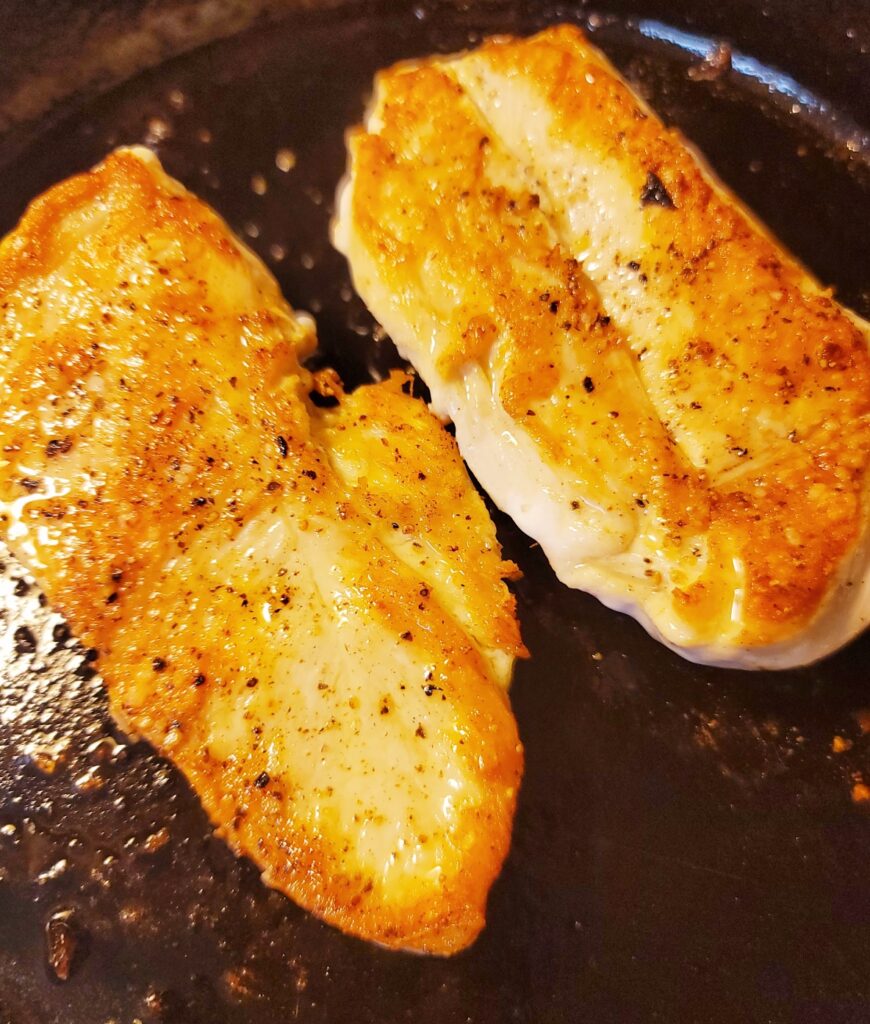
Season chicken and cook in a skillet over medium-high heat with oil for 6 minutes per side, until golden brown and cooked through (165°F internal temperature). Let rest.
STEP 2
In the same skillet, sauté diced poblano pepper and onion in oil for 3-4 minutes until softened. Remove from heat.
STEP 3
Rinse black beans, then season with salt, garlic powder, and cumin. Set aside.
STEP 4
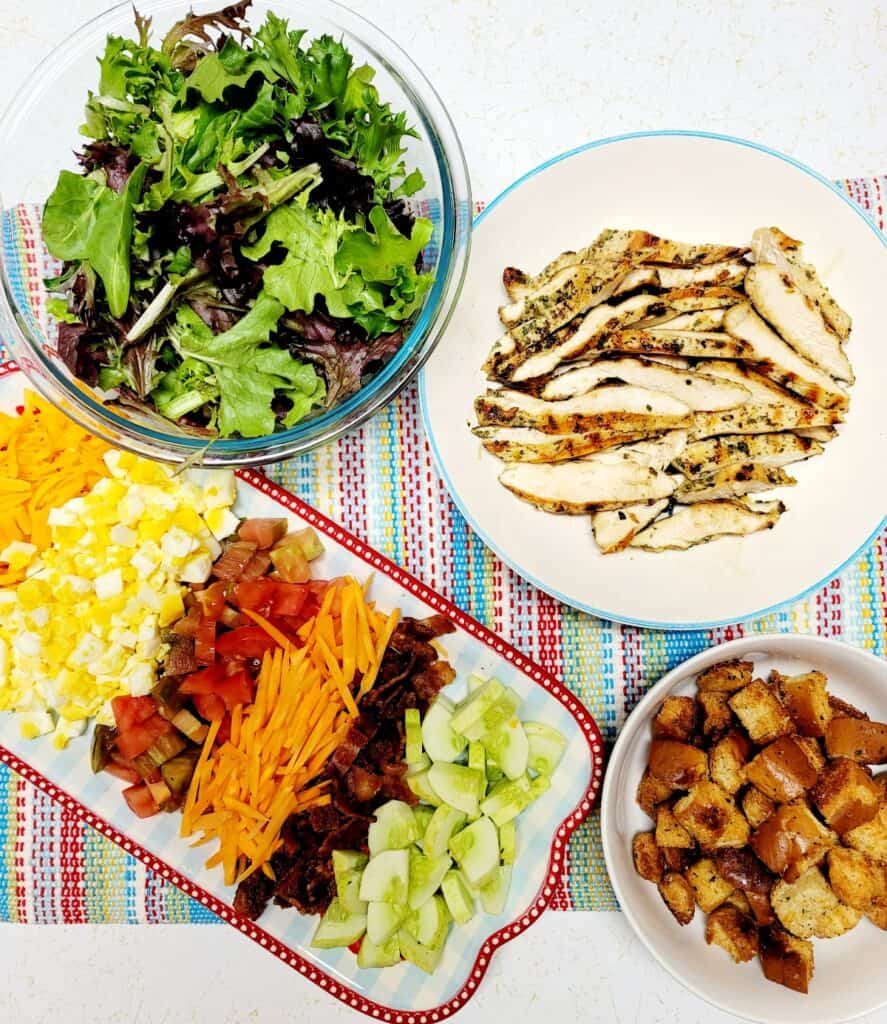
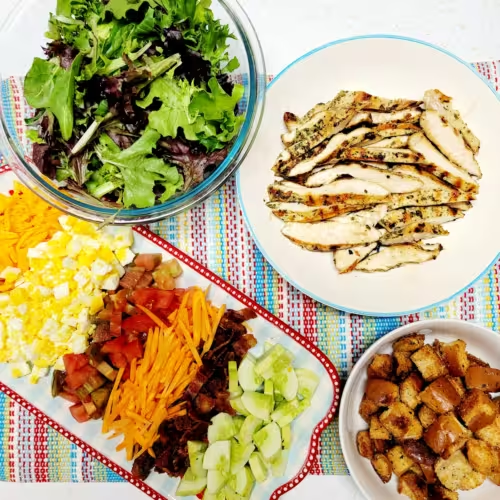
Slice the chicken. Spread avocado dressing on each tortilla, then layer with chicken, sautéed vegetables, seasoned beans, tomatoes, cheese, and lettuce. Roll up and serve. Enjoy!
💡Expert Tip
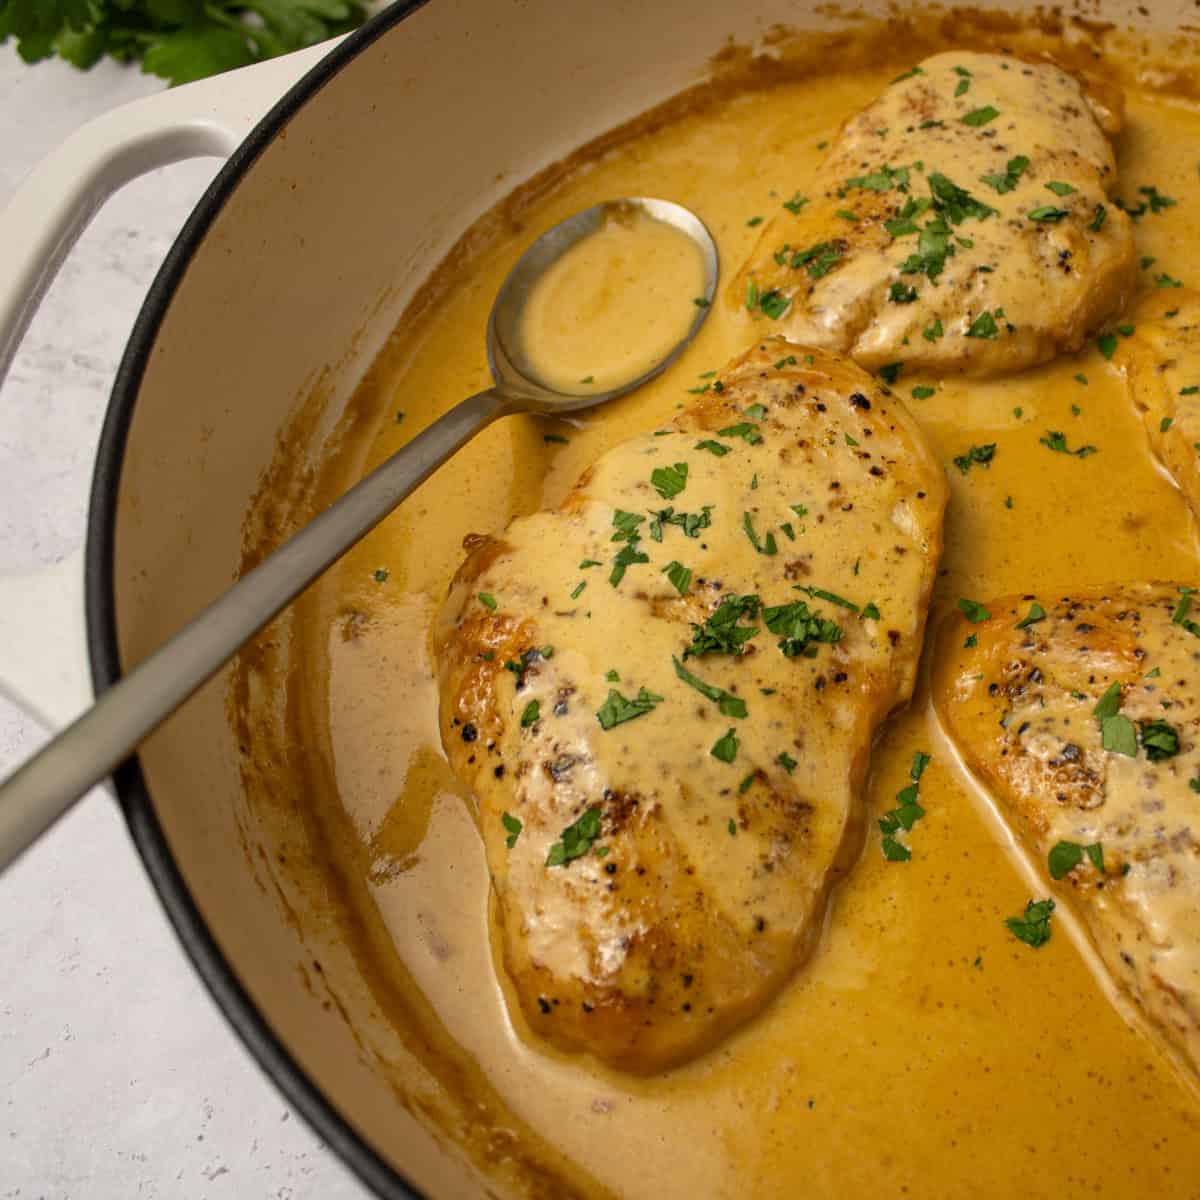
Searing the chicken breast for this recipe really adds great flavor, but you can also grill or bake the chicken if you prefer. Leftover chicken works well, too-just toss it with the seasonings in this recipe to enhance the flavor.
More Delicious Recipes
Frequently Asked Questions
Yes! Store each of the components separately until you are ready to assemble and eat and the wrap.
Absolutely! Ground beef, steak or ground turkey work beautifully in this wrap.
FOLLOW ME on Facebook, Pinterest, and YouTube to stay connected!
If you tried this Southwest Chicken Wrap recipe or any other recipe on my blog, please leave a 🌟star rating and let me know how it went in the comments below.
📖 Recipe

Southwest Chicken Wrap
Ingredients
Avocado Dressing
- 1 large ripe avocado
- 1 tablespoon fresh cilantro chopped
- 3 tablespoons mayo
- 1 tablespoon fresh lime juice
- ½ teaspoon salt
- ⅛ teaspoon pepper
- 1 pinch chipotle powder or cayenne powder
- 1 pinch cumin
Chicken Wraps
- 1 chicken breast cut in half
- 1 ½ teaspoons salt
- As Needed pepper
- 1 ½ teaspoons garlic powder
- 1 teaspoon paprika
- 1 ½ teaspoons cumin
- ½ teaspoon onion powder
- ½ teaspoon chili powder
- 3 tablespoons olive oil
- 1 large poblano pepper small diced
- ¼ cup red or white onion small diced
- 2 large tortilla wraps warmed
- 1 can black beans drained and rinsed
- As Needed shredded cheddar
- As Needed diced tomato
- As Needed shredded lettuce
Instructions
Avocado Dressing
- Rinse, cut and scoop the avocado into a medium bowl. Mash the avocado until it is smooth. Add in the mayo, chopped cilantro, lime juice, ½ teaspoon salt, ⅛ teaspoon pepper, pinch chipotle powder and pinch ground cumin. Mix well.
Chicken
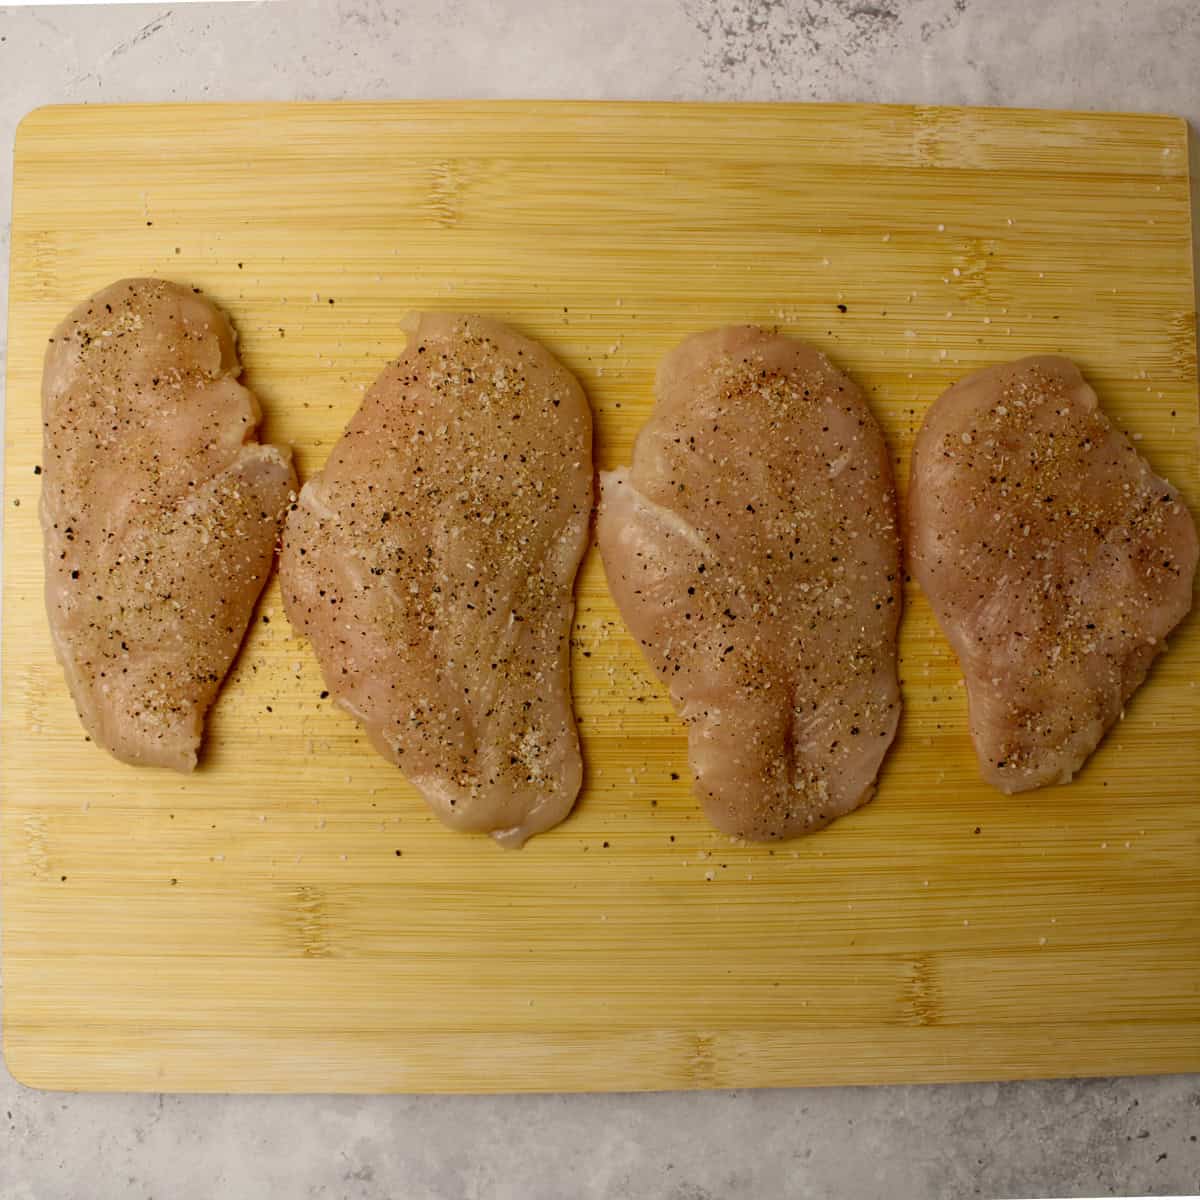
- Start by cutting the chicken lengthwise to make two thin pieces. Pat dry and season with 1 teaspoon salt, pepper to taste, 1 teaspoon garlic powder, 1 teaspoon paprika, ½ teaspoon onion powder and ½ teaspoon chili powder.
- In a skillet over medium high heat, add olive oil or your choice of oil. Once the oil is hot add in the chicken and sear, undisturbed, for 6 minutes, or until the chicken is a golden brown. Flip the chicken and continue to cook, undisturbed for another 6-8 minutes or until cooked through (165°F internal temperature). Take the chicken out of the pan and let it rest before slicing it.
- To the same pan add a drizzle of olive oil, if needed, and sauté the peppers and onions until tender. Set aside.
- Rinse the black beans under cold water until the water runs clear, place in a bowl and sprinkle with ½ teaspoon of salt, ½ teaspoon of garlic powder and ½ teaspoon of cumin. Mix well and set aside.
- Slice the chicken into thins strips. Lay out the tortilla wrap and spread on the desired amount of dressing. Put half of the chicken on the wrap, top with the desired amount of beans, peppers and onions, tomatoes, shredded cheese and lettuce. Roll the wrap up and repeat with the other one. Enjoy!
Notes
- This recipe can make 2-3 large chicken wraps. If you use more beans in each wrap, you can make 3 large wraps.
- Don't have a can of black beans on hand? Pinto beans make a perfect substitute!