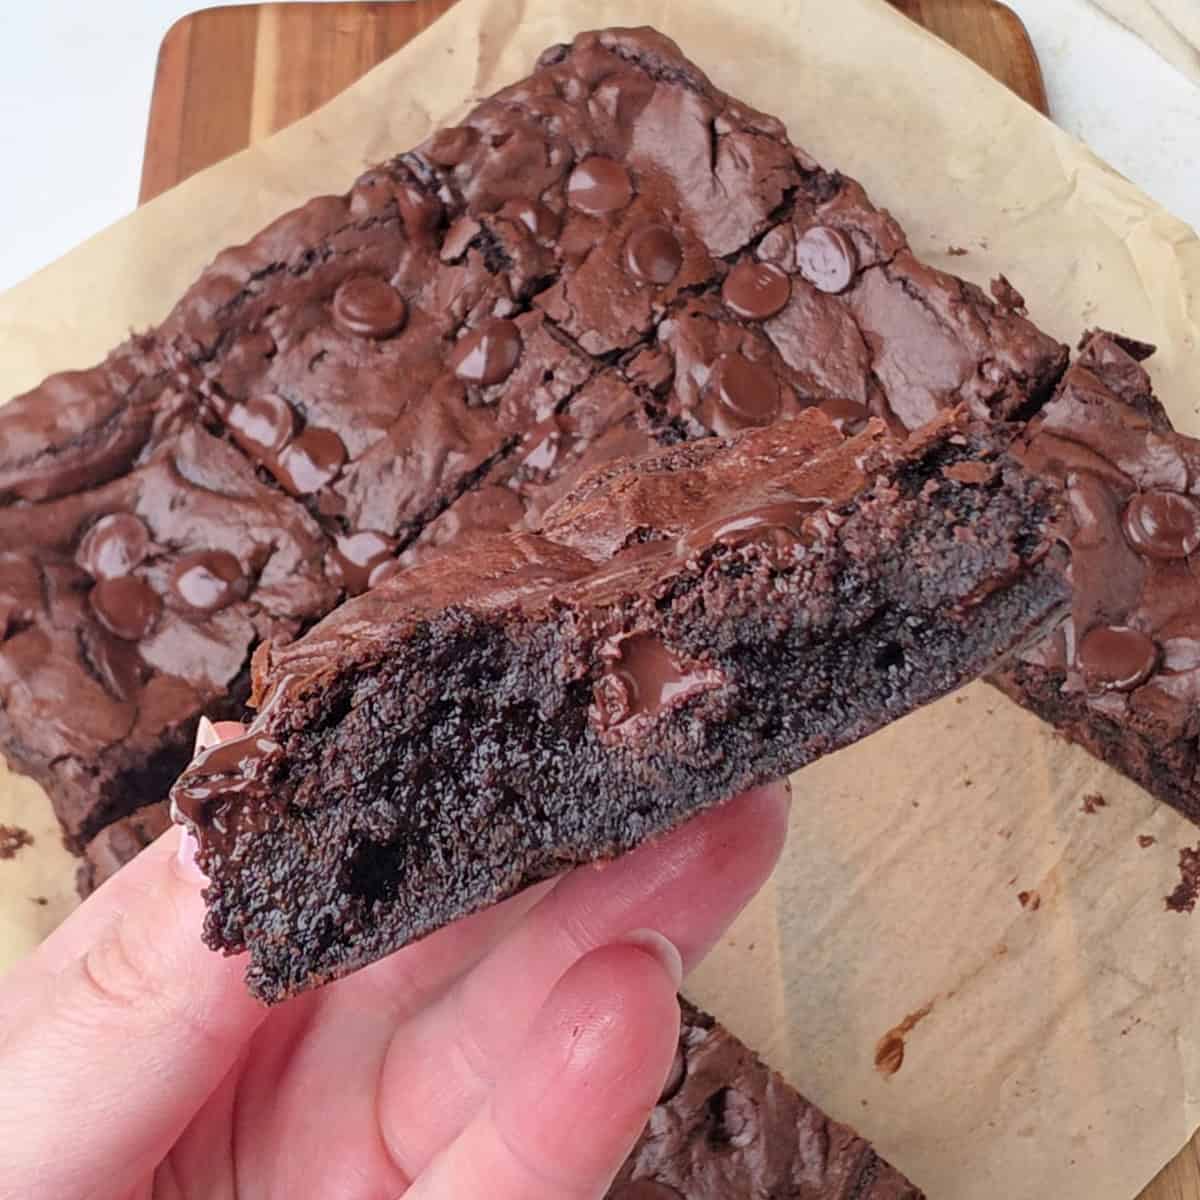
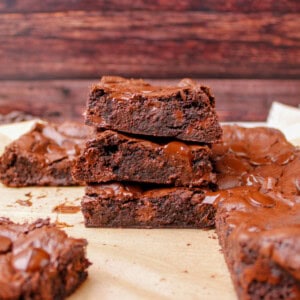
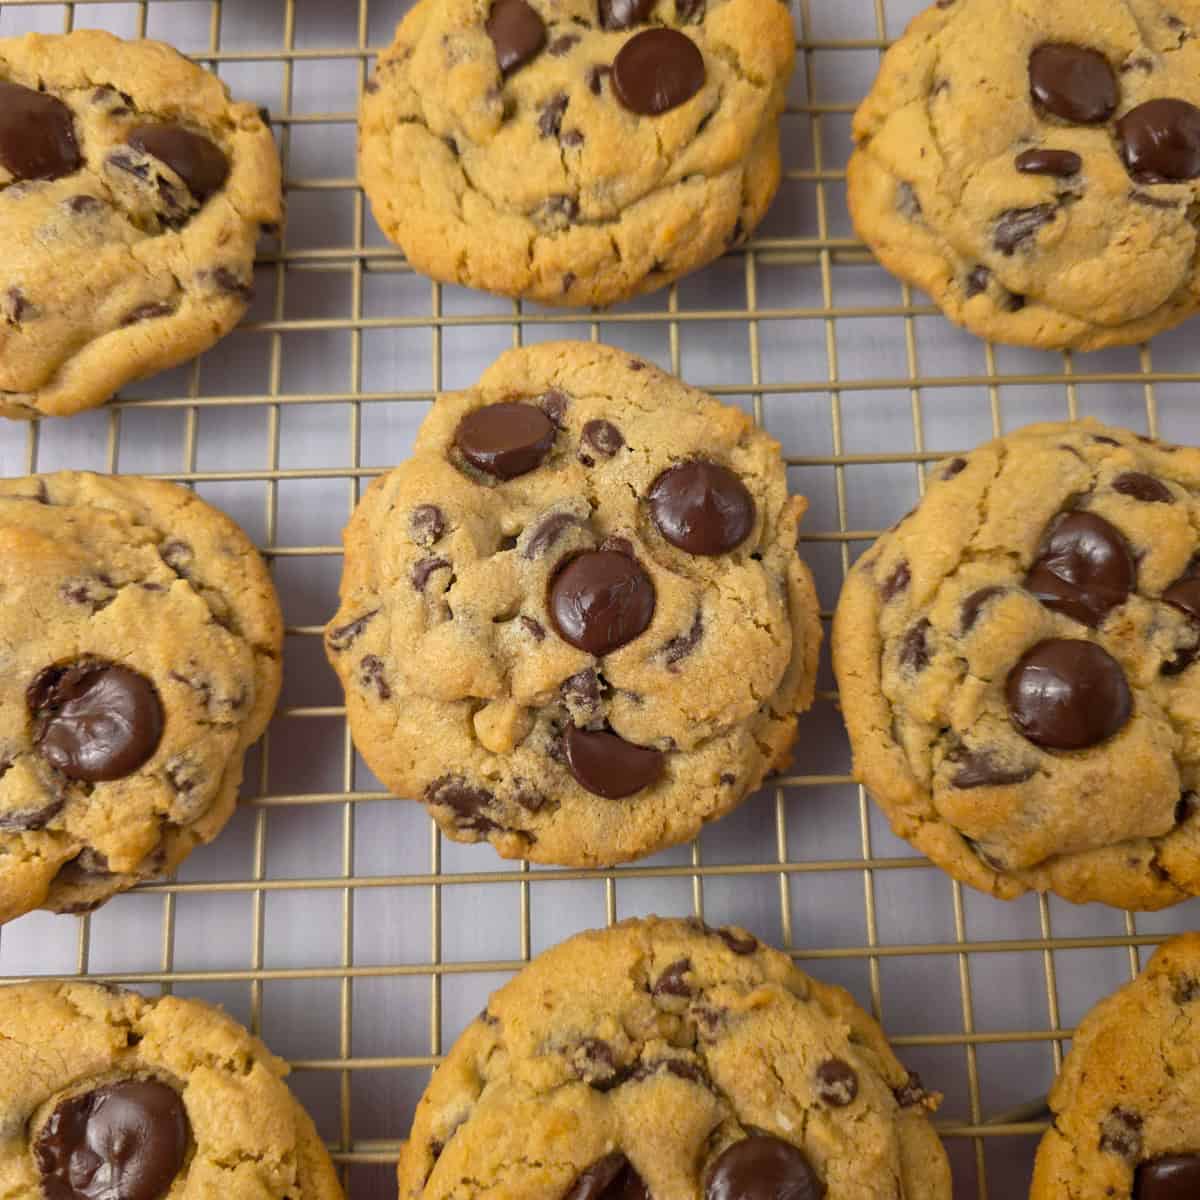
If you just typed "the best fudge brownie recipe" into Google, stop scrolling, you have officially found it. This recipe is thick, decadent, and delivers that deeply rich, intensely chocolatey, and wonderfully fudgy texture that every baker dreams of. Grab a tall glass of milk because you are about to bake the only brownie recipe you will ever need again!
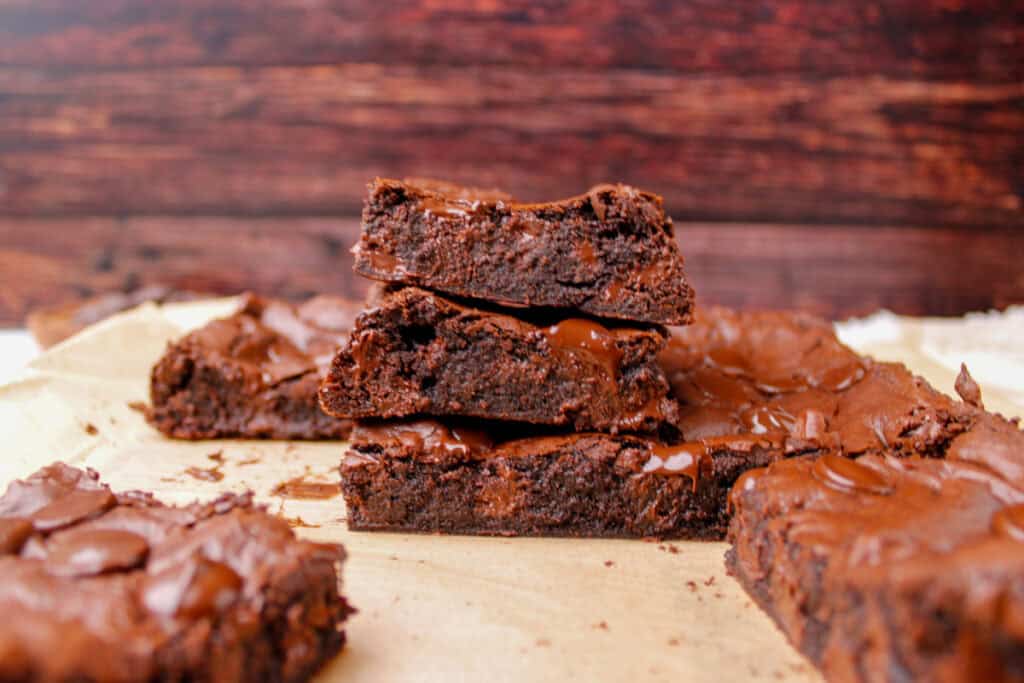
By "fudgy," I don't mean underbaked or gooey in the middle. These brownies are perfectly baked but remain soft, chewy, and fudgy, and they are firm enough to hold together perfectly. I have made a lot of brownie recipes over the years, and this one is my favorite. It has the absolute best texture and is just an all-around fantastic brownie!
Table of contents
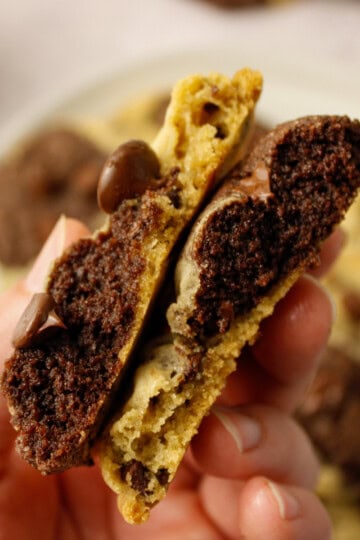
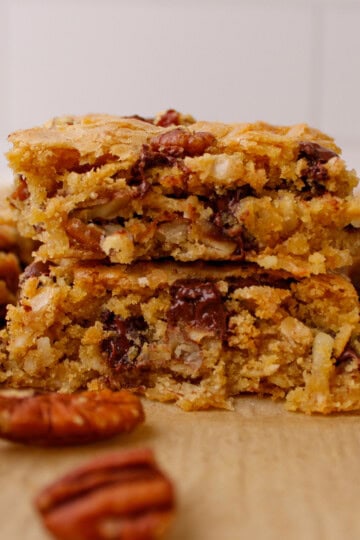
We love brownies around here, and these are two of our other favorites! You absolutely have to try my decadent Pecan Pie Brownies and my rich German Chocolate Brownies. They are the perfect sister recipes to add to your weekend baking lineup!
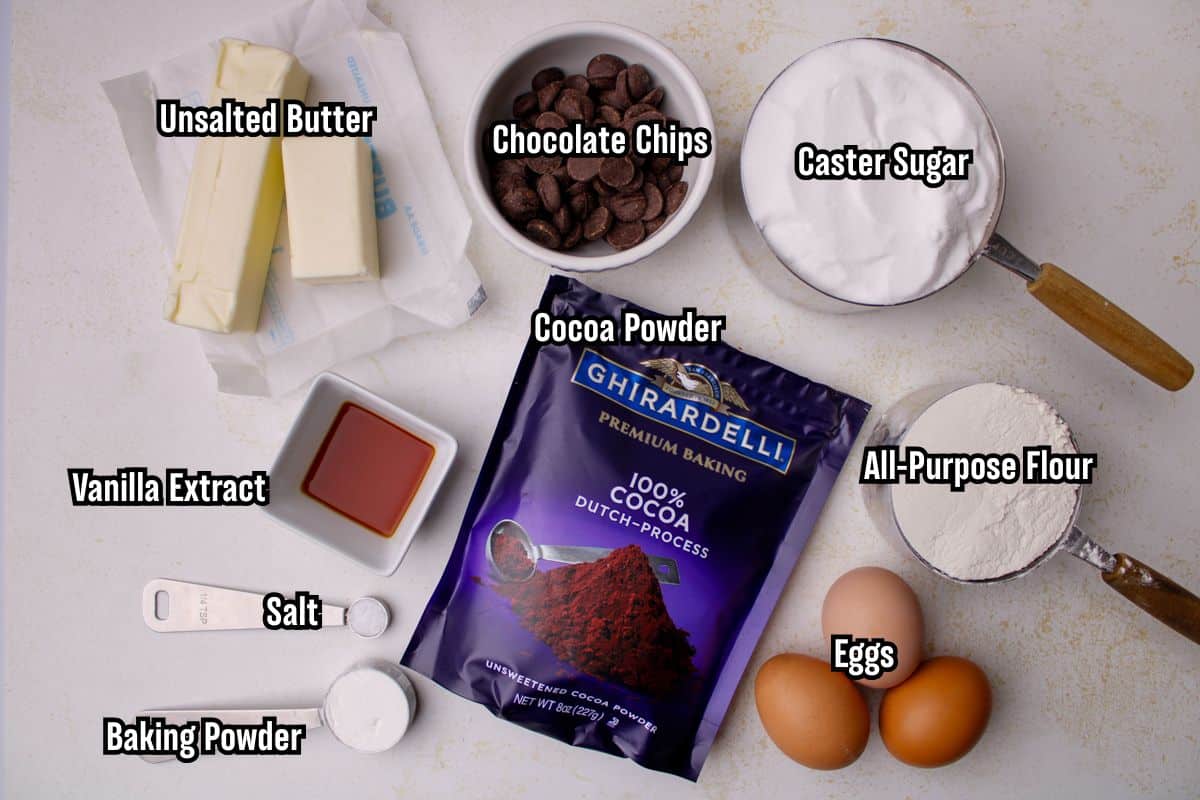
Key Ingredients & Substitutions
- Dutch Process Cocoa Powder: We use a high-quality Dutch-process cocoa powder to give these brownies a smoother, deeper, and more intense chocolate flavor than natural cocoa powder can provide.
- Caster Sugar: This is the ultimate baker's secret! Caster sugar (superfine sugar) is highly recommended because its incredibly fine texture allows it to dissolve much faster and incorporate better into the melted butter and eggs. Standard granulated sugar can be used as a 1:1 substitute, but caster sugar is the key to getting that beautiful, shiny, crinkly top.
- Cornstarch: This is the secret to locking in moisture without letting the center dry out, keeping the brownies perfectly dense and chewy. My husband, who is a strict cake brownie lover, absolutely loves these for this exact reason!
- Chocolate Chips: Semi-sweet or dark chocolate chips are fantastic in this recipe for pockets of melty goodness. However, you can easily substitute them with milk chocolate chips or your favorite baking chips, and they will turn out just fine!
See the recipe card below for the full list of ingredients and measurements.
How To Make the Best Fudge Brownie Recipe
This fudge brownie recipe comes together in just a few simple steps, here is how I put it all together:
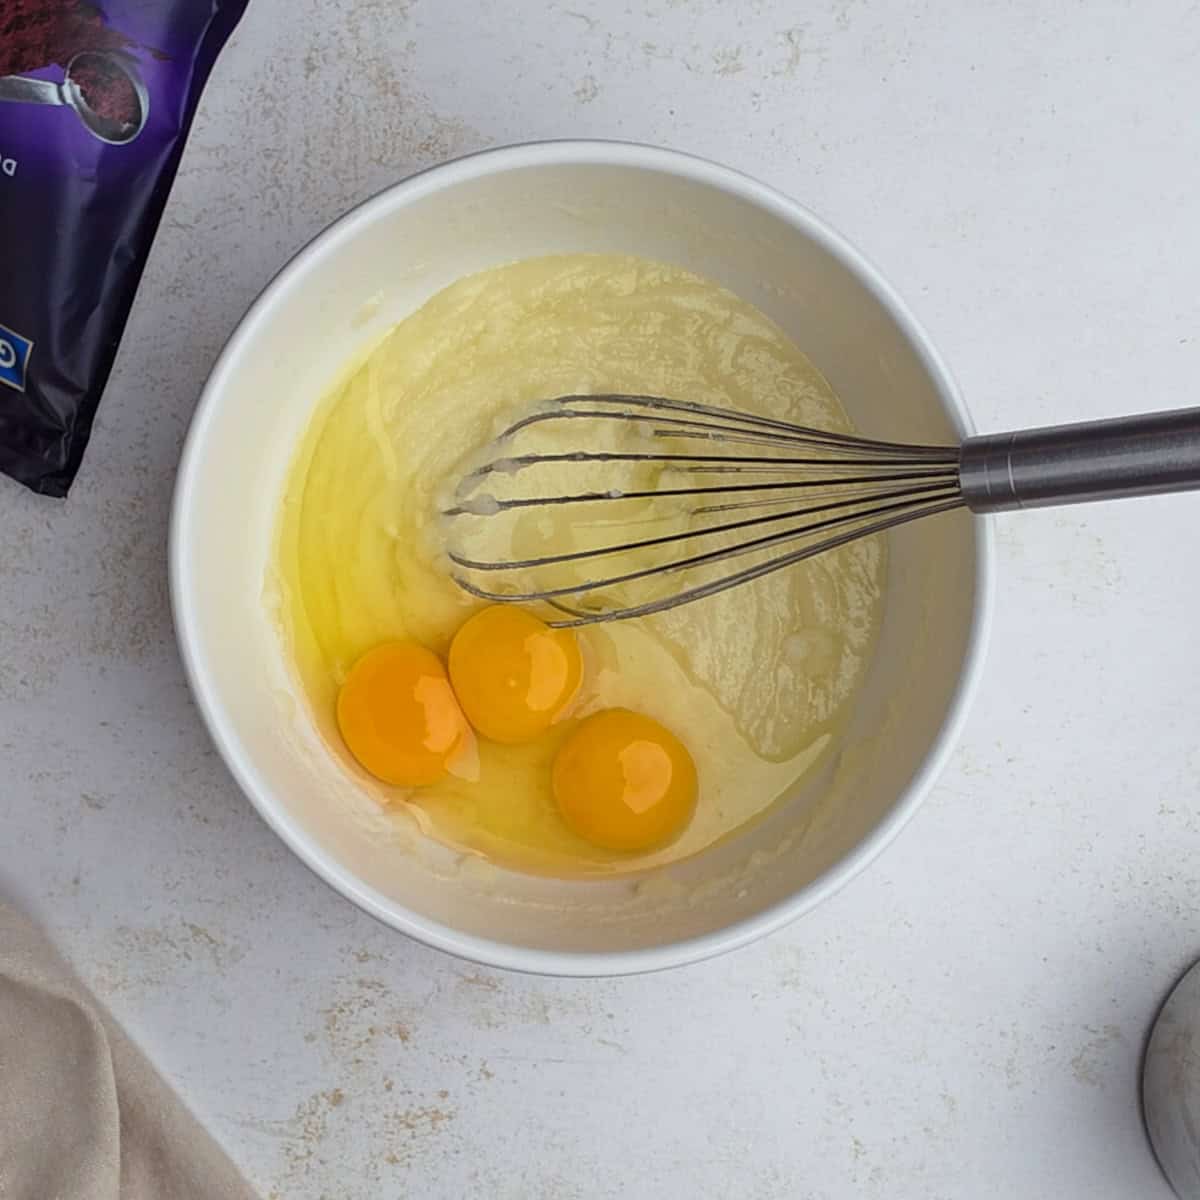
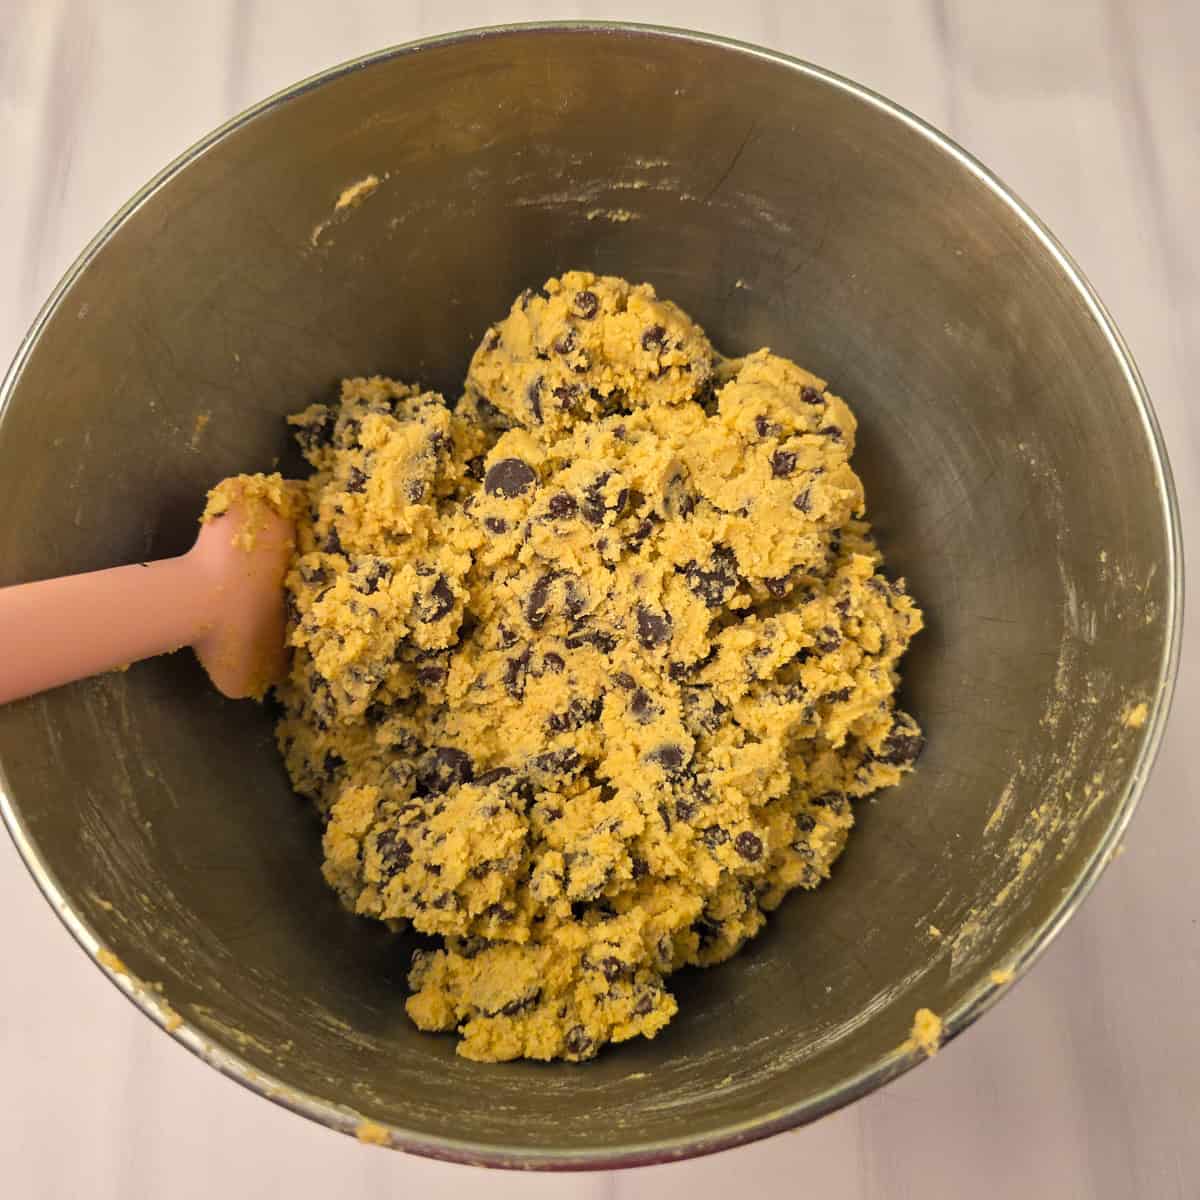
- Combine the melted butter and sugar in a bowl, then add the eggs, egg yolk, and vanilla extract.
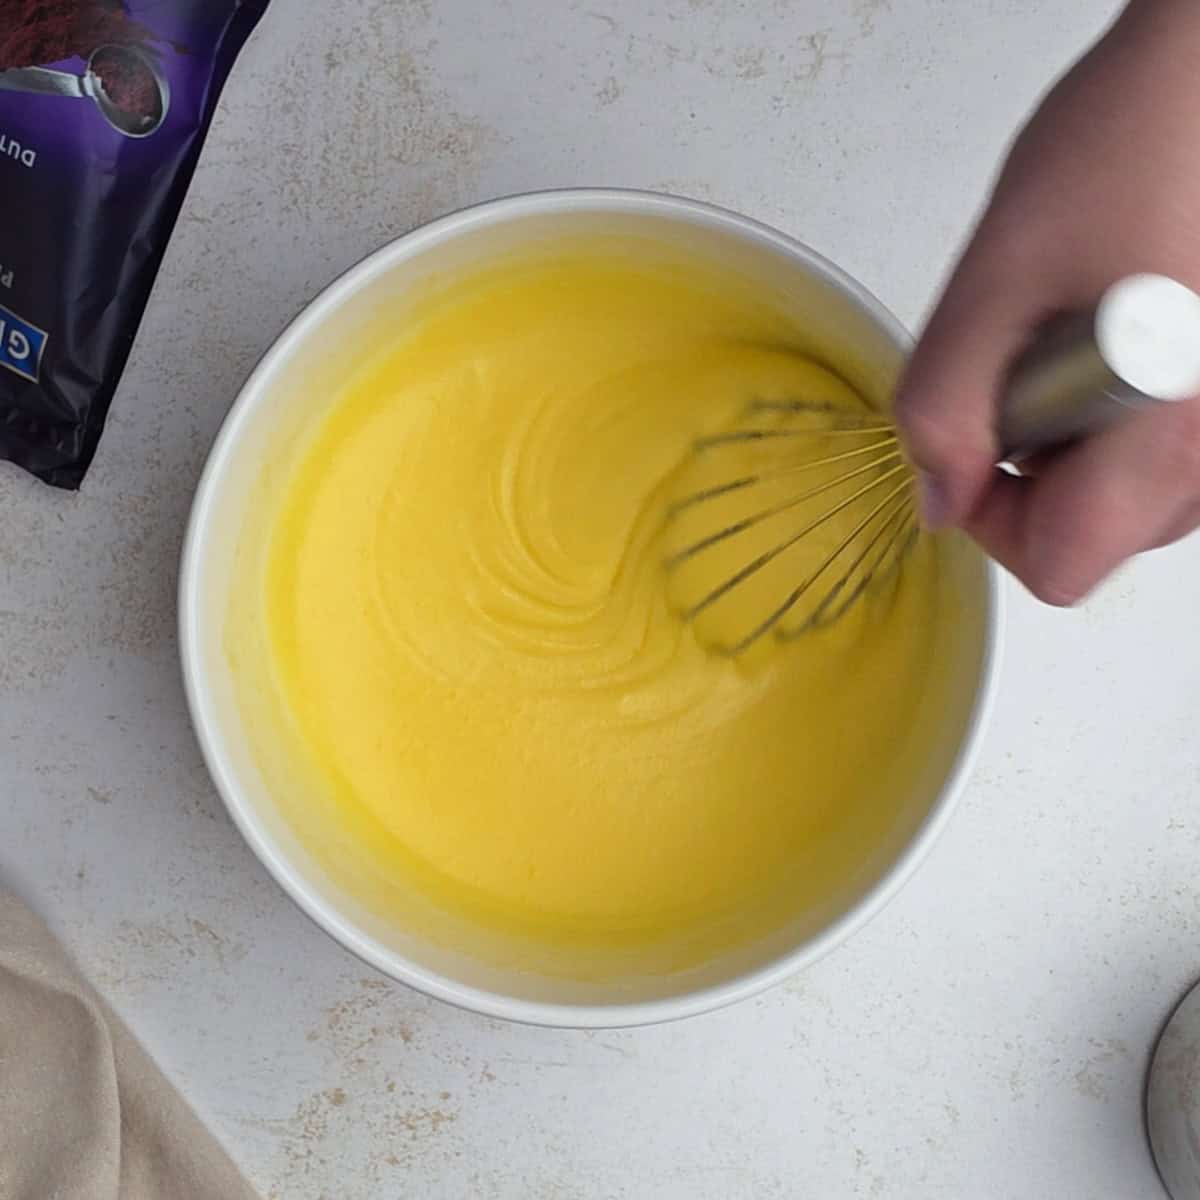
- Whisk everything together vigorously for 1 to 2 minutes until the mixture is smooth, and glossy.
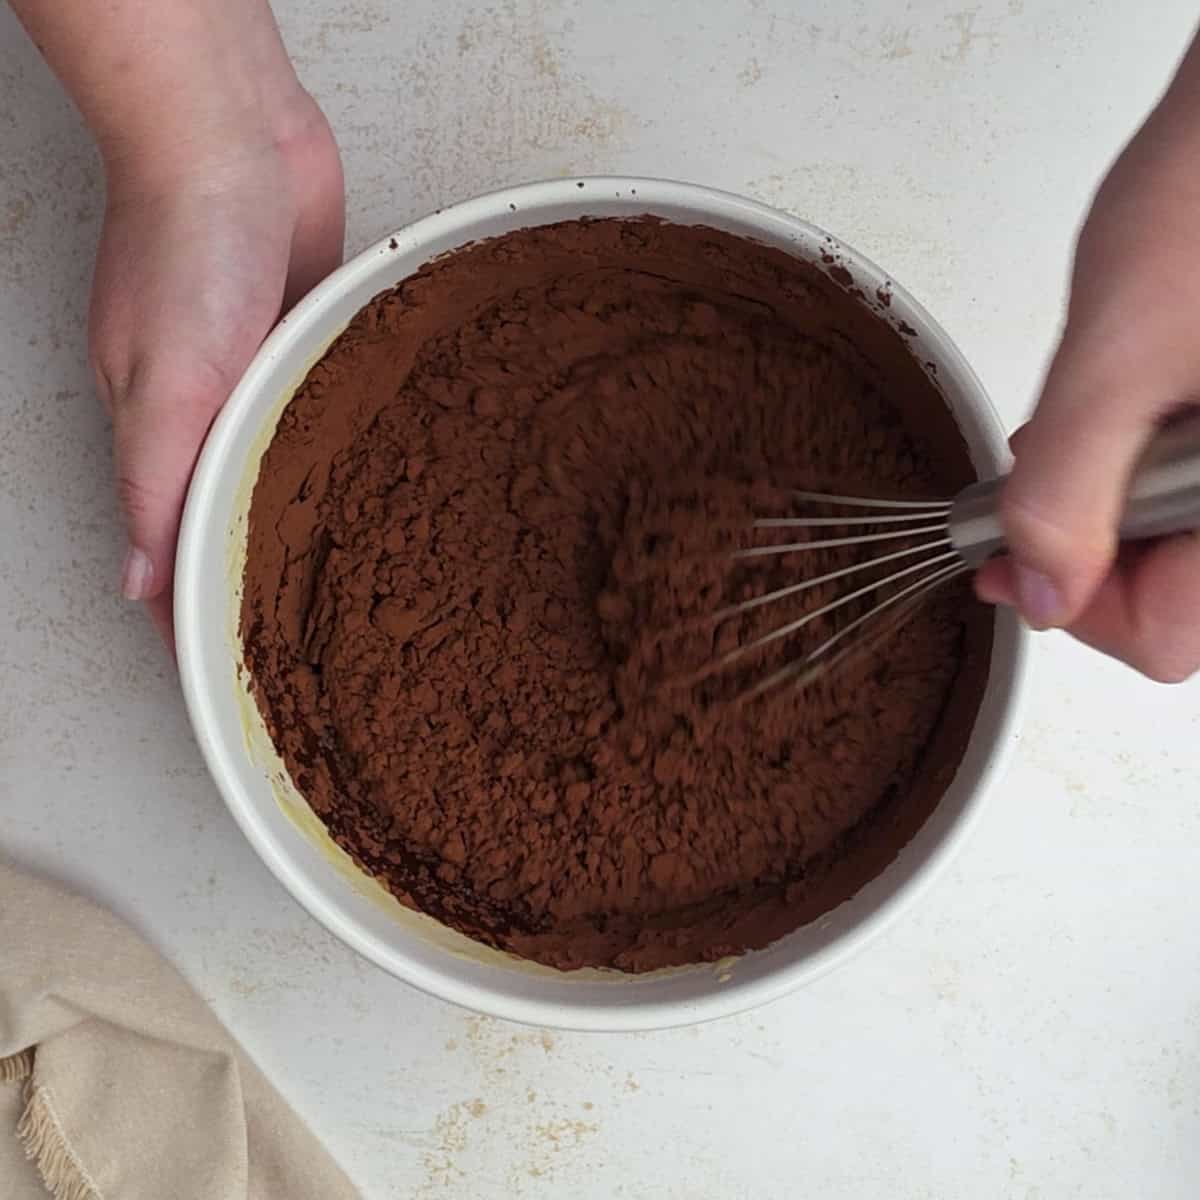
- Add the cocoa powder straight into the wet ingredients. Whisk thoroughly until the cocoa is completely incorporated.
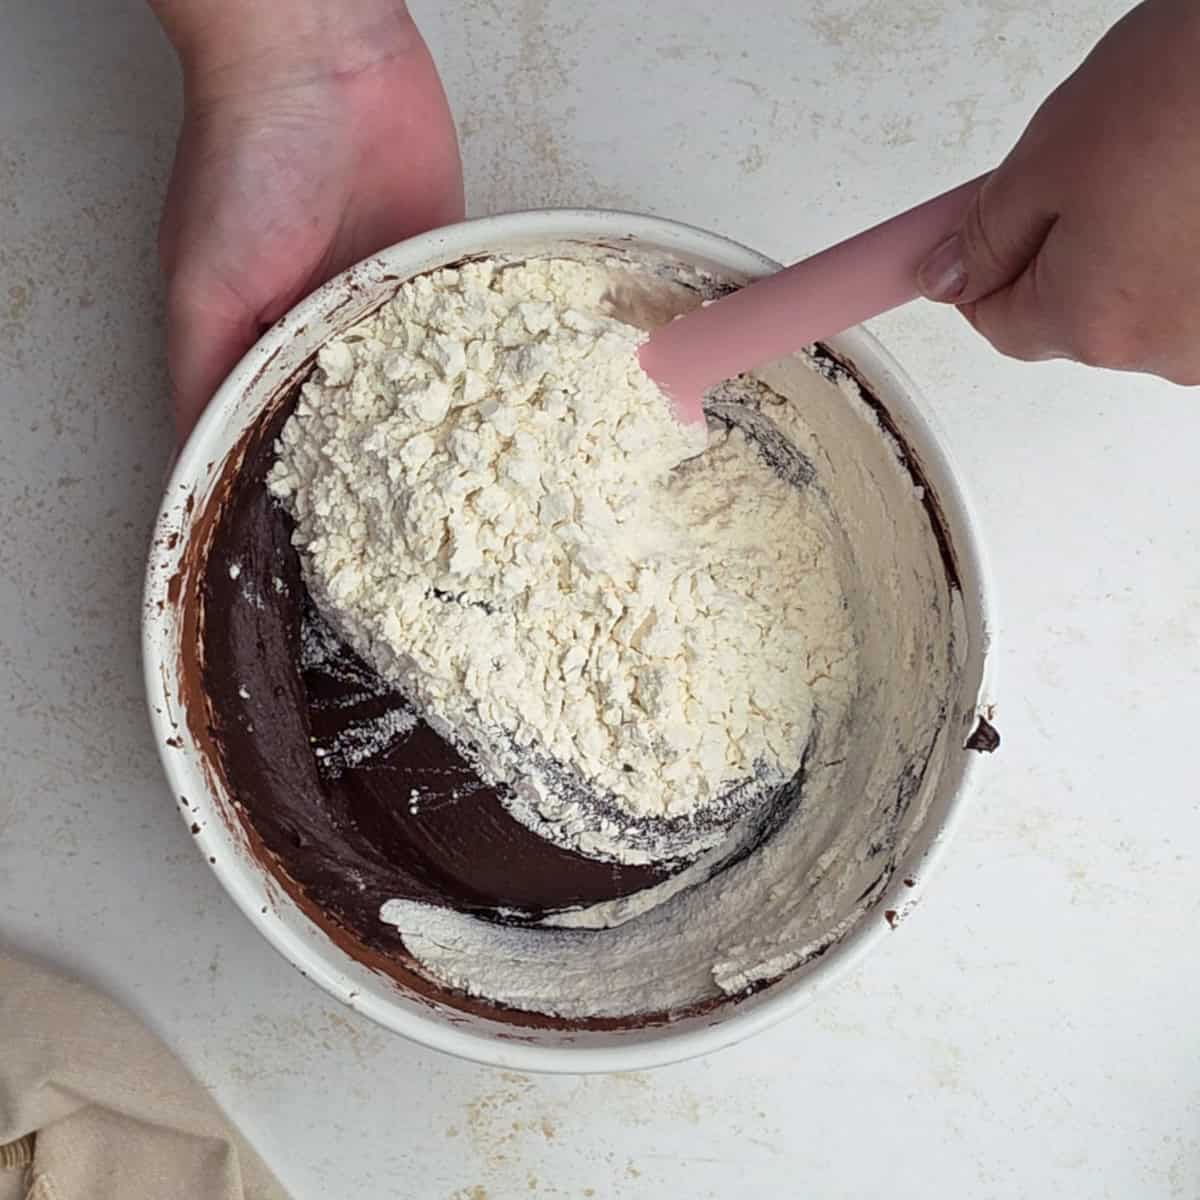
- Whisk together the flour, salt, and cornstarch in a small bowl. Switch to a spatula and gently fold the dry ingredients into the butter mixture.
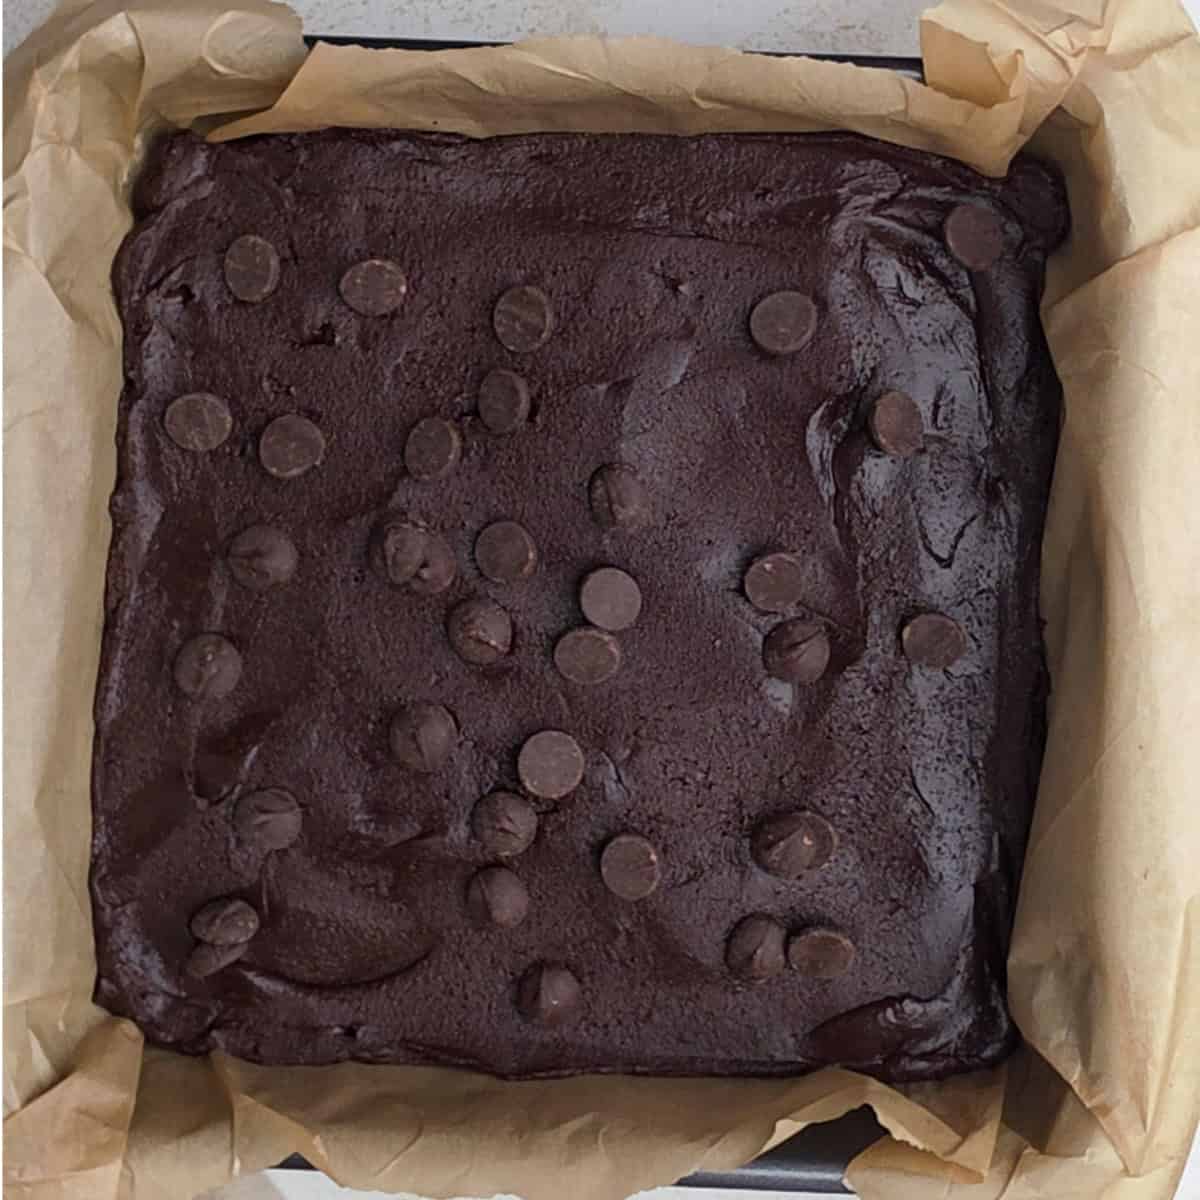
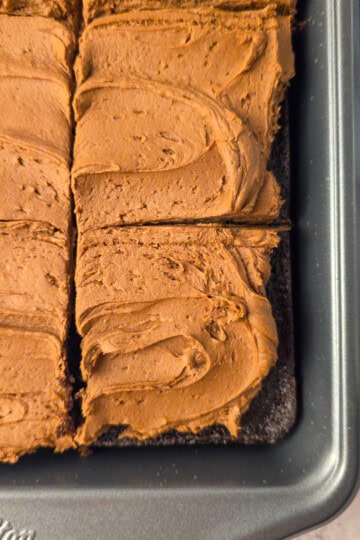
- Pour the thick brownie batter into a parchment-lined 9x9 square metal pan, spreading it evenly into the corners. Sprinkle the remaining chocolate chips evenly over the top.
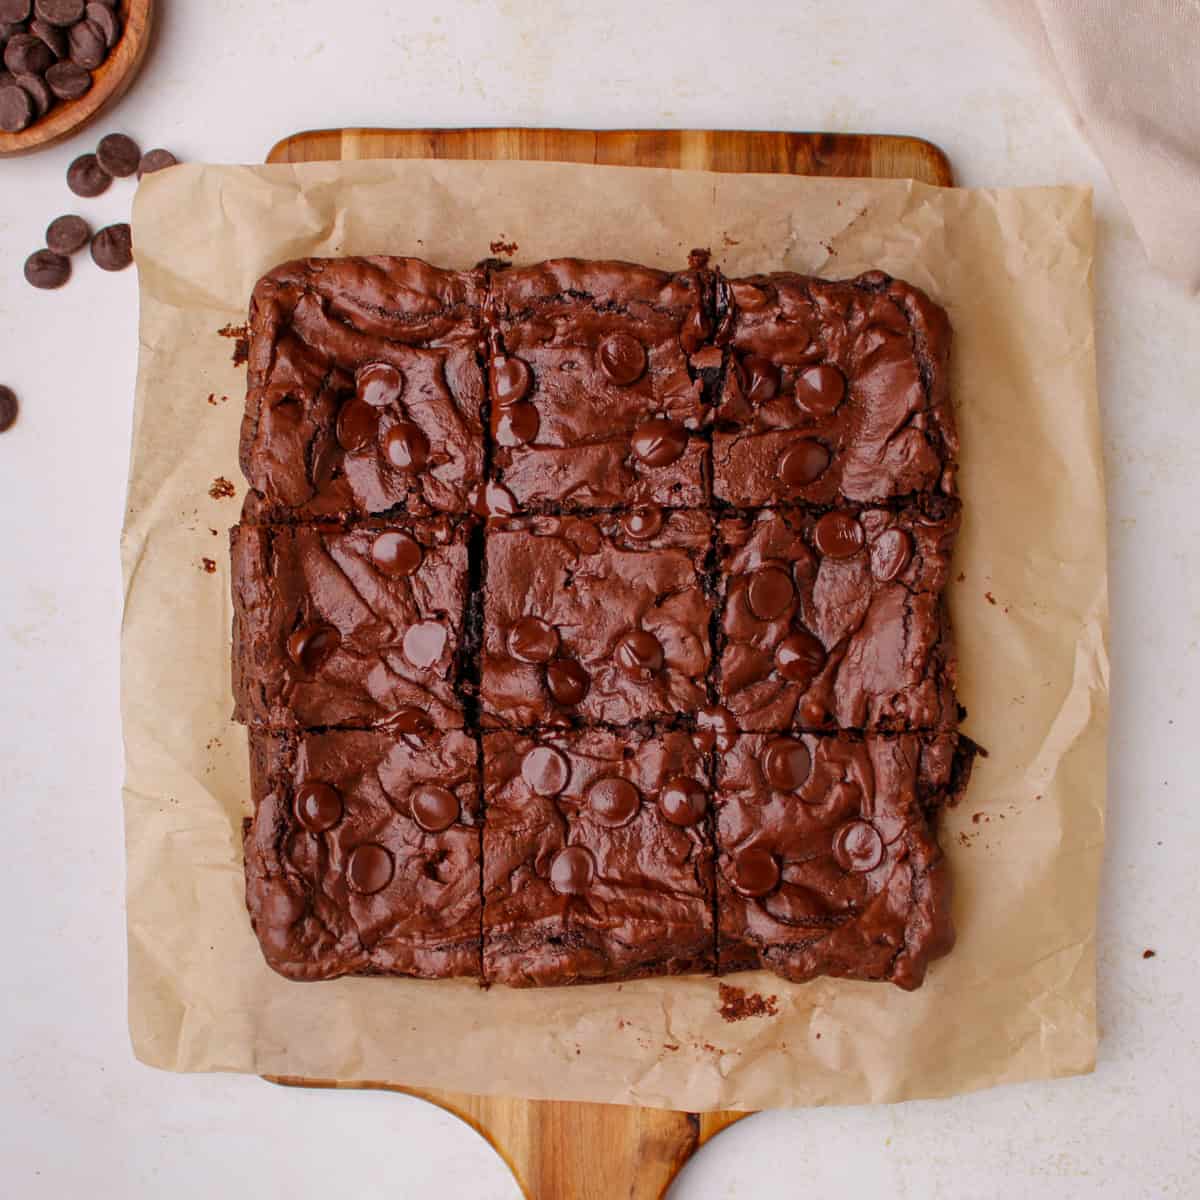
- Bake for 26 minutes until the edges are firmly set and the top is beautifully shiny and crinkled. Let the brownies cool completely in the pan before lifting and slicing.
See the recipe card below for the full recipe.
👉 Sky's Tips
- Use a Metal Pan: I highly recommend always using a 9x9 square metal baking pan for this recipe. Metal conducts heat much faster and more uniformly than glass or ceramic baking dishes. This ensures your edges get beautifully set and chewy while the center remains incredibly soft and fudgy without turning dry or overcooking.
- Testing for Doneness: At 26 minutes, the top should look glossy and the edges should be firm. Insert a toothpick into the center; it should come out with a few moist crumbs attached. If it comes out covered in chocolate, don't panic! You might have just poked a melted chocolate chip. Always test a second spot to be absolutely sure of your bake.
- Watch the Butter Temperature: When you melt your butter, make sure it is warm but not hot when you go to whisk in your caster sugar and eggs. If the butter is too hot, it can actually cook the eggs in the bowl.
- Don't Skip the Cornstarch: A little bit of cornstarch is the ultimate secret to getting a brownie that sits smack-dab in the middle of fudgy and chewy.
Storage Tips
- Room Temperature: These brownies are best stored at room temperature in an airtight container for up to 4 days to preserve their soft, fudgy bite.
- In the Fridge: If you want to extend their shelf life by a few days, you can keep them in an airtight container in the refrigerator. If you choose to chill them, make sure to set them out on the counter for 30 minutes to 1 hour before serving so they can come back up to room temperature. Alternatively, you can pop a square into the microwave for 5 to 10 seconds to warm those chocolate chips back up and restore that ultra-fudgy texture!
I hope you love this brownie recipe as much as we do!
-Sky🩷

FOLLOW ME on Facebook, Pinterest, and YouTube to stay connected!
If you tried this Fudge Brownies recipe or any other recipe on my blog, please leave a 🌟star rating and let me know how it went in the comment section below!
📖 Recipe
The Best Fudge Brownies
Equipment
- 9x9 square baking pan
Ingredients
- 6 ounces unsalted butter melted
- 2 cups caster sugar
- 2 large eggs
- 1 large egg yolk
- 1 ½ teaspoons vanilla extract
- ¾ cup Dutch processed cocoa powder
- 1 cup all-purpose flour
- ½ teaspoon salt
- 1 tablespoon cornstarch
- ¾ cup chocolate chips semi-sweet, milk or any other kind will work
Instructions
- Preheat an oven to 350° F and line a 9x9 baking dish with parchment paper.
- In a medium-sized bowl, combine the warm melted butter and caster sugar. Add the whole eggs, egg yolk, and vanilla extract. Whisk vigorously by hand for a full 1 to 2 minutes until the mixture becomes smooth, and glossy.
- Add the cocoa powder to the butter mixture. Whisk thoroughly until the cocoa is completely incorporated.
- Add the flour, cornstarch, and kosher salt to the bowl. Switch to a rubber spatula and gently fold the mixture just until combined. Do not overmix.
- Gently fold ½ cup of the semi-sweet chocolate chips into the thick batter. Pour the batter into your prepared metal pan, spreading it evenly into the corners. Sprinkle the remaining ¼ cup of chocolate chips across the top.
- Bake at 350°F for 26 minutes. The edges should look firm and set, and the top should be shiny and crinkled. Remove from the oven and let them cool completely in the pan before lifting the parchment sling to slice into squares. Enjoy!
Notes
- Use a Metal Pan: I highly recommend always using a 9x9 square metal baking pan for this recipe. Metal conducts heat much faster and more uniformly than glass or ceramic baking dishes. This ensures your edges get beautifully set and chewy while the center remains incredibly soft and fudgy without turning dry or overcooking.
- Testing for Doneness: At 26 minutes, the top should look glossy and the edges should be firm. Insert a toothpick into the center; it should come out with a few moist crumbs attached. If it comes out covered in chocolate, don't panic! You might have just poked a melted chocolate chip. Always test a second spot to be absolutely sure of your bake.
- Watch the Butter Temperature: When you melt your butter, make sure it is warm but not hot when you go to whisk in your caster sugar and eggs. If the butter is too hot, it can actually cook the eggs in the bowl, ruining the texture of your batter.
-
Don't Skip the Cornstarch: A little bit of cornstarch is the ultimate secret to getting a brownie that sits smack-dab in the middle of fudgy and chewy.


