Beef fajitas are the ultimate Tex-Mex dinner-juicy grilled steak, sautéed peppers and onions, all wrapped in a warm tortilla. With a bold, zesty marinade and quick cook time, they're a flavorful and fun weeknight meal the whole family will love. Whether you're firing up the grill or using a skillet, this from-scratch recipe delivers restaurant-quality results at home.

If you were to ask me what my favorite Tex-Mex dish is, it would be beef fajitas-hands down! It's what I order every time I visit a Tex-Mex restaurant and my go-to when I fire up the grill at home. And when it's all homemade and from scratch? Game over!
👇Jump to:
I've spent a lot of time testing different fajita marinades, trying to recreate that authentic, smoky, savory flavor at home. While I was originally skeptical about using soy sauce (it felt out of place), I have to admit-it makes a huge difference. It enhances the beefy flavor and acts as a tenderizer, giving the steak that perfect umami flavor.
My Latest Videos
Pair these fajitas with fresh guacamole (a must for beef fajitas) pico de gallo, or my corn and avocado salad.

Key Ingredients & Substitutions
- Skirt Steak: Outside skirt is ideal-it's more tender than the inside cut. If needed, you can substitute flank steak or even ribeye.
- Soy Sauce: Adds umami and saltiness to the marinade.
- Acid: I like to use both lime juice and orange juice for flavor and to tenderize. Pineapple juice is also a great substitute if you want something different.
How To Make Beef Fajitas
Beef fajitas are easier than you'd think-and when made from scratch, they truly shine with flavor. Here's how to bring this restaurant favorite into your home kitchen:
STEP 1
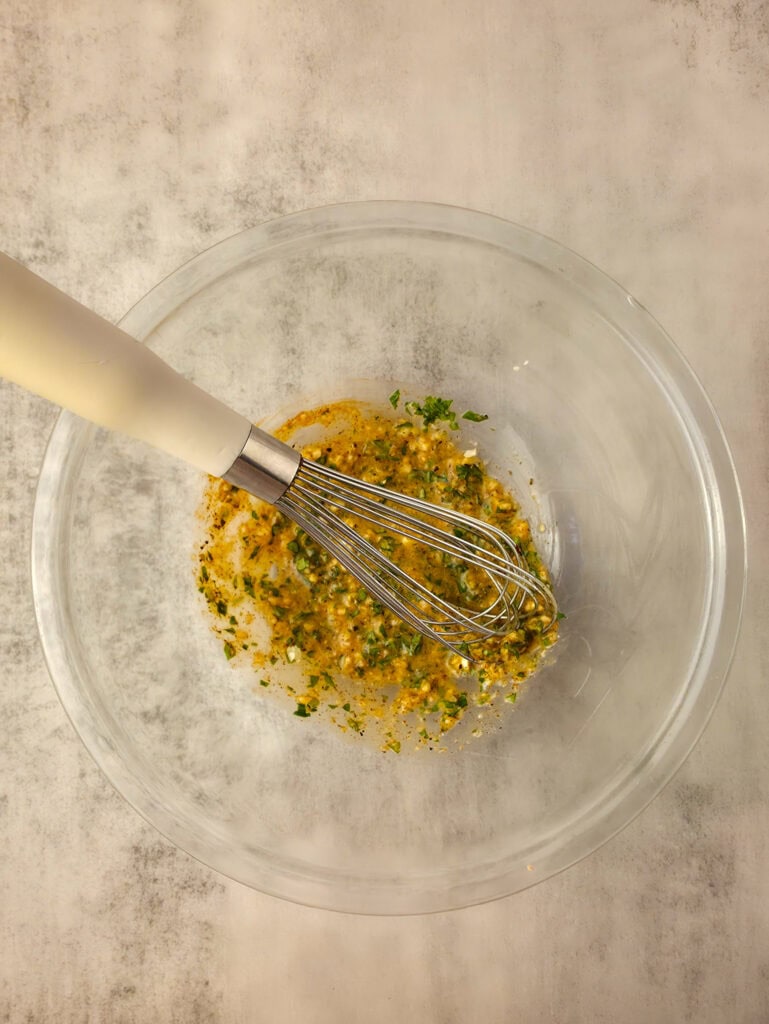
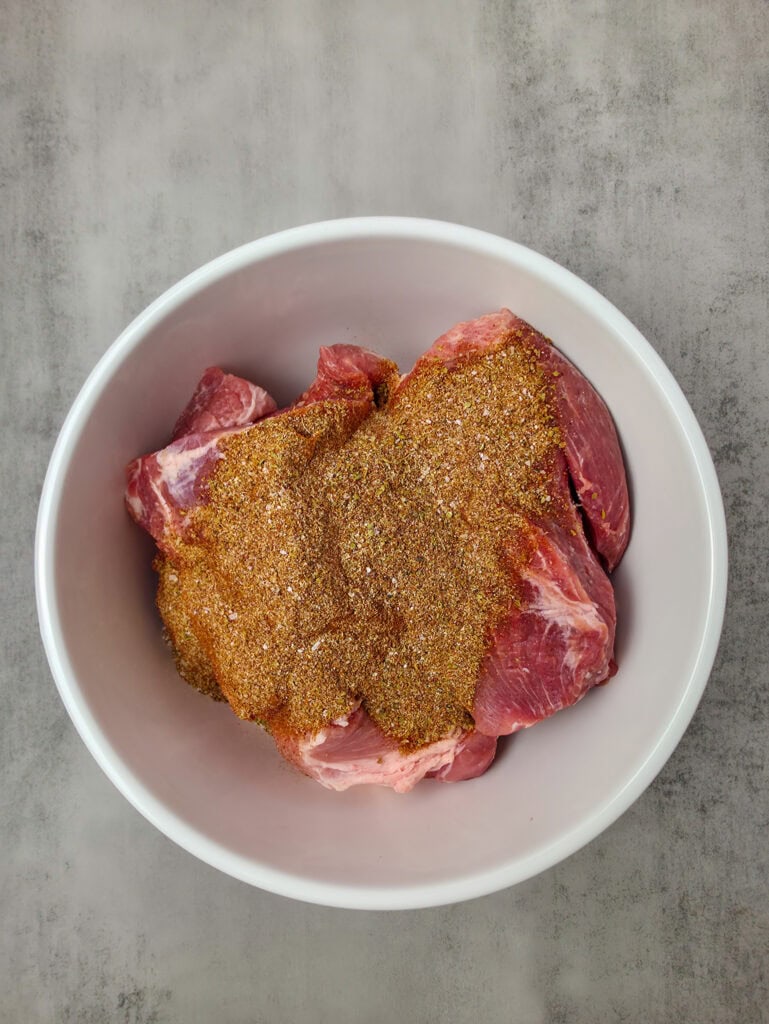
In a small bowl, whisk together the marinade ingredients. Pour into a large freezer bag with the skirt steak. Make sure the steak is fully coated in the marinade, seal the bag, and refrigerate for at least 2 hours or up to 6 hours.


STEP 2
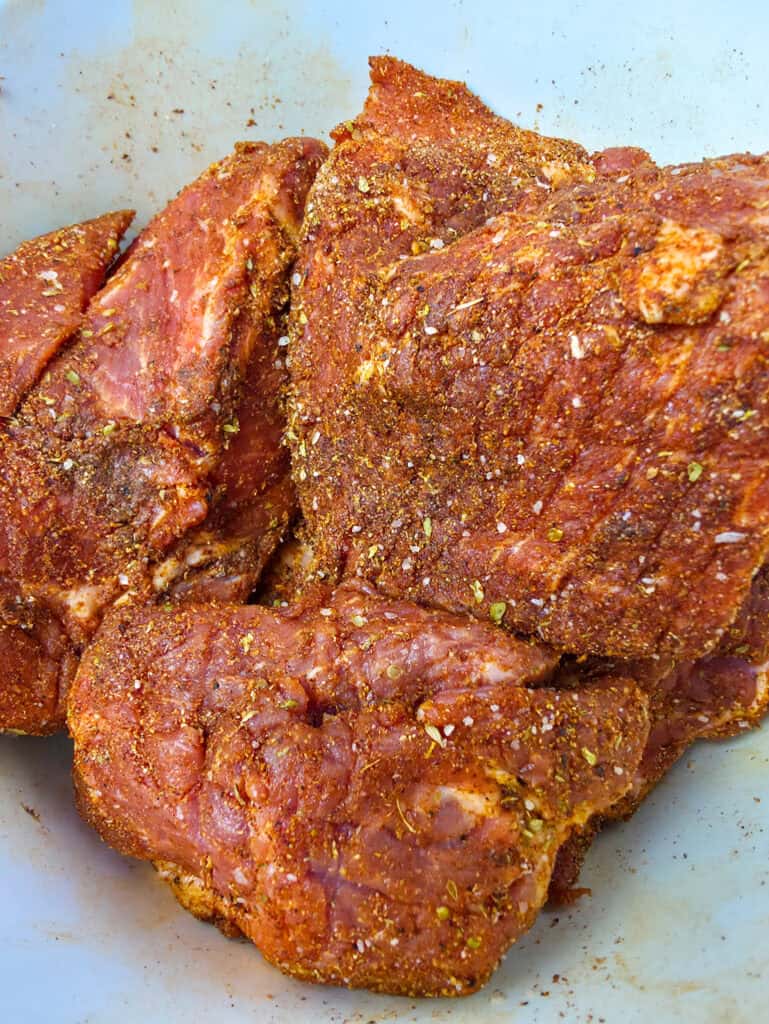
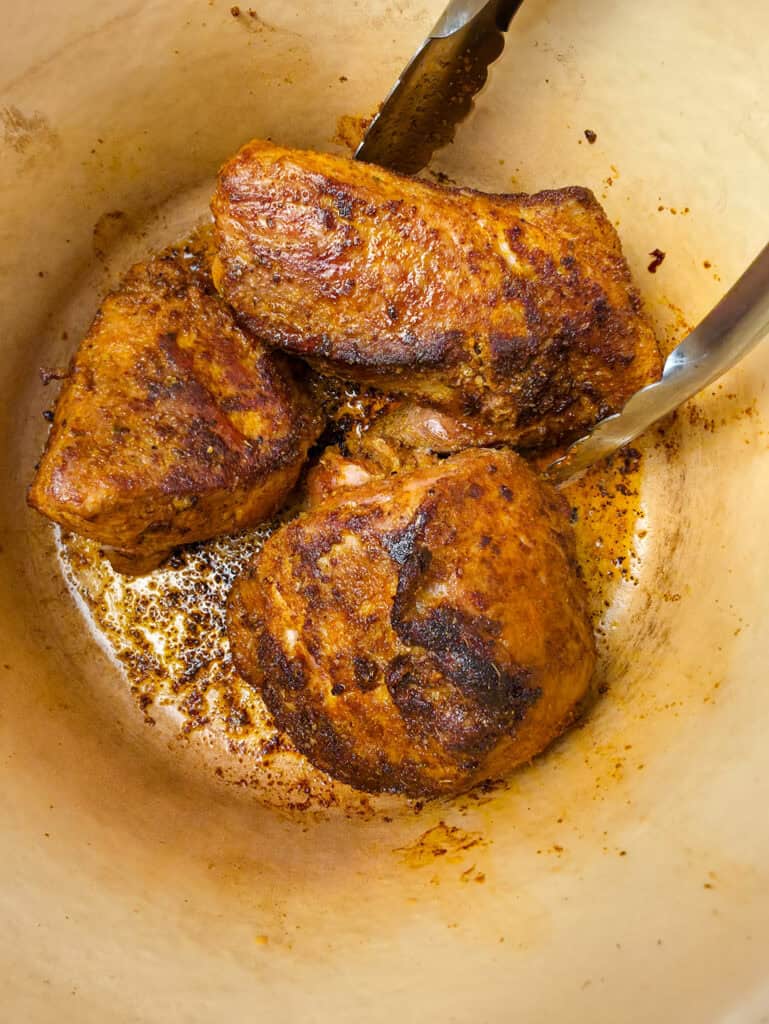
Remove the steak from the marinade, pat dry, and season each piece with salt and pepper. Grill over high heat for 2-4 minutes per side for medium-rare. Alternatively, cook in a hot skillet with 2 tablespoons of oil.
STEP 3
Remove the steak from heat and wrap in foil. Let rest (at least 15 minutes) while you cook the peppers and onions.
STEP 4
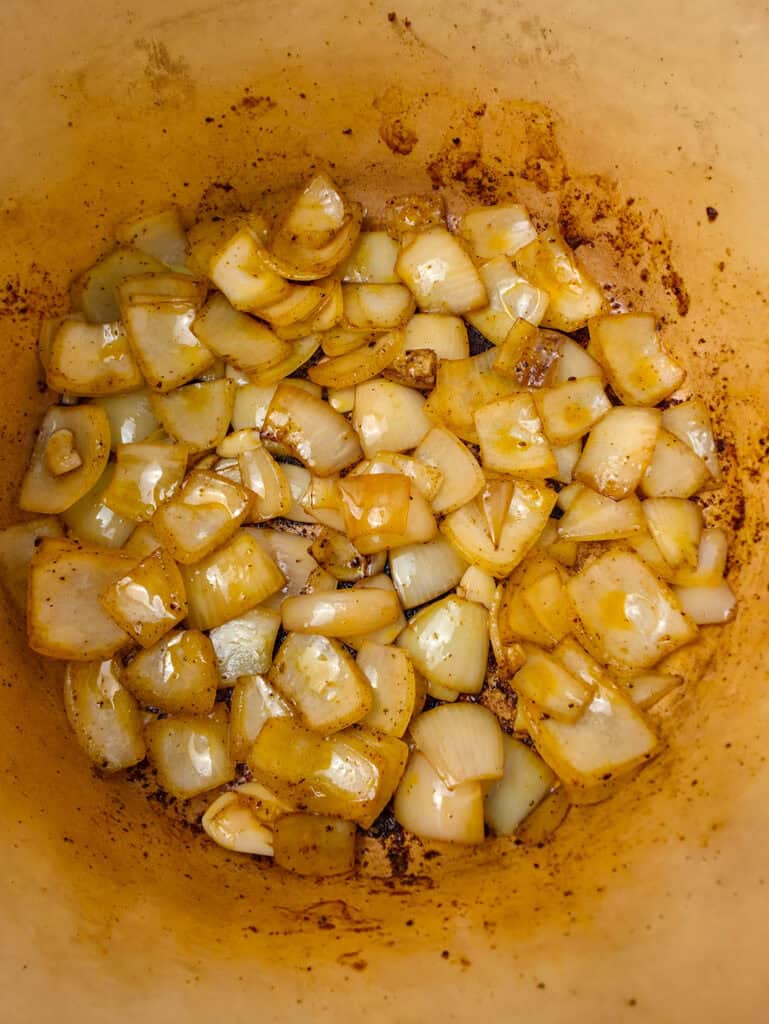
Heat a large skillet over high heat and drizzle in a little oil. Add sliced bell peppers and onions, season with salt and pepper, and cook until tender and caramelized.
STEP 5
Slice the steak thinly against the grain. Serve hot with the peppers and onions in warm tortillas. Enjoy!

💡Expert Tips
- Cut the steak into 2-3 pieces for easier slicing later.
- Don't skip resting the steak-it keeps the juices in!
- To get the most tender bites, slice your skirt steak against the grain. Just look for the lines running through the meat (those are the muscle fibers) and cut across them, not along them. This breaks up the fibers and makes the steak way easier to chew!
Frequently Asked Questions
Skirt steak is the classic choice, with outside skirt being the most tender. Flank or ribeye can also be used.
Absolutely! Especially if you are using skirt steak! The marinate helps bring delicious flavor to the steak as well as helping to tenderize the steak.
Absolutely! A heavy skillet or cast iron pan over high heat works beautifully.
More Delicious Recipes
FOLLOW ME on Facebook, Pinterest, and YouTube to stay connected!
If you tried this Beef Fajitas recipe or any other recipe on my blog, I'd love to hear from you! Leave a 🌟 star rating and let me know how it went in the comment section below!
📖 Recipe

Beef Fajitas
Ingredients
- 1 ½ pounds skirt steak cut into 2 to 3 equal pieces
- ¼ cup fresh lime juice
- 3 tablespoons orange juice
- ¼ cup soy sauce
- 2 tablespoons brown sugar
- 3 cloves garlic crushed
- ¼ cup olive oil for marinade
- 1 ½ teaspoons cumin
- ½ teaspoon coriander
- ½ teaspoon chipotle powder or cayenne pepper
- ½ teaspoon onion powder
- ½ teaspoon paprika
- 2 ½ teaspoons salt
- 1 teaspoon pepper
- 2 large bell peppers sliced
- 1-2 large yellow or white onions sliced
- flour tortillas as needed
- additional toppings see notes
Instructions
- In a small bowl, whisk together the lime juice, orange juice, soy sauce, brown sugar, crushed garlic, ¼ cup of olive oil, cumin, coriander, chipotle powder, onion powder and paprika. Pour into a large freezer bag with the skirt steak. Make sure each piece is fully coated in the marinade.
- Lay flat in the refrigerator and turn bag every 1-2 hours to evenly distribute the marinade. Refrigerate for at least 2 hours or up to 6 hours.
- Remove the steak from the marinade and pat dry. Mix together 2 teaspoons of salt and 1 teaspoon of pepper. Season each piece with the salt and pepper mixture. Grill over high heat for 2-4 minutes per side for medium-rare. Alternatively, cook in a hot skillet with 2 tablespoons of oil. (Medium rare is the best cook for this cut of meat. The longer it cooks, the tougher it will be to chew.)
- Remove the steak from heat and wrap in foil. Let rest (at least 15 minutes) while you cook the peppers and onions.
- Heat a large skillet over high heat and drizzle in a little oil. Add the sliced bell peppers and onions, season with ½ teaspoon of salt and ½ teaspoon of pepper, and cook until they're tender and caramelized, stirring occasionally.
- Slice the steak thinly against the grain. Serve hot with the peppers and onions in warm tortillas and additional toppings. Enjoy!
Notes
- Cut the steak into 2-3 pieces for easier slicing later.
- Don't skip resting the steak-it keeps the juices in!
- To get the most tender bites, slice your skirt steak against the grain. Just look for the lines running through the meat (those are the muscle fibers) and cut across them, not along them. This breaks up the fibers and makes the steak way easier to chew!
- Serve with guacamole, sour cream and pico de gallo!