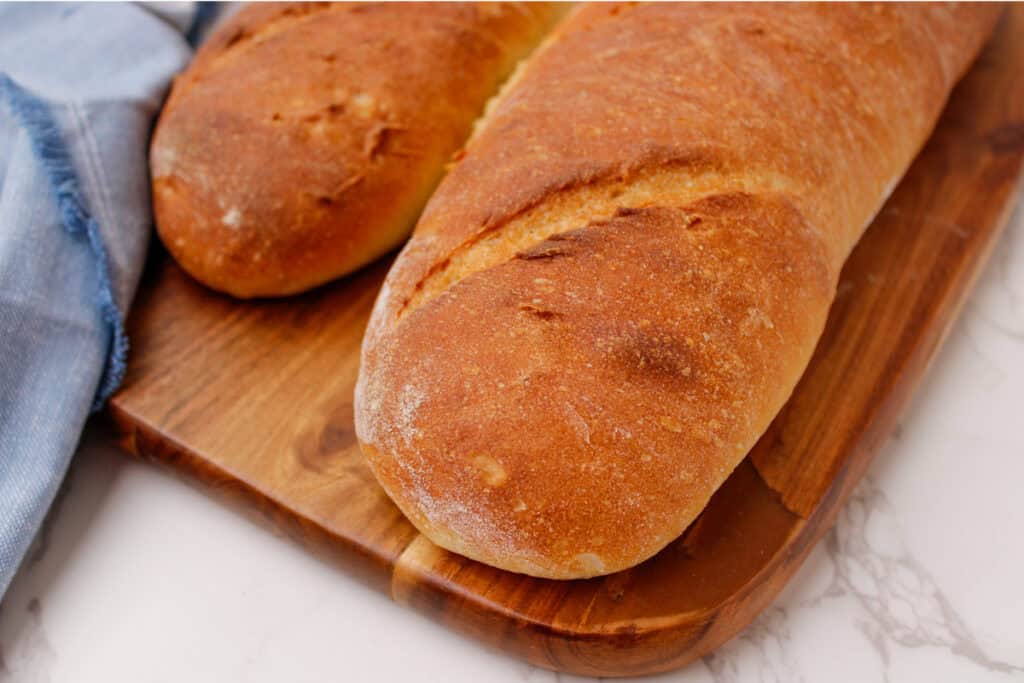
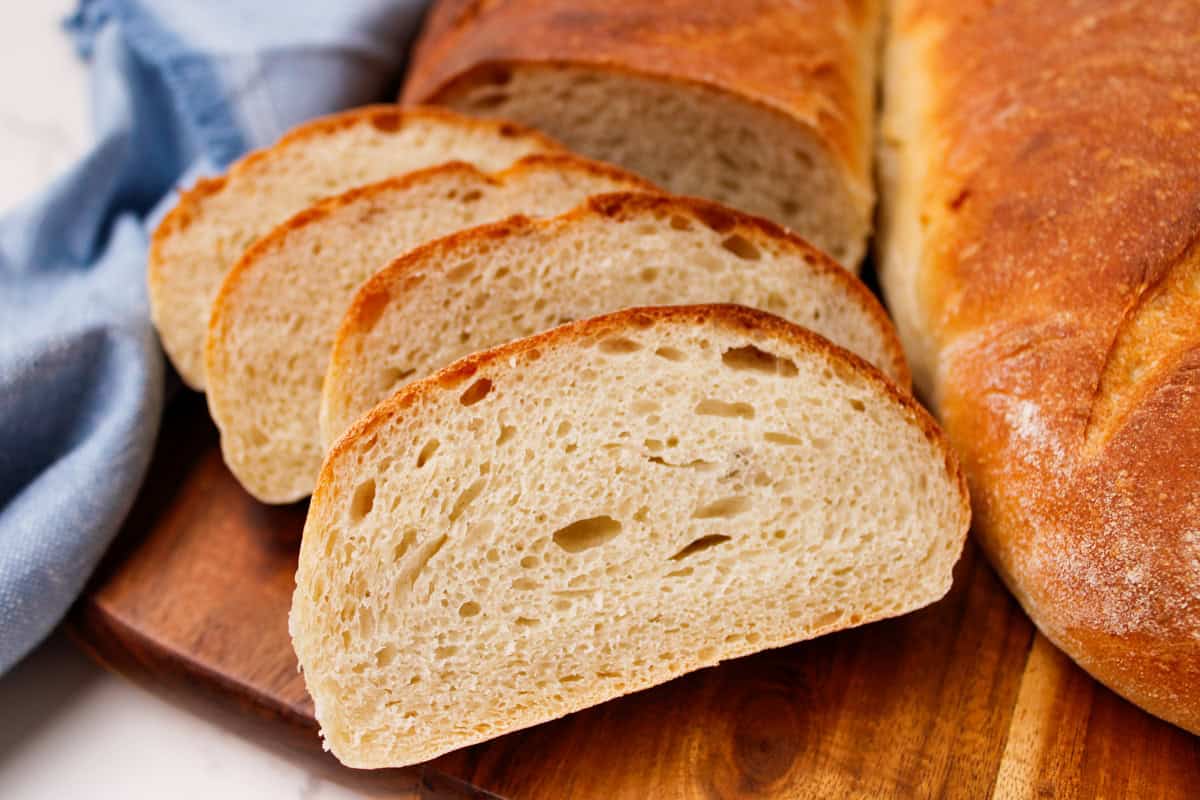
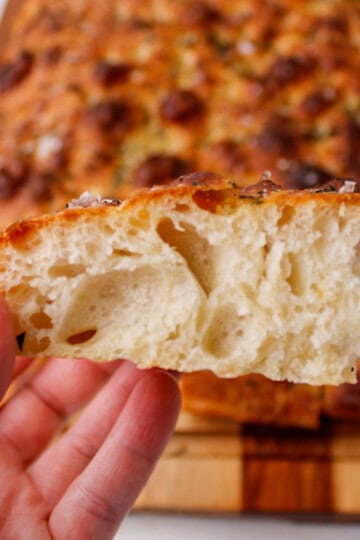
This Easy French Bread Recipe delivers two golden, artisan-style loaves with a crackly crust and a soft, chewy center. Made with simple pantry staples, it brings bakery-quality bread right to your kitchen using everyday ingredients.
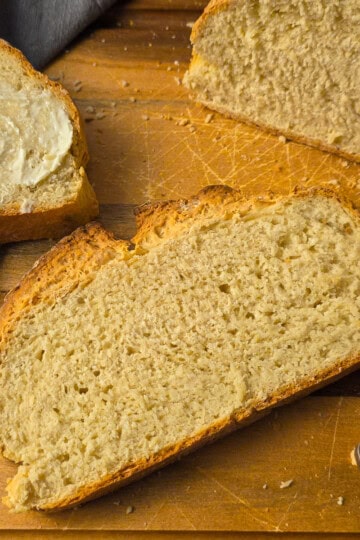
I've baked this recipe for years, and it never fails. It's perfect enjoyed warm with butter, turned into my best garlic bread, or shaped into slender loaves for my homemade baguette recipe. If you love baking from scratch, be sure to check out my full collection of easy bread recipes for even more inspiration!
Table of contents
I haven't bought store-bought French bread in years, and once you try this recipe, you'll see why. The texture of fresh homemade bread, made without any preservatives or softeners, is completely unmatched. Plus, since this recipe yields two loaves, I always keep one tucked away in my freezer for busy nights!
I know bread-making can feel intimidating if you're new to it, but think of this recipe as your baseline. As you practice, you'll get comfortable reading the dough and knowing exactly how it should feel at every step.
Key Ingredients & Substitutions
- Bread Flour: I updated this recipe to use 100% bread flour (5 cups total). The higher protein content gives these loaves their classic chewy structure and an incredible rise.
- Active Dry Yeast: Activates with warm water to give the dough its rise and classic flavor. Instant yeast works too, just skip blooming and mix it directly into the dry ingredients.
- Warm Water: You'll need 2 cups total, warmed to around 105°F-110°F. Water that is too hot will kill the yeast, while cold water will delay the rise.
- Sugar: Just a teaspoon feeds the yeast to jumpstart activation and helps the crust brown beautifully in the oven. Honey is a great substitute.
See the recipe card below for the full list of ingredients and measurements.
How To Make French Bread
Making artisan-style French bread at home is simple when you break it down into a few clear steps. Here is a visual look at how this dough comes together from start to finish!
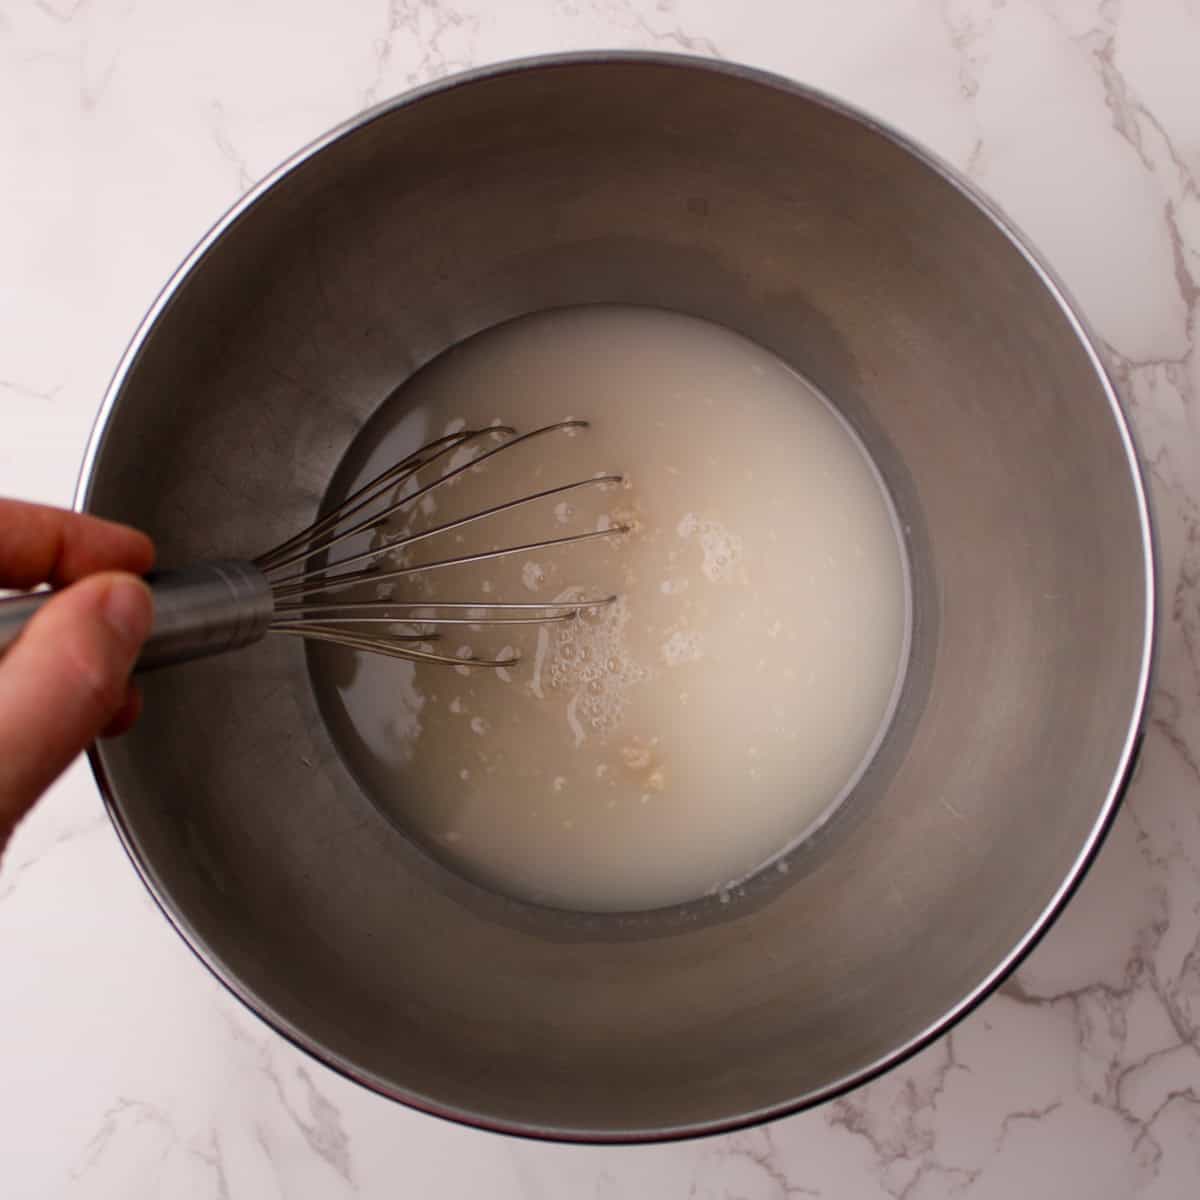
- Whisk the water, yeast, and sugar together in your bowl. Let sit for 5 minutes until foamy.
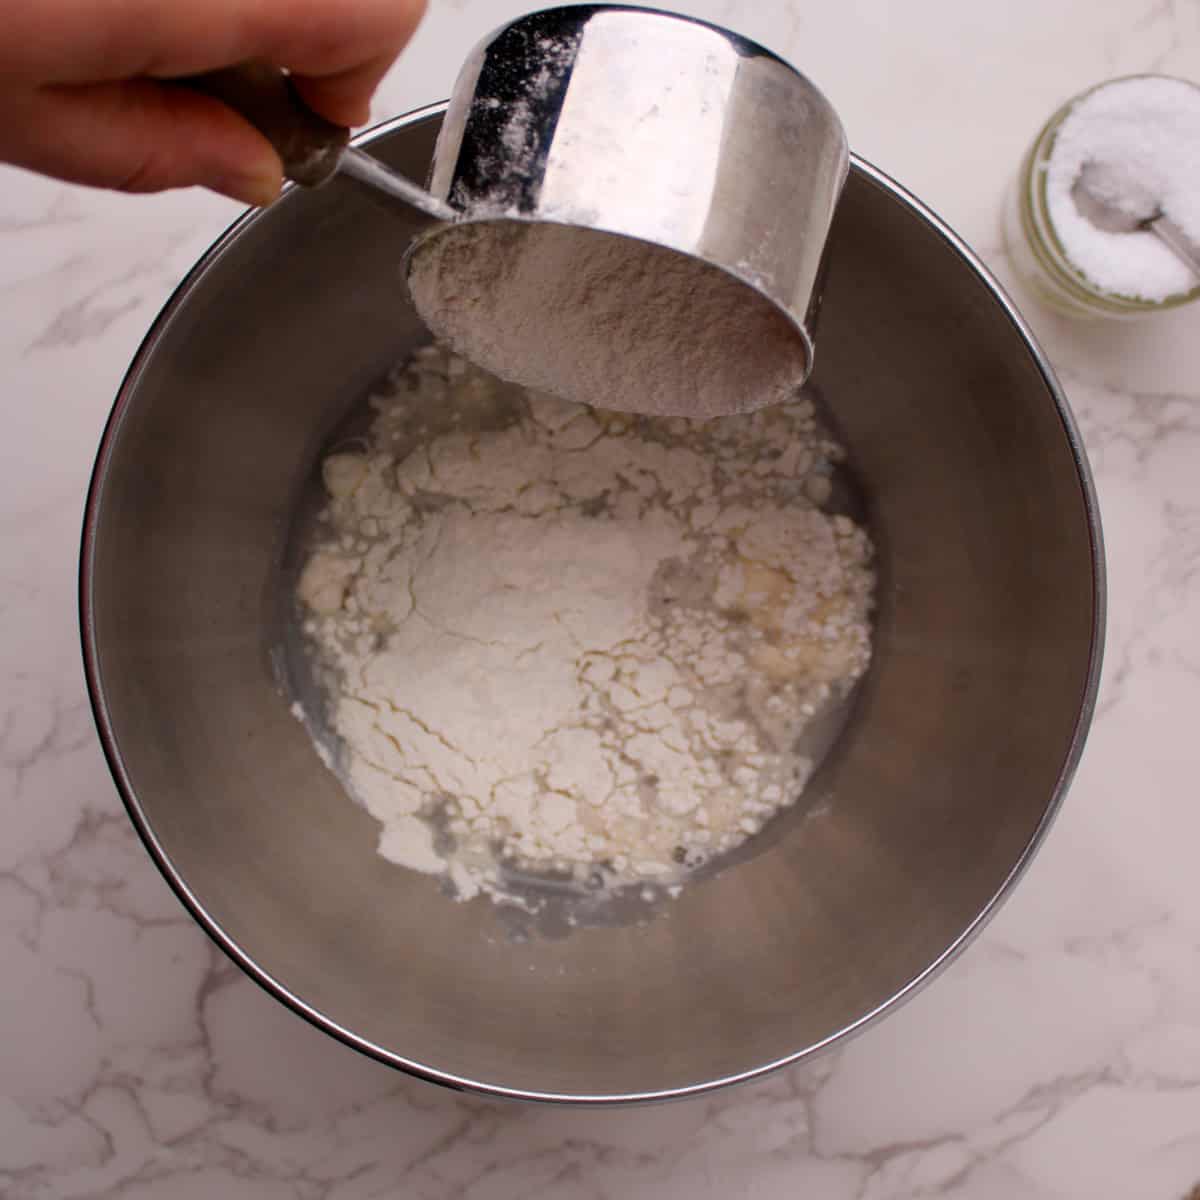
- Add salt and 3 cups of flour. Mix until fully combined.
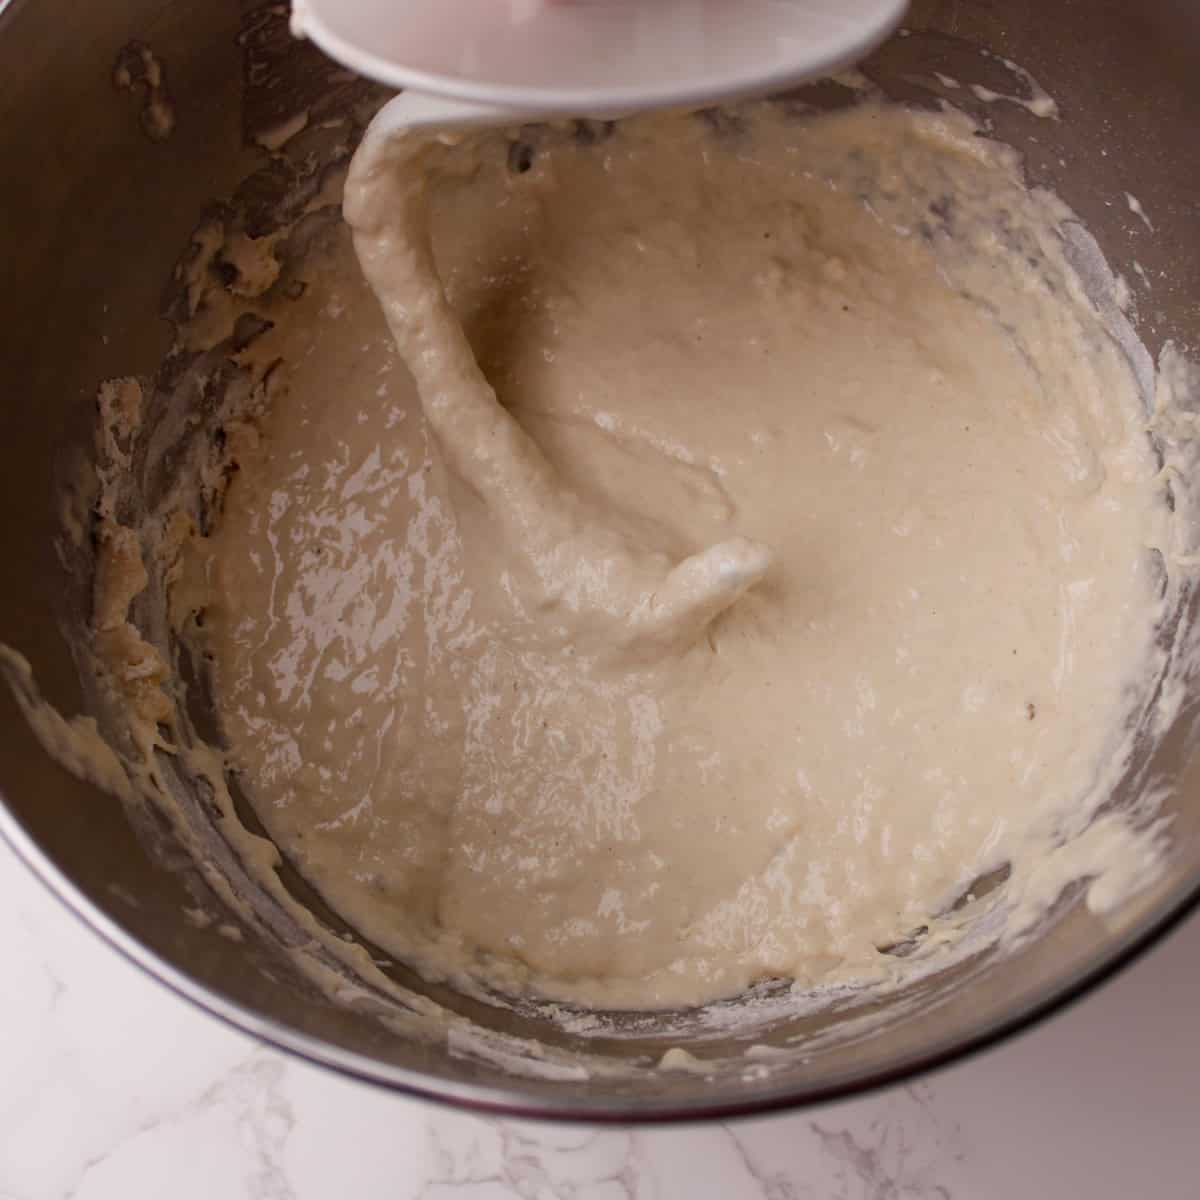
- Slowly add in the rest of the flour ½ cup at a time until dough pulls together. Knead for 8-10 minutes until the dough is smooth and elastic.
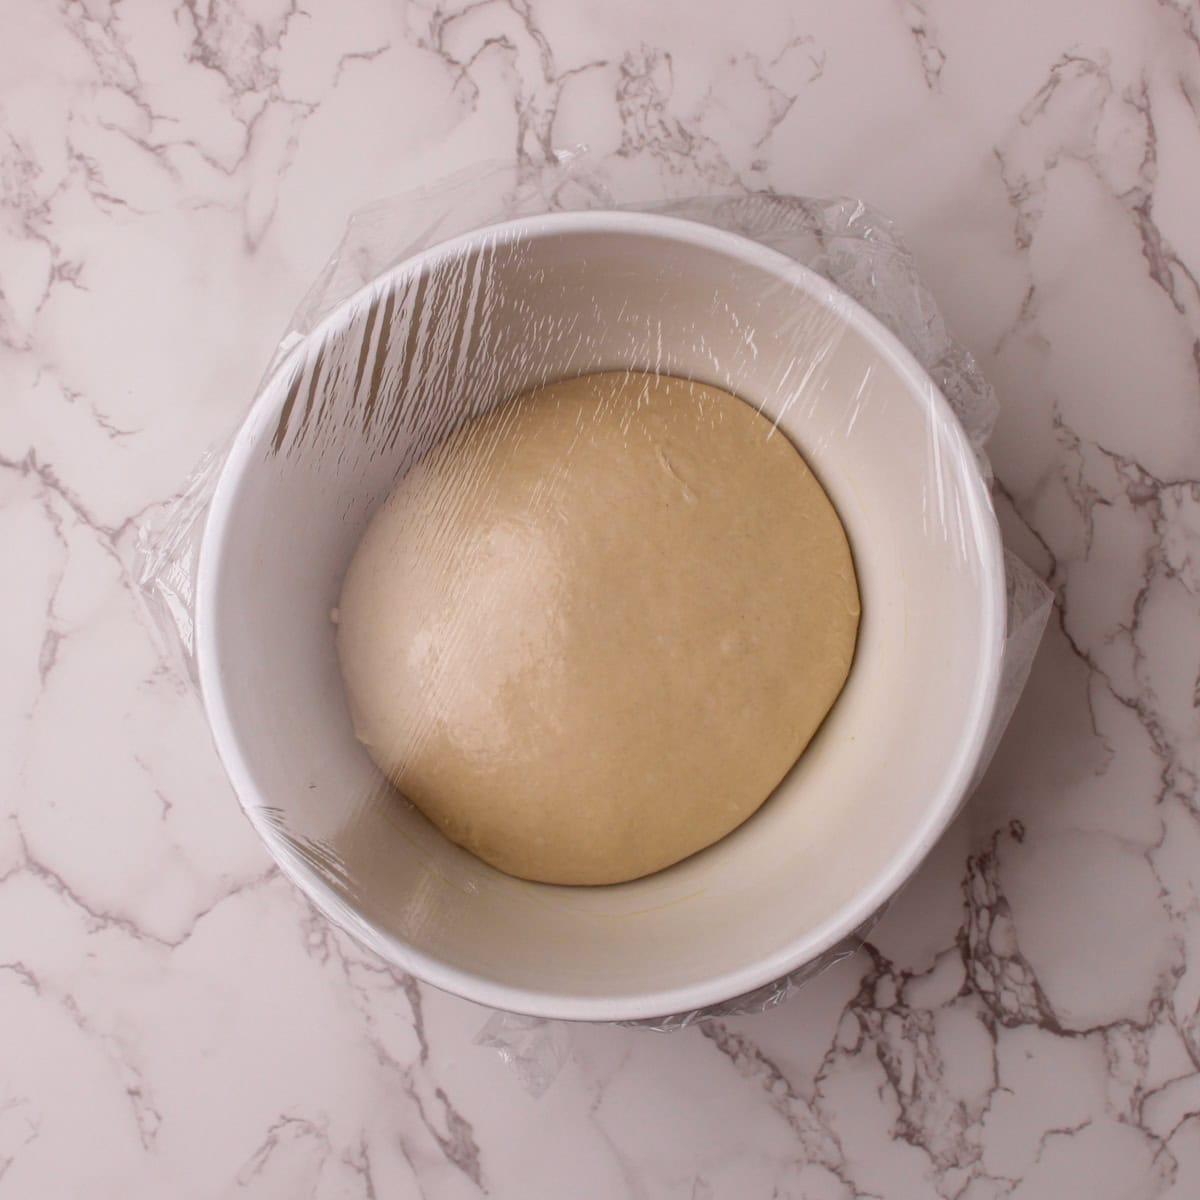
- Once smooth and elastic, shape into a ball, cover, and let rise for 1 to 2 hours until doubled in size.
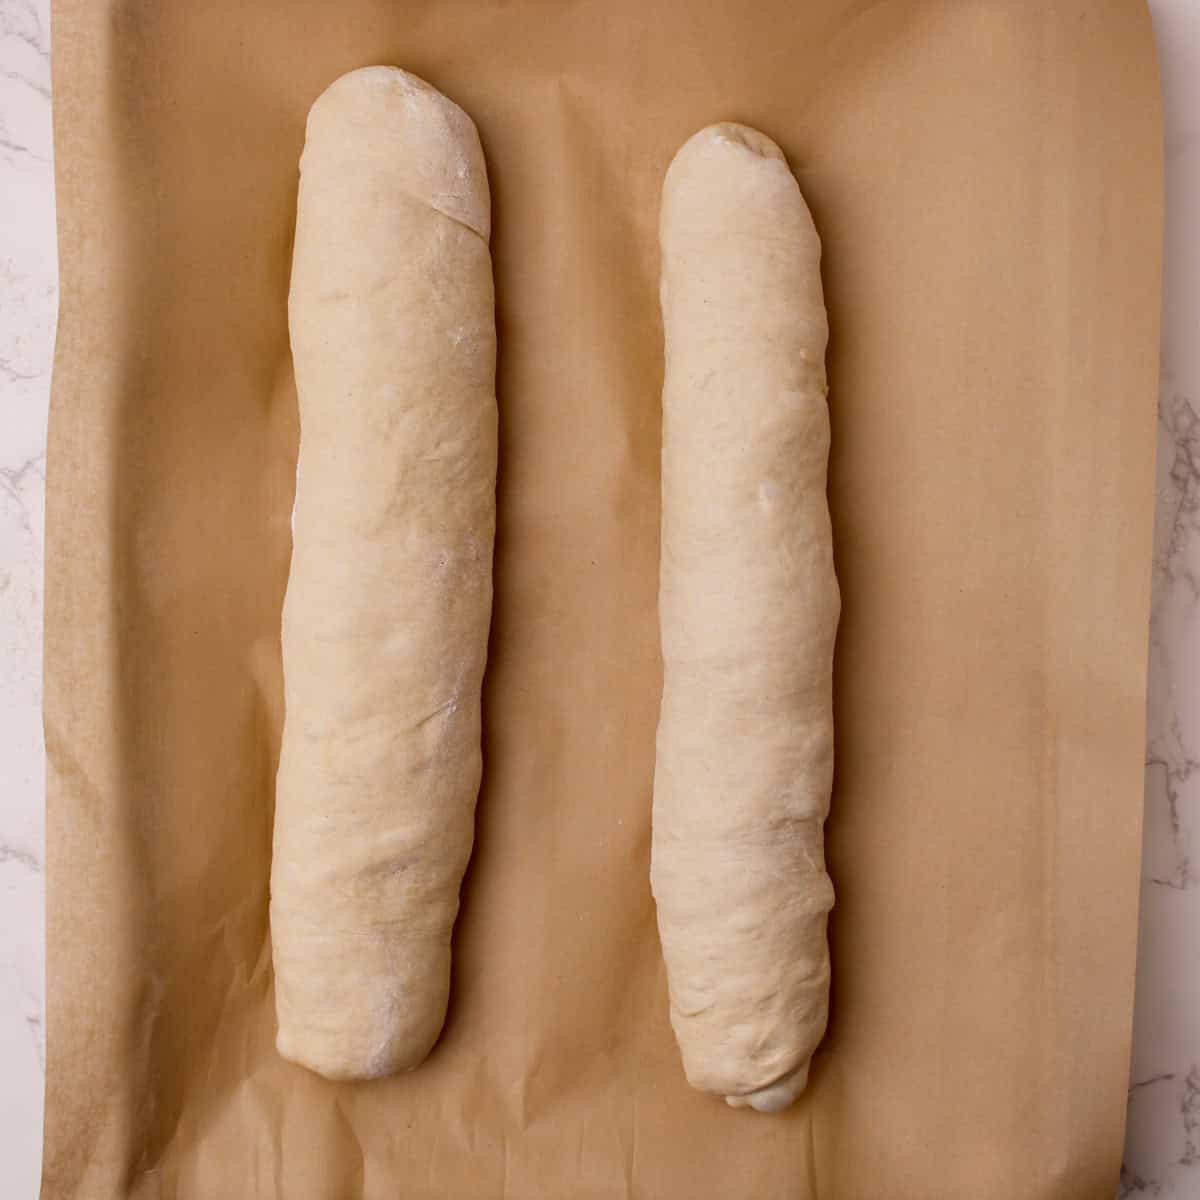
- Divide dough in half. Flatten into rectangles, fold top to bottom, seal the seam, and roll into long loaves. Place seam-side down on parchment paper.
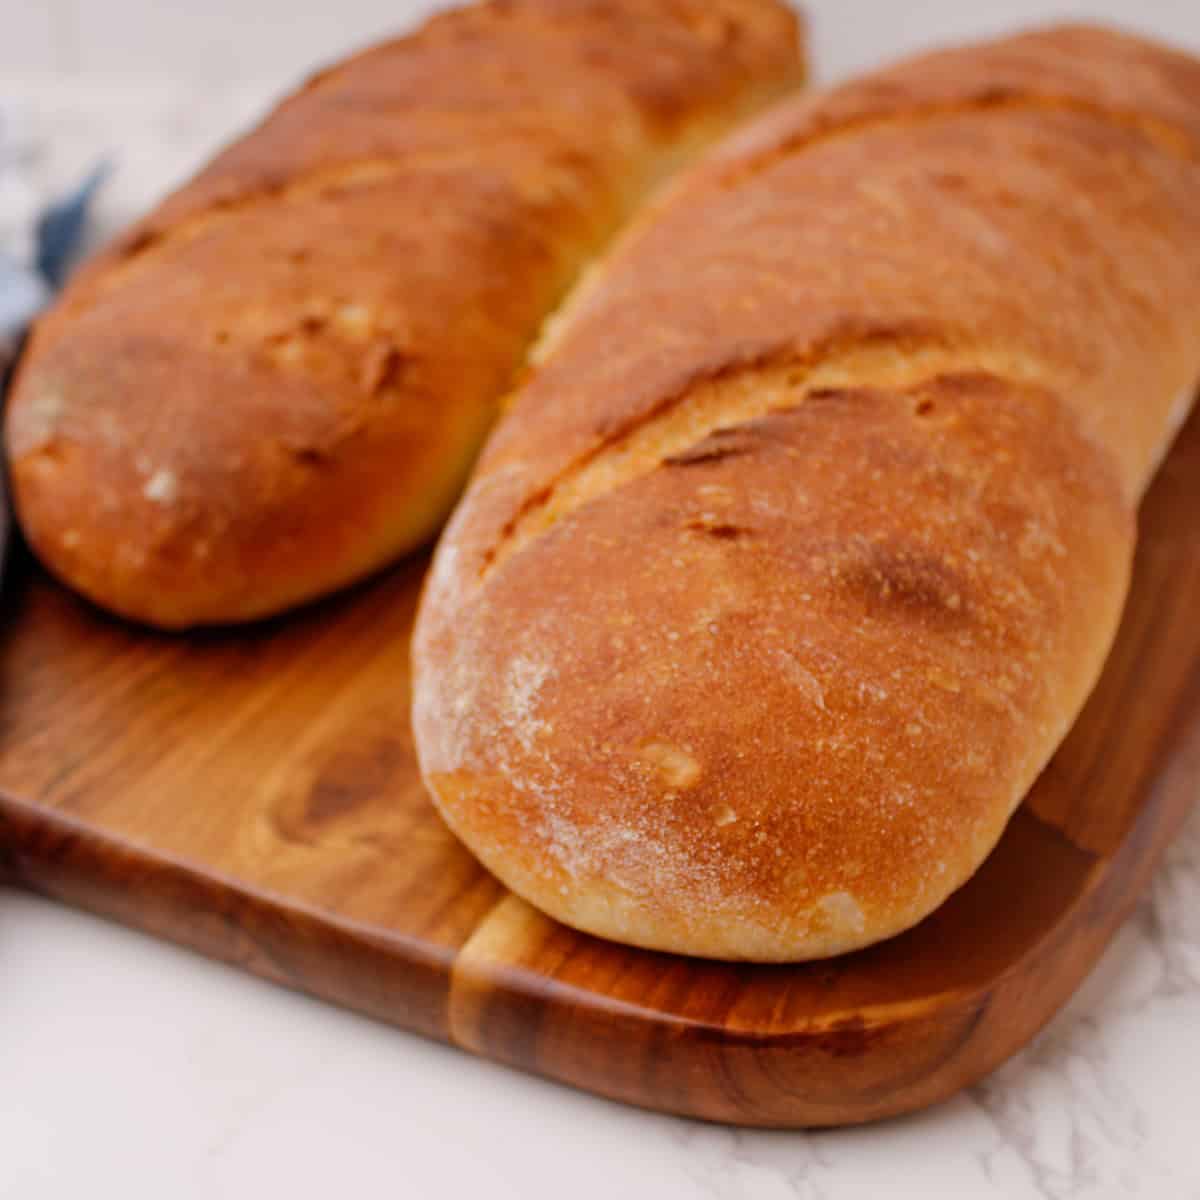
- Let loaves proof until puffy, slash the tops, and bake at 450°F with steam until golden brown. Cool completely on a wire rack!
See the recipe card below for the full recipe.
👉 Sky's Tips for Making French Bread
- Treat the flour amount as a guideline. Humidity and air temperature affect how much flour your dough absorbs. Always start with 3 cups, then add remaining flour a little at a time until the dough feels soft and tacky, not stiff or sticky. Adding too much flour makes bread dense.
- Don't rush the kneading. Kneading develops the gluten that gives French bread its structure. Knead for 8 to 10 minutes until smooth and stretchy. You can test it by gently pulling a piece of dough; it should stretch without tearing easily.
- Give it time to proof fully. An underproofed dough will not rise as well in the oven, resulting in a heavy loaf. Let the dough double during both rises. A gentle poke with your finger should spring back slowly when it is ready to bake.
- Master the oven steam. Creating steam is the secret to a thin, crackly crust. Keeping a pan of hot water on the bottom rack during baking adds moisture to the oven air. For an extra crispy crust, you can also spray the loaves with water every 2 minutes during the first 8 minutes of baking.
- Let it cool completely before slicing. Cutting into hot bread lets steam escape too quickly, which stops the starch from setting and leaves you with a gummy crumb. Letting the loaves cool on a wire rack allows the interior moisture to distribute evenly for the best texture.
Storage & Freezing Tips
Because homemade bread does not contain any added preservatives, it is best enjoyed fresh or frozen shortly after baking to preserve its texture.
Storing at room temperature: Store cooled loaves in a paper bag or bread box at room temperature for up to 2 days to keep the crust crisp. Storing in plastic wrap softens the crust, but will keep the bread soft for up to 3 days.
Freezing French Bread
Allow the bread to cool completely. Wrap the loaf tightly in plastic wrap, then wrap in aluminum foil or place in a freezer bag. Freeze for up to 3 months.
Sliced Bread: Slice the cooled loaf, place parchment paper between slices, and store in a freezer-safe bag. This allows you to pull out individual slices whenever you need them!
Making bakery quality French bread at home doesn't have to be complicated or intimidating. With just a few pantry staples and a little patience, you'll have two golden, crackly loaves ready to elevate any meal.
-Sky🩷


FOLLOW ME on Facebook, Pinterest, and YouTube to stay connected!
If you tried this French Bread recipe or any other recipe on my blog, I'd love to hear from you! Leave a 🌟 star rating and let me know how it went in the comment section below!
📖 Recipe

Easy French Bread Recipe
Ingredients
- 2 ¼ teaspoons dry active yeast
- 2 cups warm water
- 1 teaspoon sugar
- 1 ½ teaspoons salt
- 5 cups bread flour
Instructions
- In a large bowl (or stand mixer bowl), whisk together the warm water, active dry yeast, and granulated sugar. Let sit for 5 minutes until foamy.
- Add the salt and 3 cups of flour. Mix on low speed using a dough hook (or a spoon) while gradually adding the remaining flour ½ cup at a time until a soft dough forms.
- Continue kneading for 8 to 10 minutes until the dough is smooth, elastic, and slightly tacky (about 5 cups of flour total).
- Shape the dough into a smooth ball and place it in a lightly greased bowl. Cover with and let rise in a warm spot for 1 to 2 hours, or until doubled in size.
- Punch down the dough and turn it out onto a floured surface. Divide into two equal portions. Press each piece into a rectangle, fold top to bottom, seal seam with the heel of your hand, and roll into long loaves. Place seam-side down on a parchment-lined baking sheet.
- Cover loosely with a towel and let proof for 45 minutes until puffy. Preheat oven to 450°F and place a rimmed pan filled with hot water on the bottom rack for steam. Make 3 to 4 diagonal cuts across the top of each loaf with a razor blade or bread lame. Bake for 20 to 25 minutes until golden brown and bottom sounds hollow when tapped.
- Transfer loaves to a wire rack to cool completely before slicing. Enjoy!
Notes
- Yeast Tip: Make sure your water is around 105°F-110°F. Water that is too hot will kill the yeast, while cold water will delay the rise.
- Flour Adjustment: Humidity affects flour absorption. Always start with 3 cups and add slowly until dough is soft and workable.
- Storage: Store cooled loaves in a paper bag at room temperature for up to 2 days, or freeze wrapped tightly for up to 3 months.


Shelly says
Great recipe!
Simply Scratch Made says
Thank you!