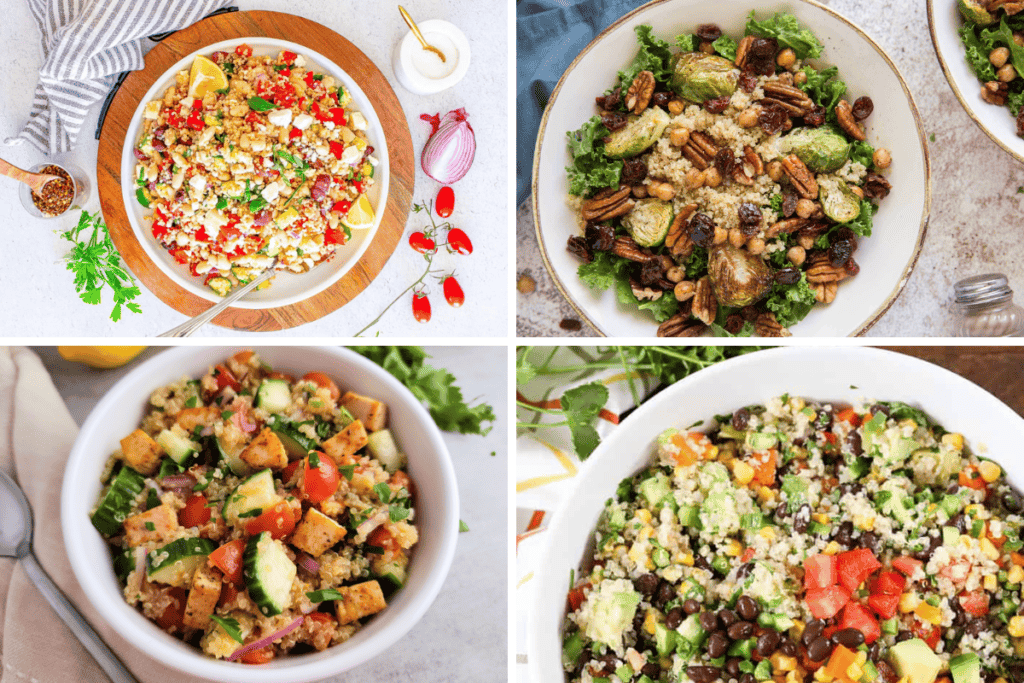
Looking for healthy, flavorful, and easy-to-make dishes? These 12 Best Quinoa Salad Recipes are the ultimate way to add a nutritious twist to your meals! Packed with protein, fresh veggies, and bold flavors, these salads are perfect for meal prep, quick lunches, or light dinners.
Whether you're a seasoned quinoa fan or just exploring this superfood, these recipes will inspire you to create vibrant, wholesome dishes. From Mediterranean-inspired bowls to hearty kale and quinoa salads, there's truly something for everyone!
I love creating recipe roundups, and this collection of the best quinoa salad recipes is no exception. I've carefully selected 12 standout recipes for you to enjoy. From southwestern flavors to a refreshing Greek-inspired quinoa salad, this roundup is full of delicious options that will keep you coming back for more. Let's dive in!
Tips for Making Quinoa
- Rinse or Toast Before Cooking - Quinoa should be rinsed or toasted before cooking. This helps eliminate the bitter taste that Quinoa can have if it is not rinsed or toasted before cooking.
- Cook with Stock/Broth - To get the best flavor, and added nutrients, cook the quinoa with stock or broth instead of the water.
- Let the Quinoa Rest - After cooking the quinoa let it rest at least 5 minutes (I like to let mine rest for 10 minutes) before removing the lid and fluffing it.
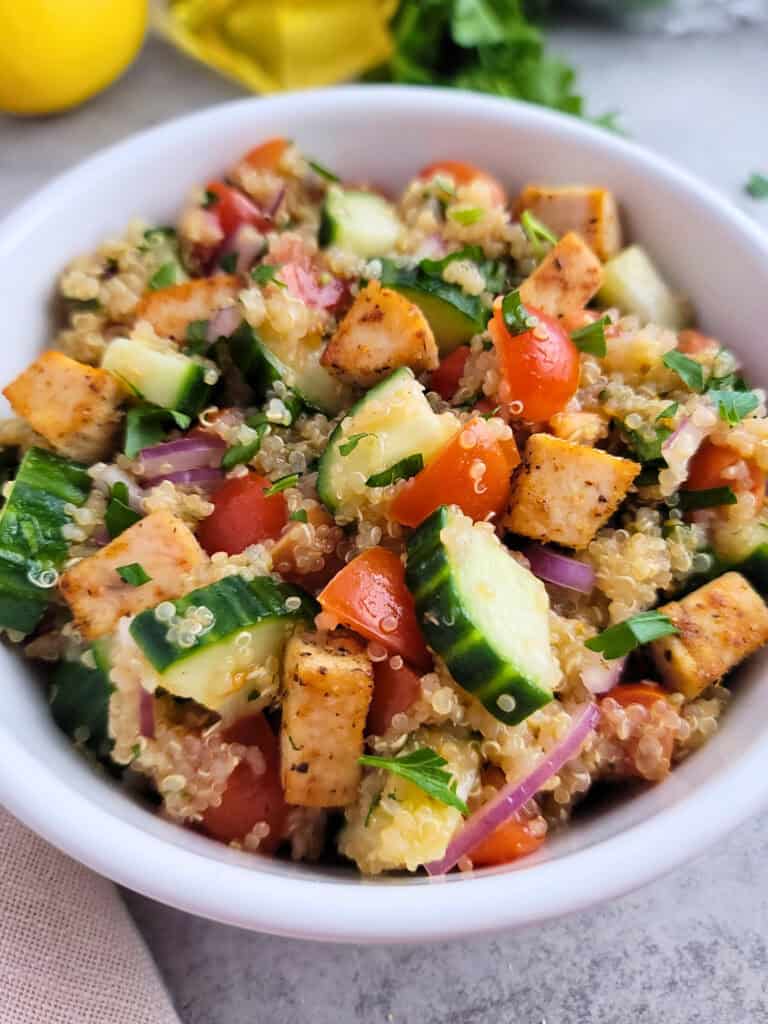
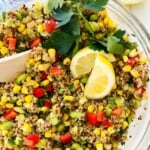
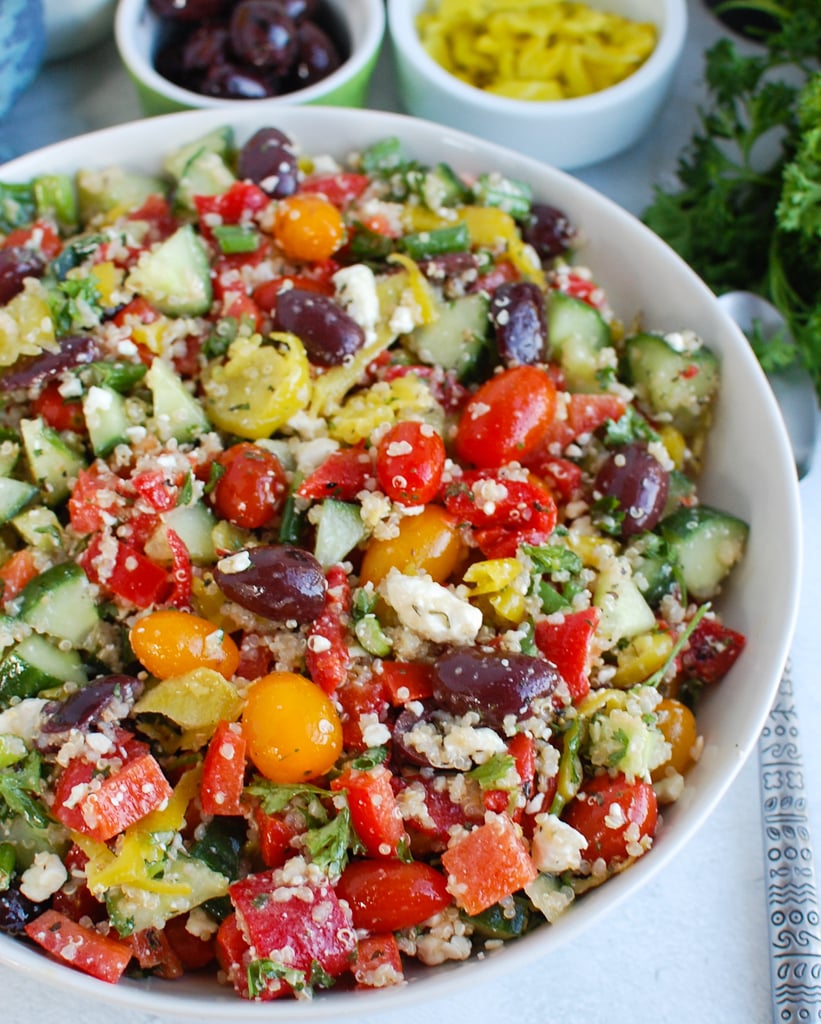
MEDITERRANEAN Quinoa Salad
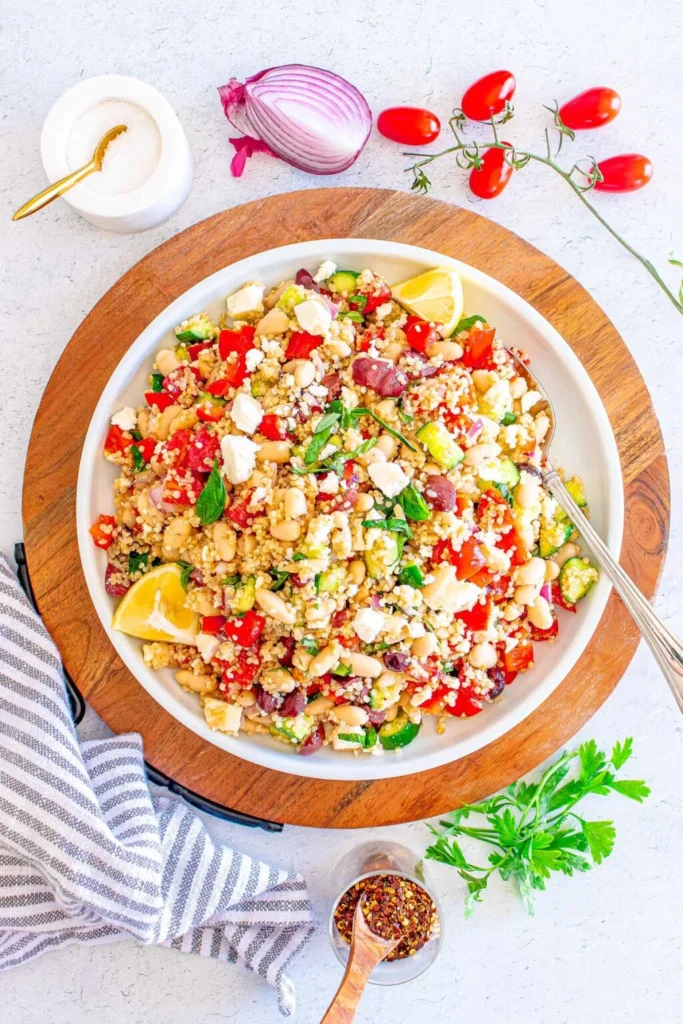
Cooked quinoa is a great base for a tasty salad. It's filling, tasty and pairs wonderfully with the fresh ingredients used. It's a versatile recipe and you can enjoy the Mediterranean quinoa salad as a side dish or as a main course.

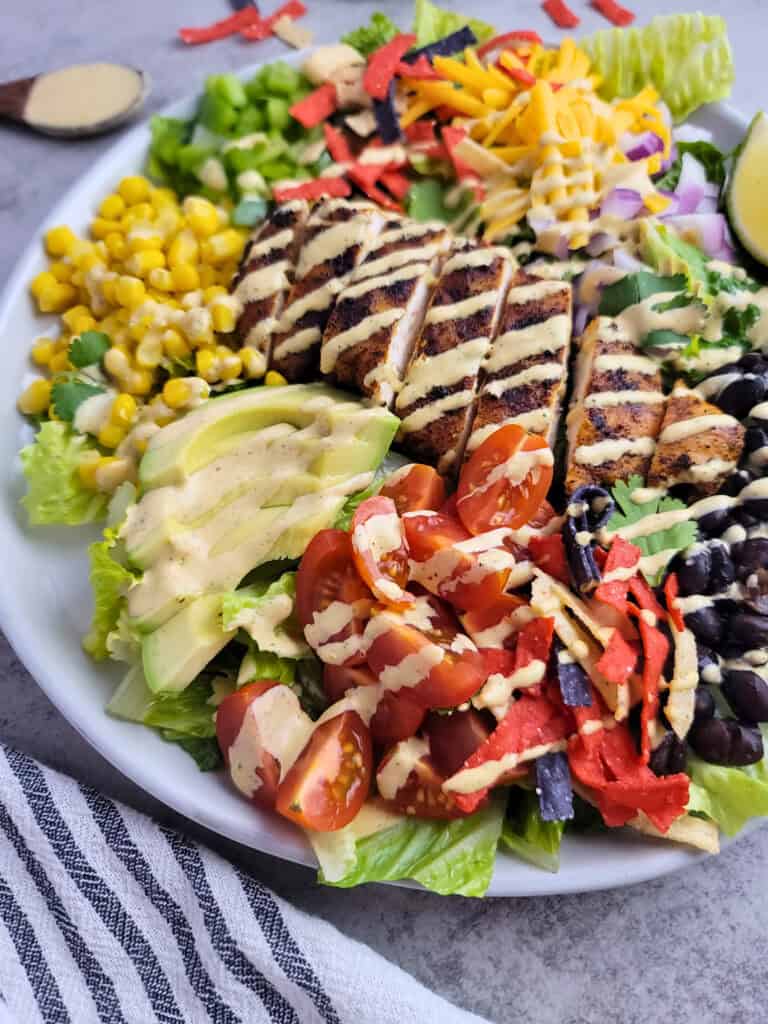
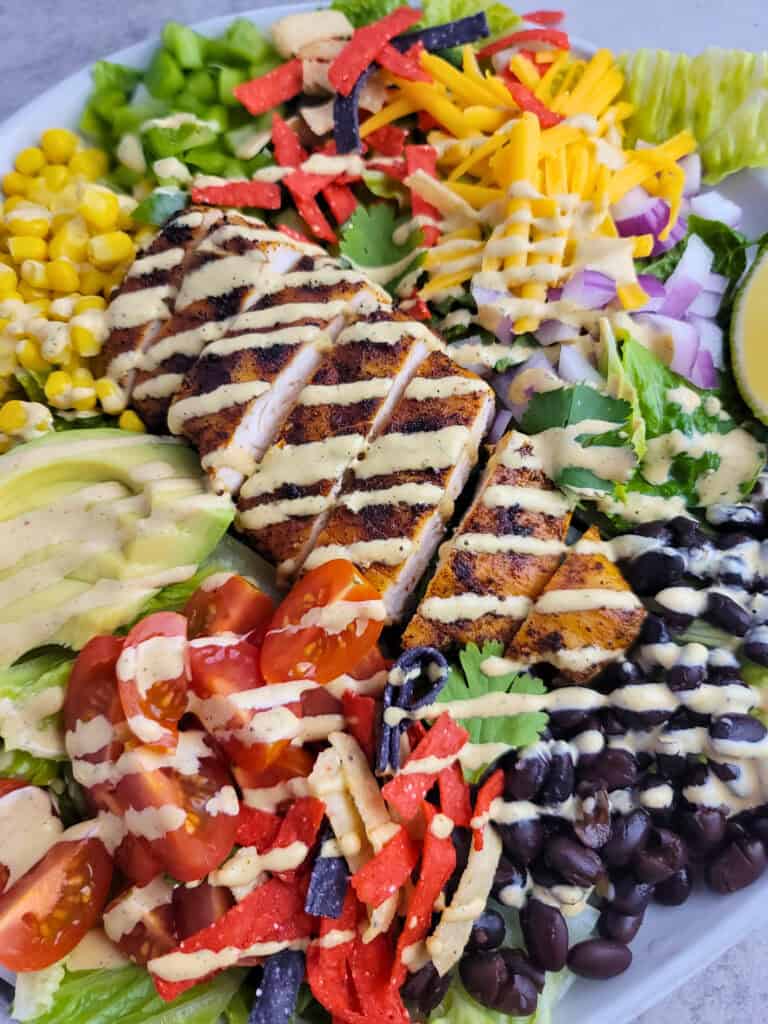
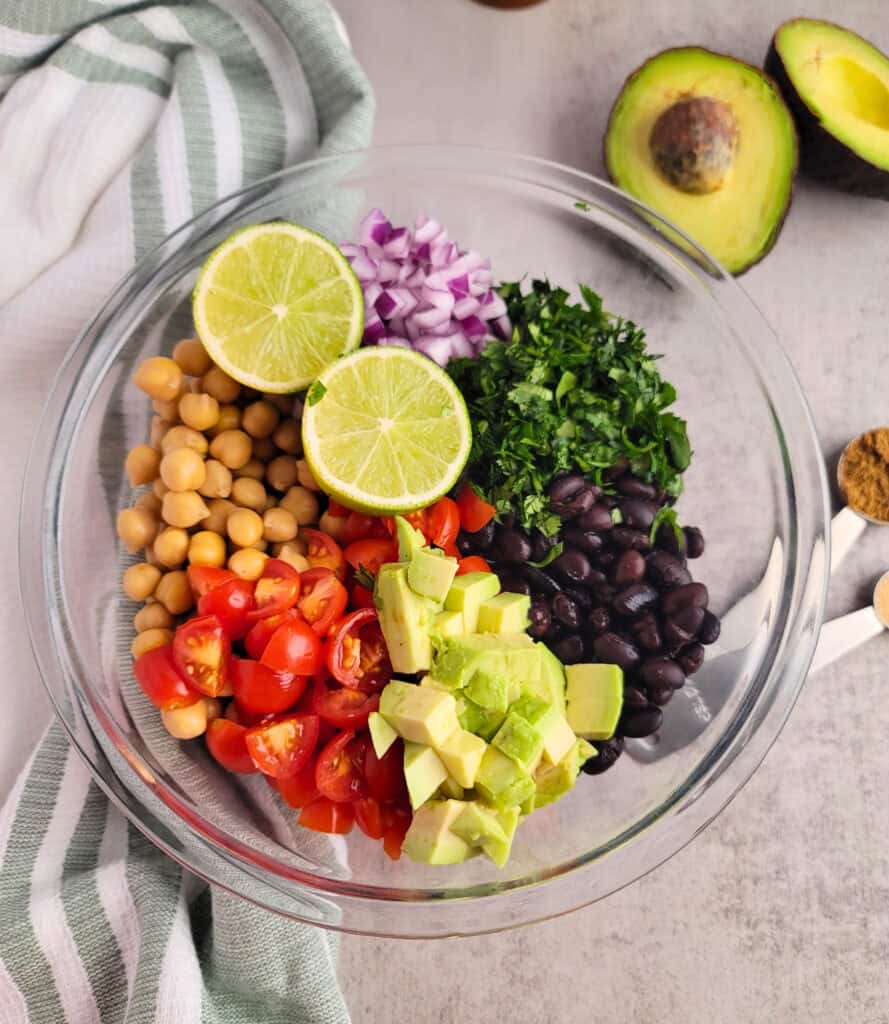
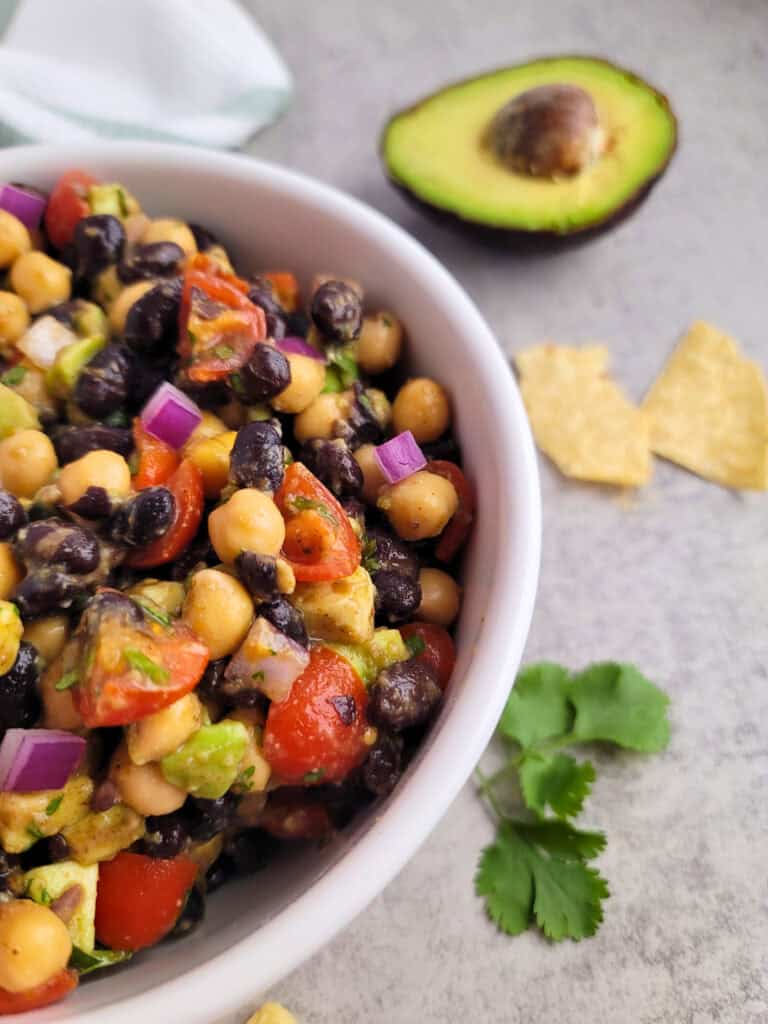
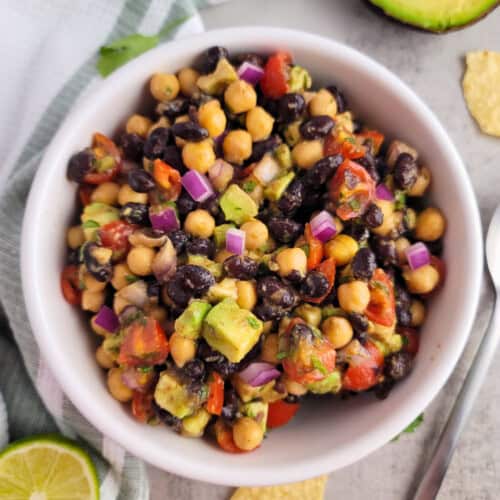
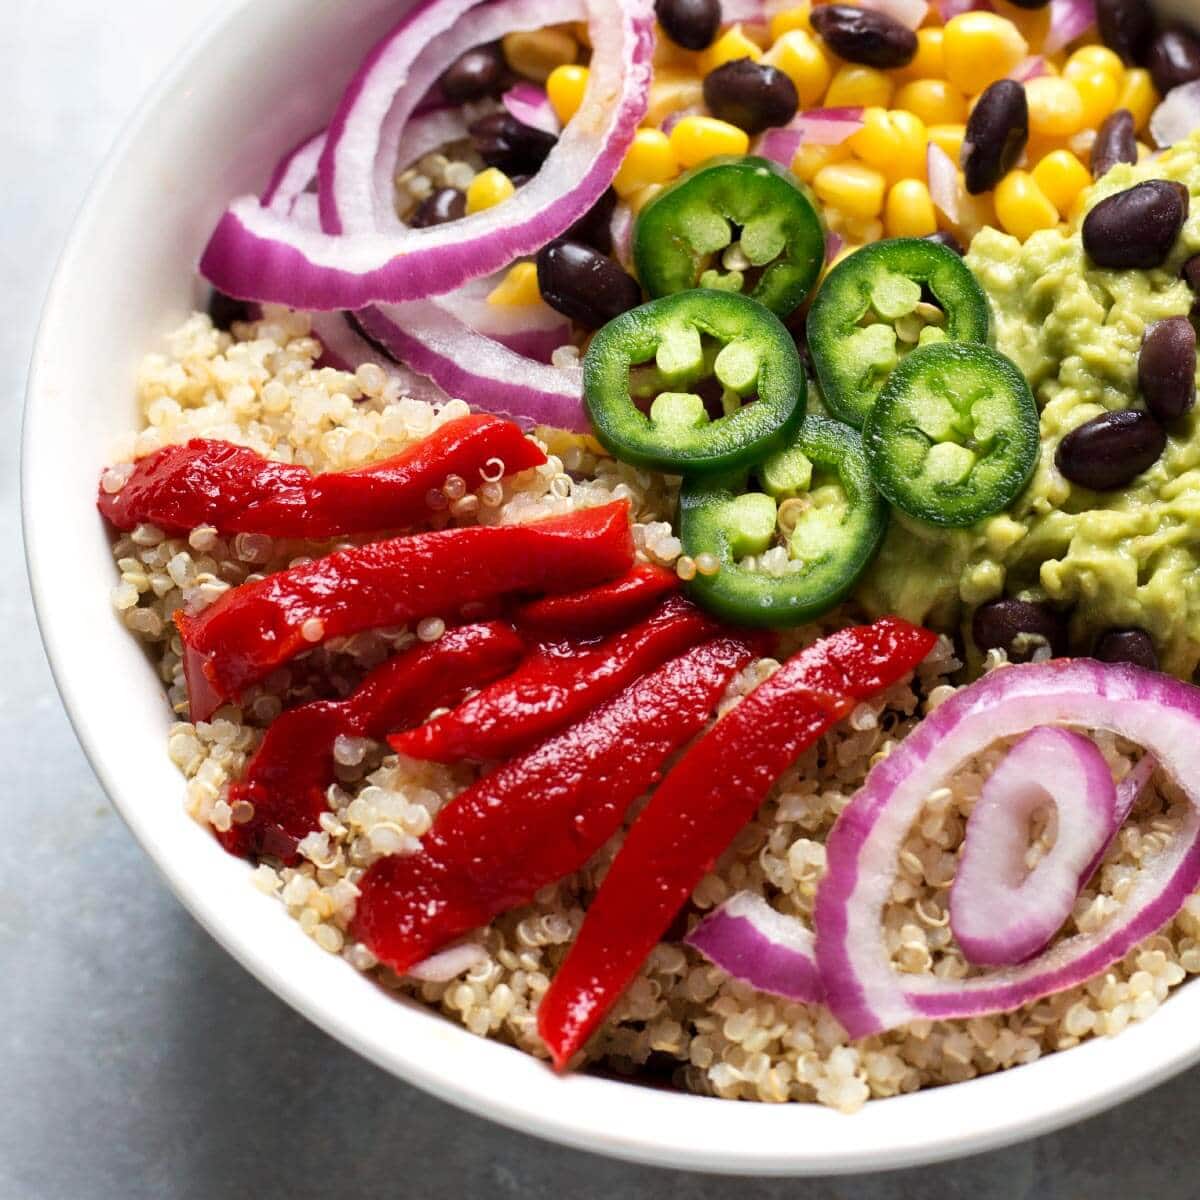
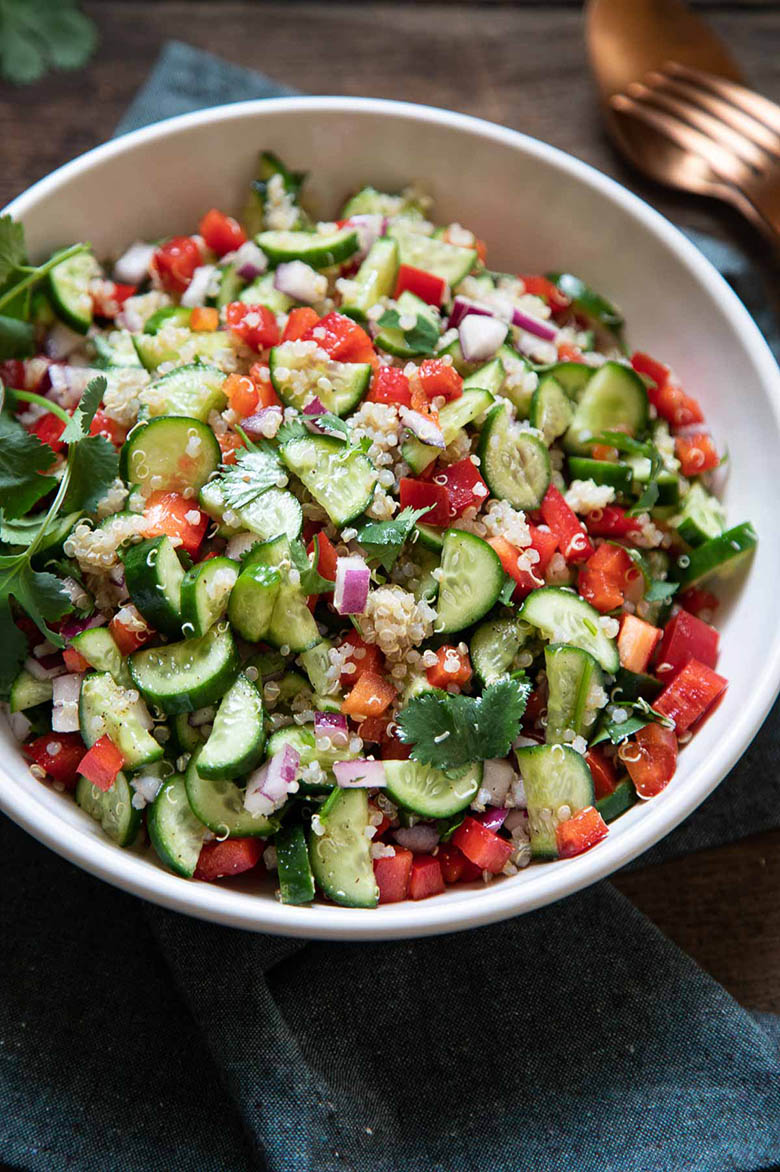
Black Bean Quinoa Salad
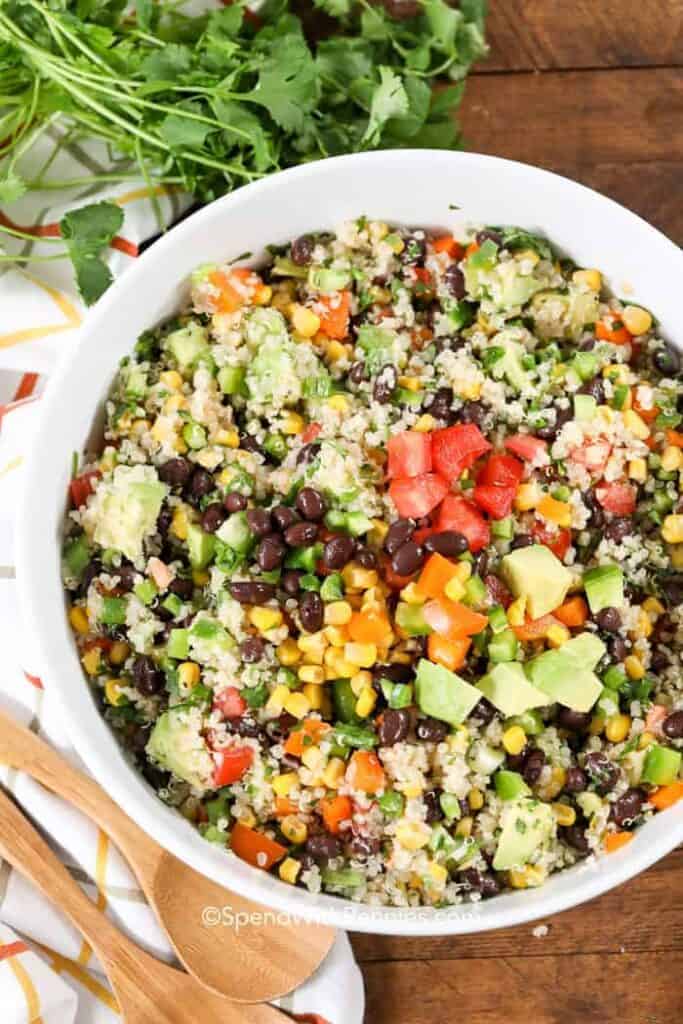
Black Bean Quinoa Salad is an easy fresh salad that can be enjoyed as a meal or a side! Deliciously simple, full of fresh veggies and loaded with flavor, this is the perfect easy lunch or dinner.

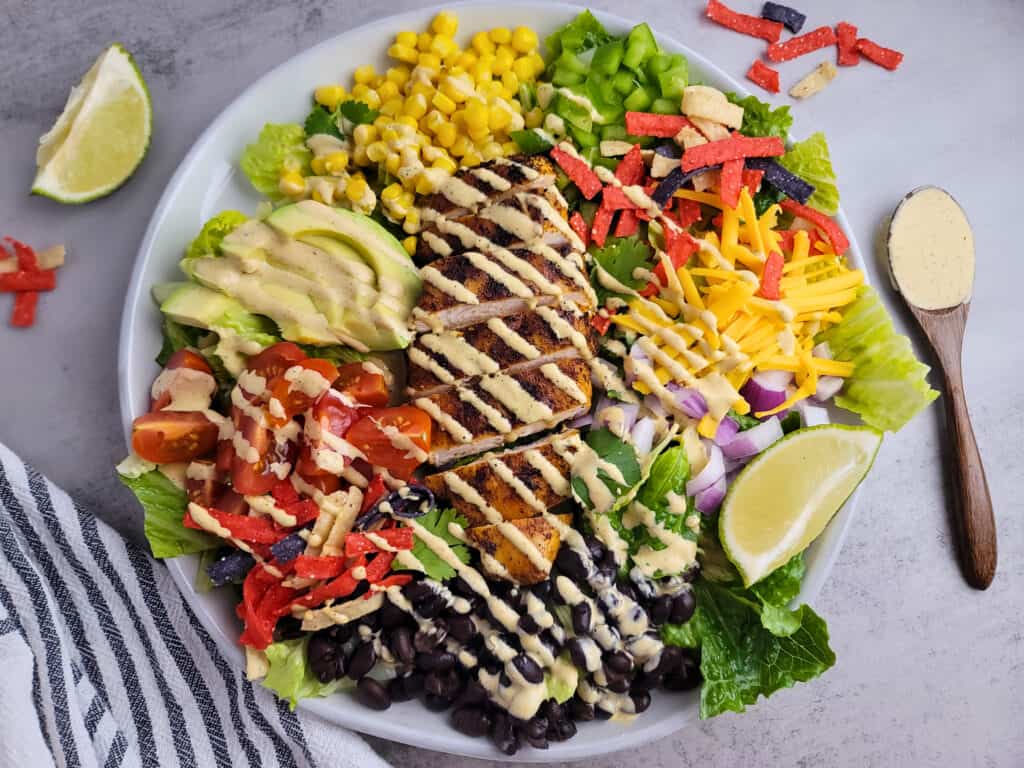
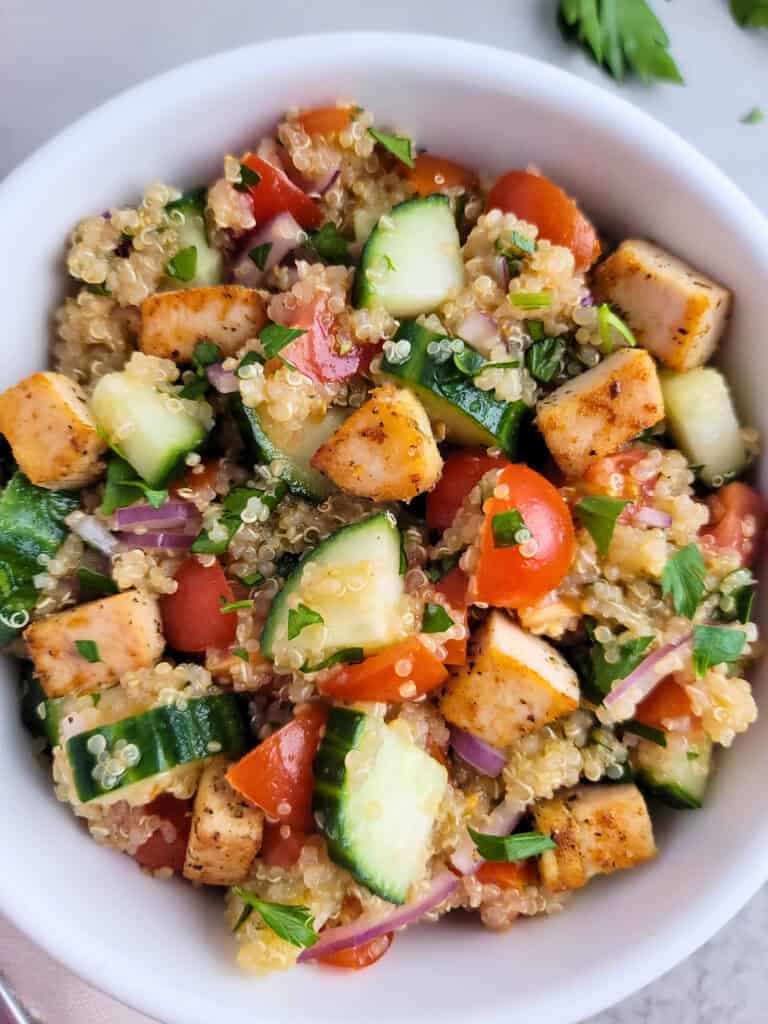
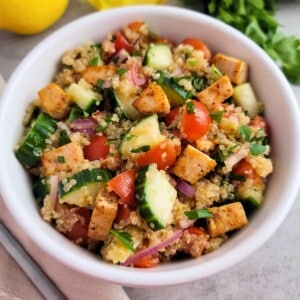
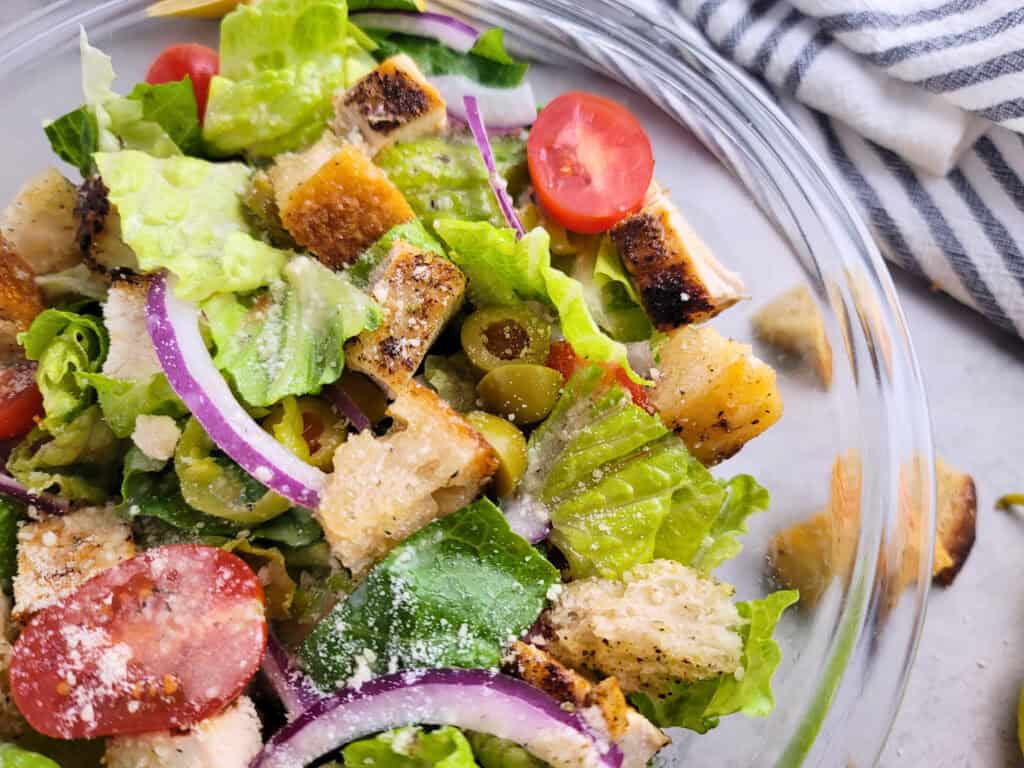
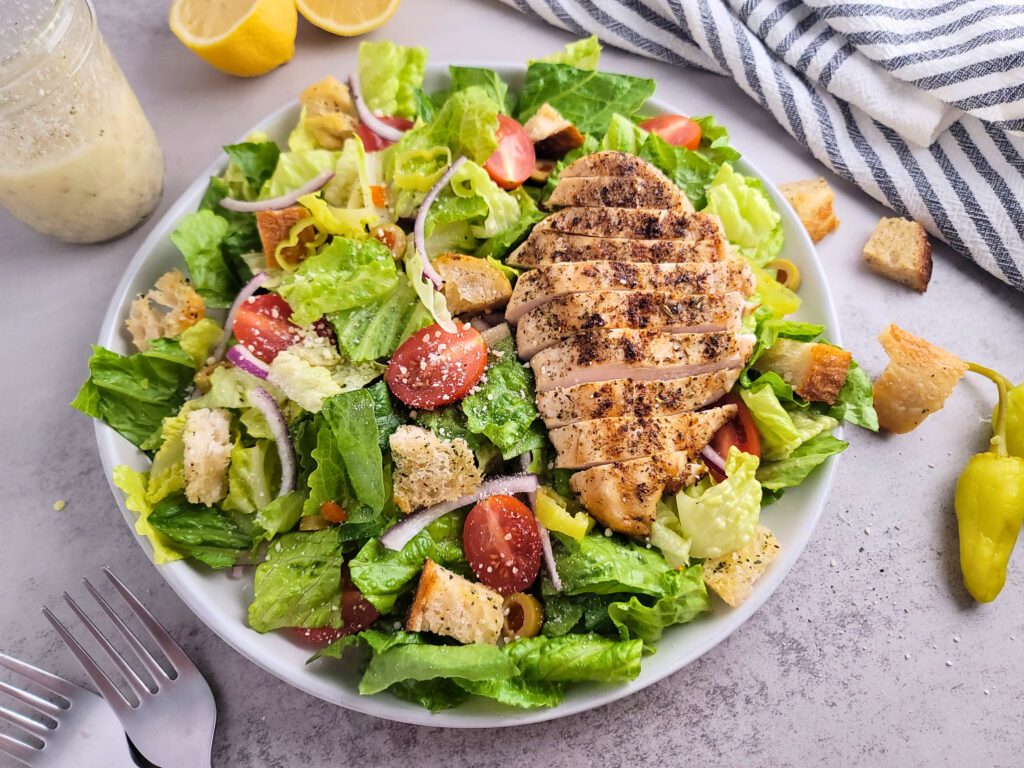
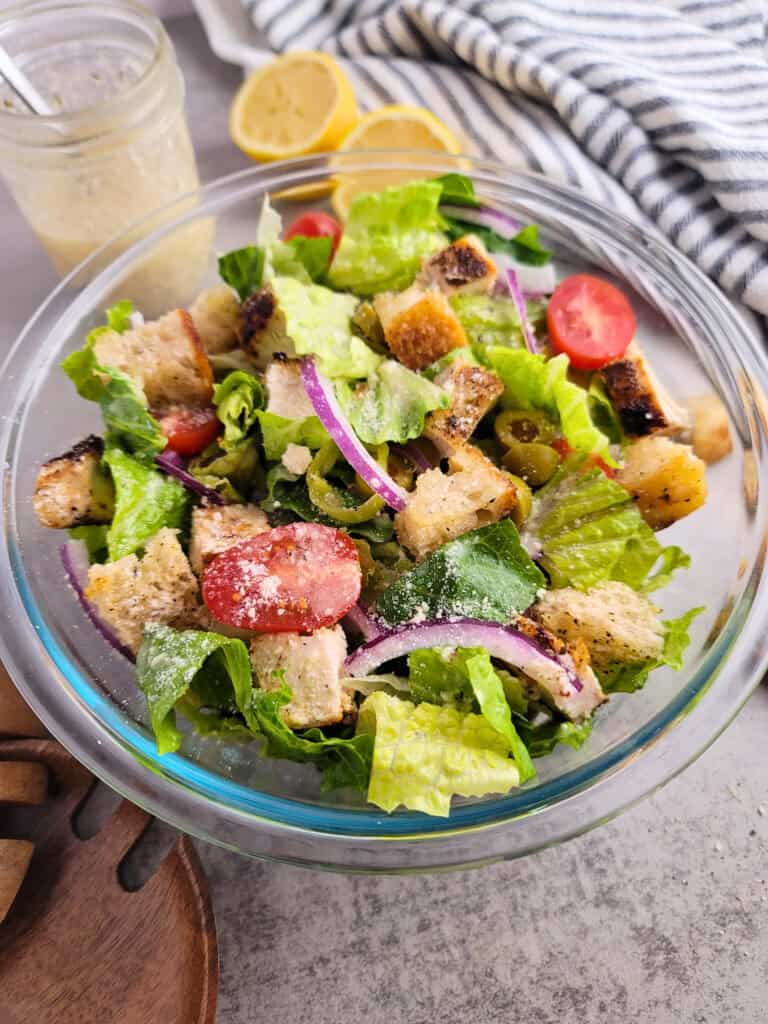
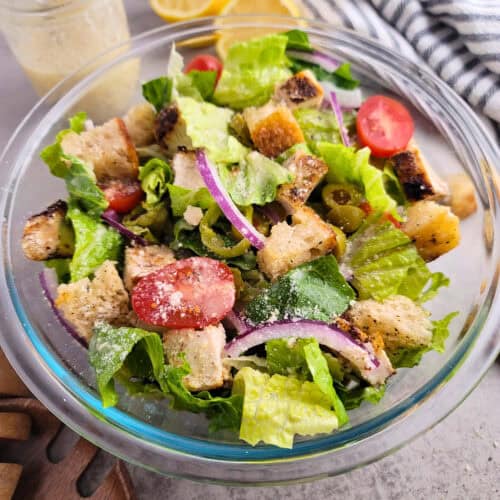
Chicken and Quinoa Salad
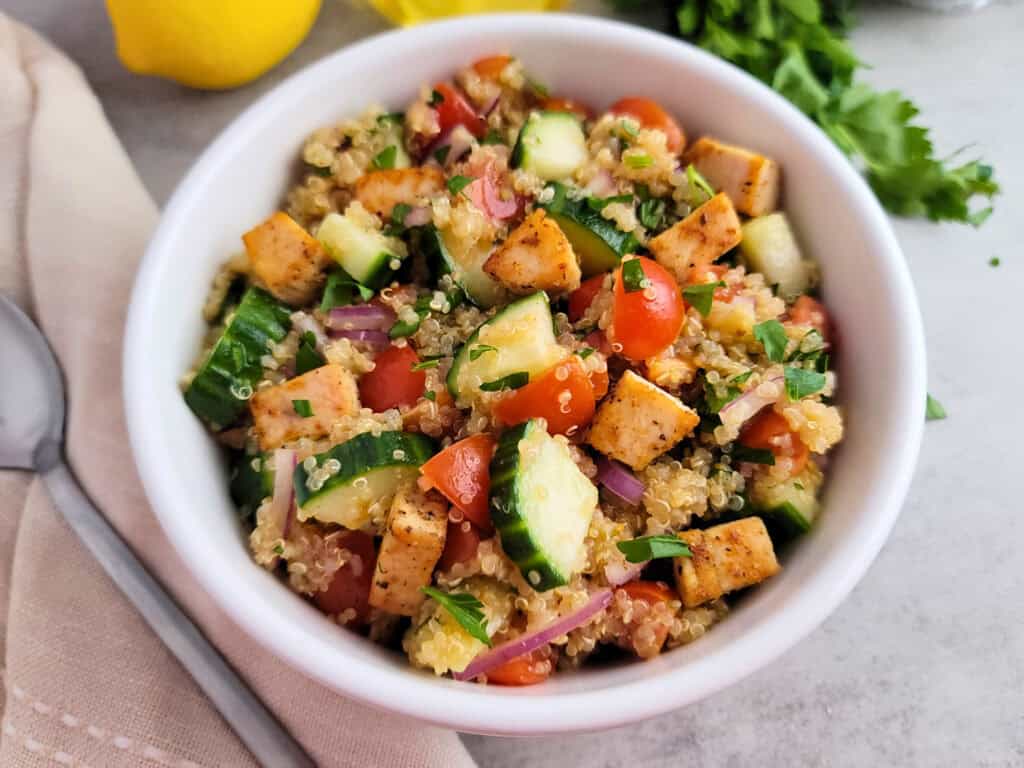
One of my favorite salads to make-Chicken and Quinoa Salad! It's packed with tender, marinated chicken, juicy tomatoes, crisp cucumbers and fluffy quinoa for a fresh and satisfying dish.
FOLLOW ME on Facebook, Pinterest, and YouTube to stay connected!