


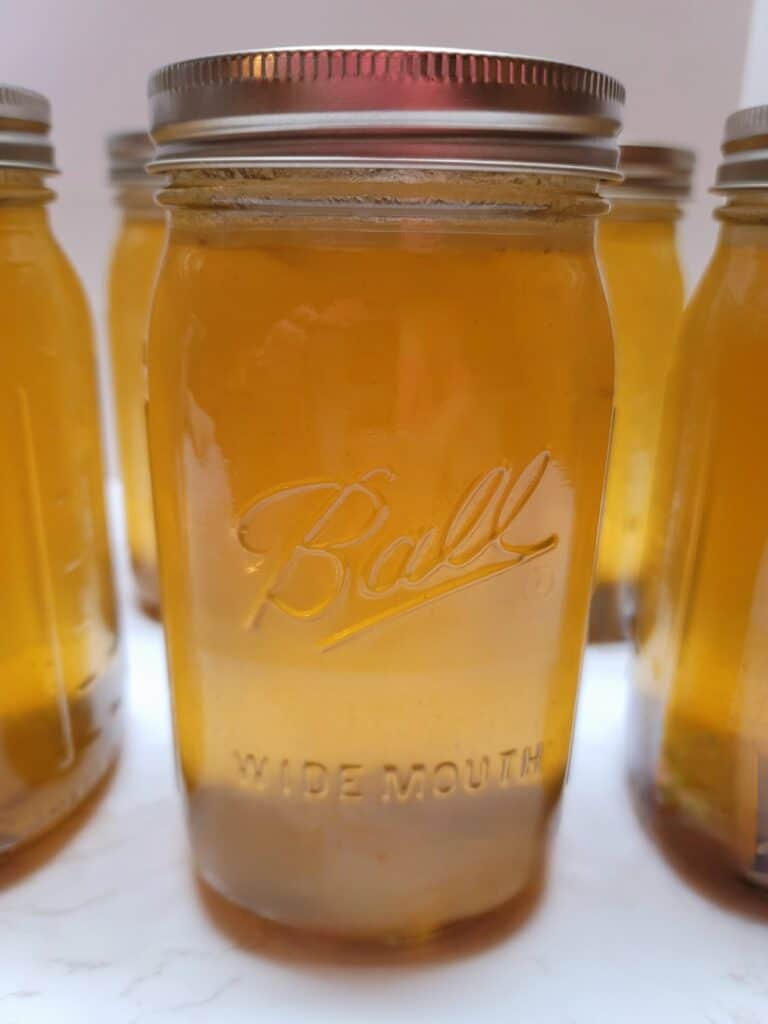
Nothing beats having fresh chicken stock or broth on your pantry shelf. Learning how to pressure can chicken stock is a great way to free up space in your freezer and have fresh chicken stock ready to go whenever a recipe calls for it. If you are new to pressure canning, I know it can be intimidating, but trust me, it is not as hard as it seems.
One of my favorite items to pressure can is undoubtedly chicken stock. I ceased purchasing it years ago due to its quality and cost. I use a lot of chicken stock, and producing it myself is much more economical than store-bought options. Additionally, homemade stock is far more flavorful!
Before acquiring a pressure canner, I used to freeze my stock in quart-sized containers. Now that I own a pressure canner, I love the convenience of storing my chicken stock on my pantry shelf and having it ready to use without the need to thaw. This convenience alone motivates me to continue pressure canning my chicken stock.
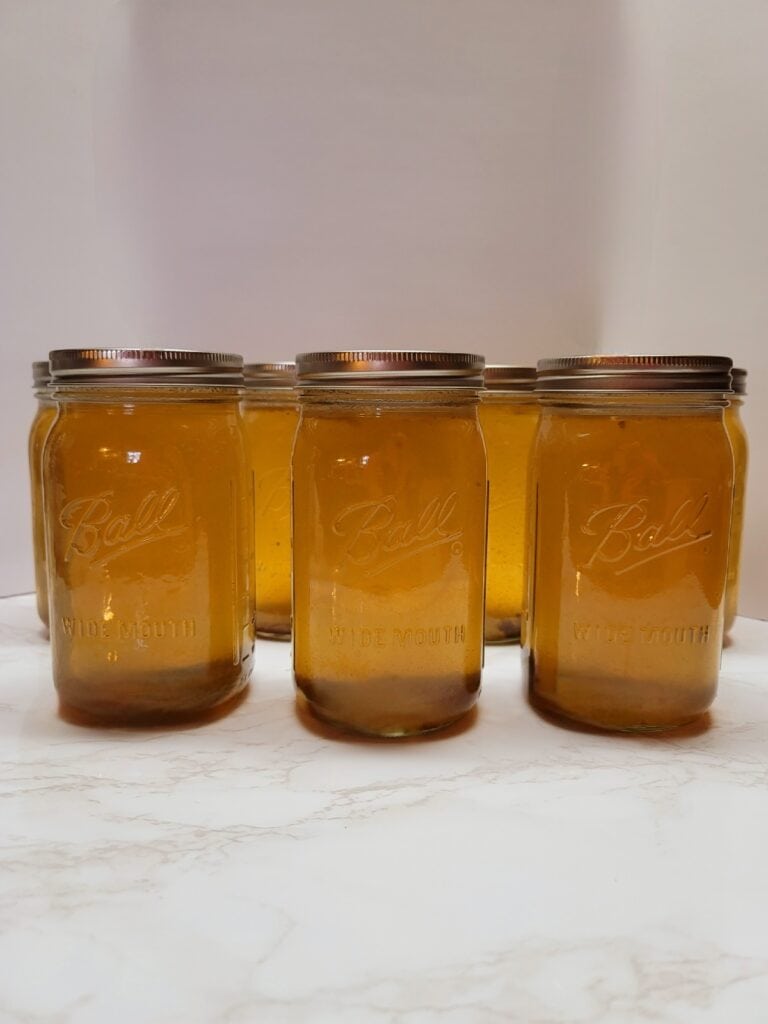
Aside from having chicken stock ready to use on the pantry shelf, pressure canned chicken stock can be stored for much longer than frozen chicken stock. Pressure canned chicken stock is good up to 2 years on the pantry shelf. Not that it will last that long in my kitchen.
Use your own stock or follow my recipe for making chicken stock from scratch.
How to Pressure Can Chicken Stock
It is important to note that since chicken stock is a low-acid food it MUST be pressure canned. You cannot water bath can chicken stock. I use a Presto 23 Quart Pressure Canner that I absolutely love. I have been using this pressure canner for a handful of years now and have had such a great experience with it. When pressure canning, always make sure you read the user guide that came with your pressure canner. Get familiar with how it works and keep your user guide handy to reference back to when needed.
You will also need to check your pressure canner's user guide to know how many jars you can fit in your canner at one time.
Equipment Needed
- Pressure Canner
- Pint or Quart Jars - Pint or Quart jars that have been thoroughly washed in hot soapy water. Because you are using a pressure canner you do not need to sterilize the jars first. Check the rims and jar for cracks or knicks. Damaged jars should not be used for canning.
- New Lids - Always use new lids when starting a new canning project.
- Bands - Bands can be reused. It is important to check to see if the bands are damaged in anyway. Damaged bands should now be used for canning.
- Canning Jar Lifter
- De-bubbler - You can purchase one or use something you have on hand. I have seen people use chopsticks and wooden spoons to de-bubble with. De-bubbling is removing the trapped air from the jar before placing the lid on.
- Ladle
- Canning Funnel
- A bowl of vinegar and a towel - Vinegar is to clean the rims of the jars before placing the lids on.
Let's get started!
1. Place your chicken stock on the stove and heat up to a boil. Add the required amount of water to your pressure canner (you can find this in your user manual). For my Presto Pressure Canner, I use 3 quarts of water. Turn the heat to medium and place your jars, half full of warm water, into the canner to keep hot.
2. When your stock is hot, place the canning funnel in a jar and ladle the stock into an empty jar. (I pull each jar out of the canner and empty the water out as I am ready to fill it.) Fill the jar with the hot stock to 1" headspace.
- 1" headspace is just below the bottom ring on a canning jar. You can also use a de-bubbler that has a headspace measurer on it.
3. De-bubble the jars by placing the de-bubbler in the center of the jar and swirling it around a few times to release any trapped air. Top off the jars if needed to bring them back to 1" headspace.
4. Wipe the rim of the jars with a vinegar-soaked towel to remove anything from the rim that may prevent the lid from sealing properly.
5. Place a lid (new) and a band (ring) on the jar and tighten to fingertip tight. Using the canning jar lifter, place the filled jar into the pressure canner and continue until you have filled the canner.
6. Place the lid on the pressure canner, lock the lid and turn the heat up to high.
7. Once the pressure canner starts to vent (continuous stream of steam), allow it to vent for 10 minutes before placing the pressure regulator on. Once the canner has vented for 10 minutes and the pressure regulator has been placed on you will need to allow the canner to come up to 11 pounds of pressure. Check you user guide to see if you need a different amount of pressure based on your altitude.
8. Set a timer and process pint jars for 20 minutes and quart jars for 25 minutes. Adjust the heat as needed to maintain the pressure.
9. Once the time is up turn the heat off and allow the pressure to drop to zero before removing the pressure regulator and the lid. Allow the jars to sit in the canner for 5 minutes before carefully removing them with the canning jar lifter. Place on a towel in an area that they will not be bothered. Allow them to rest for 12 hours before removing the rings and checking the seals.
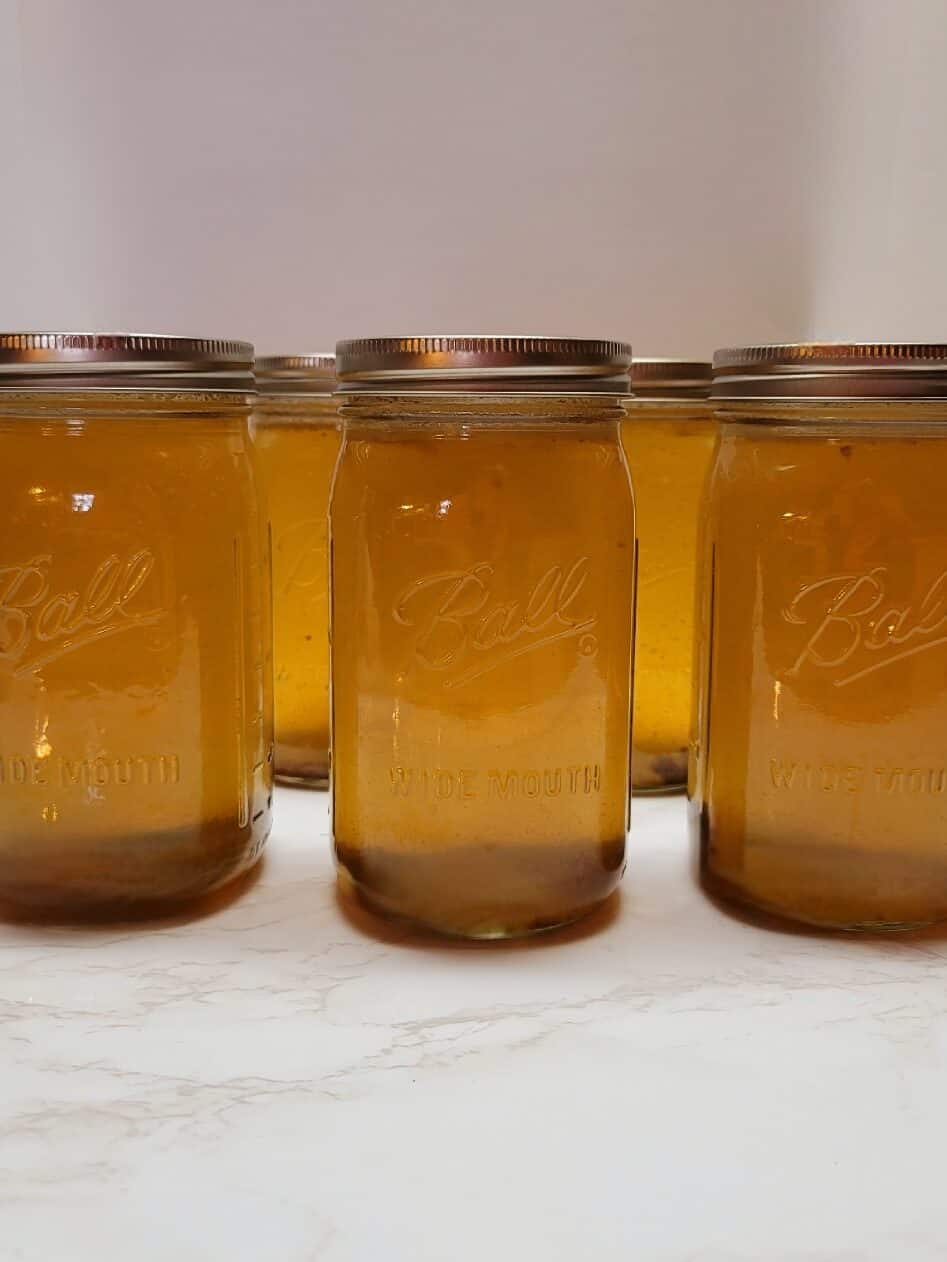
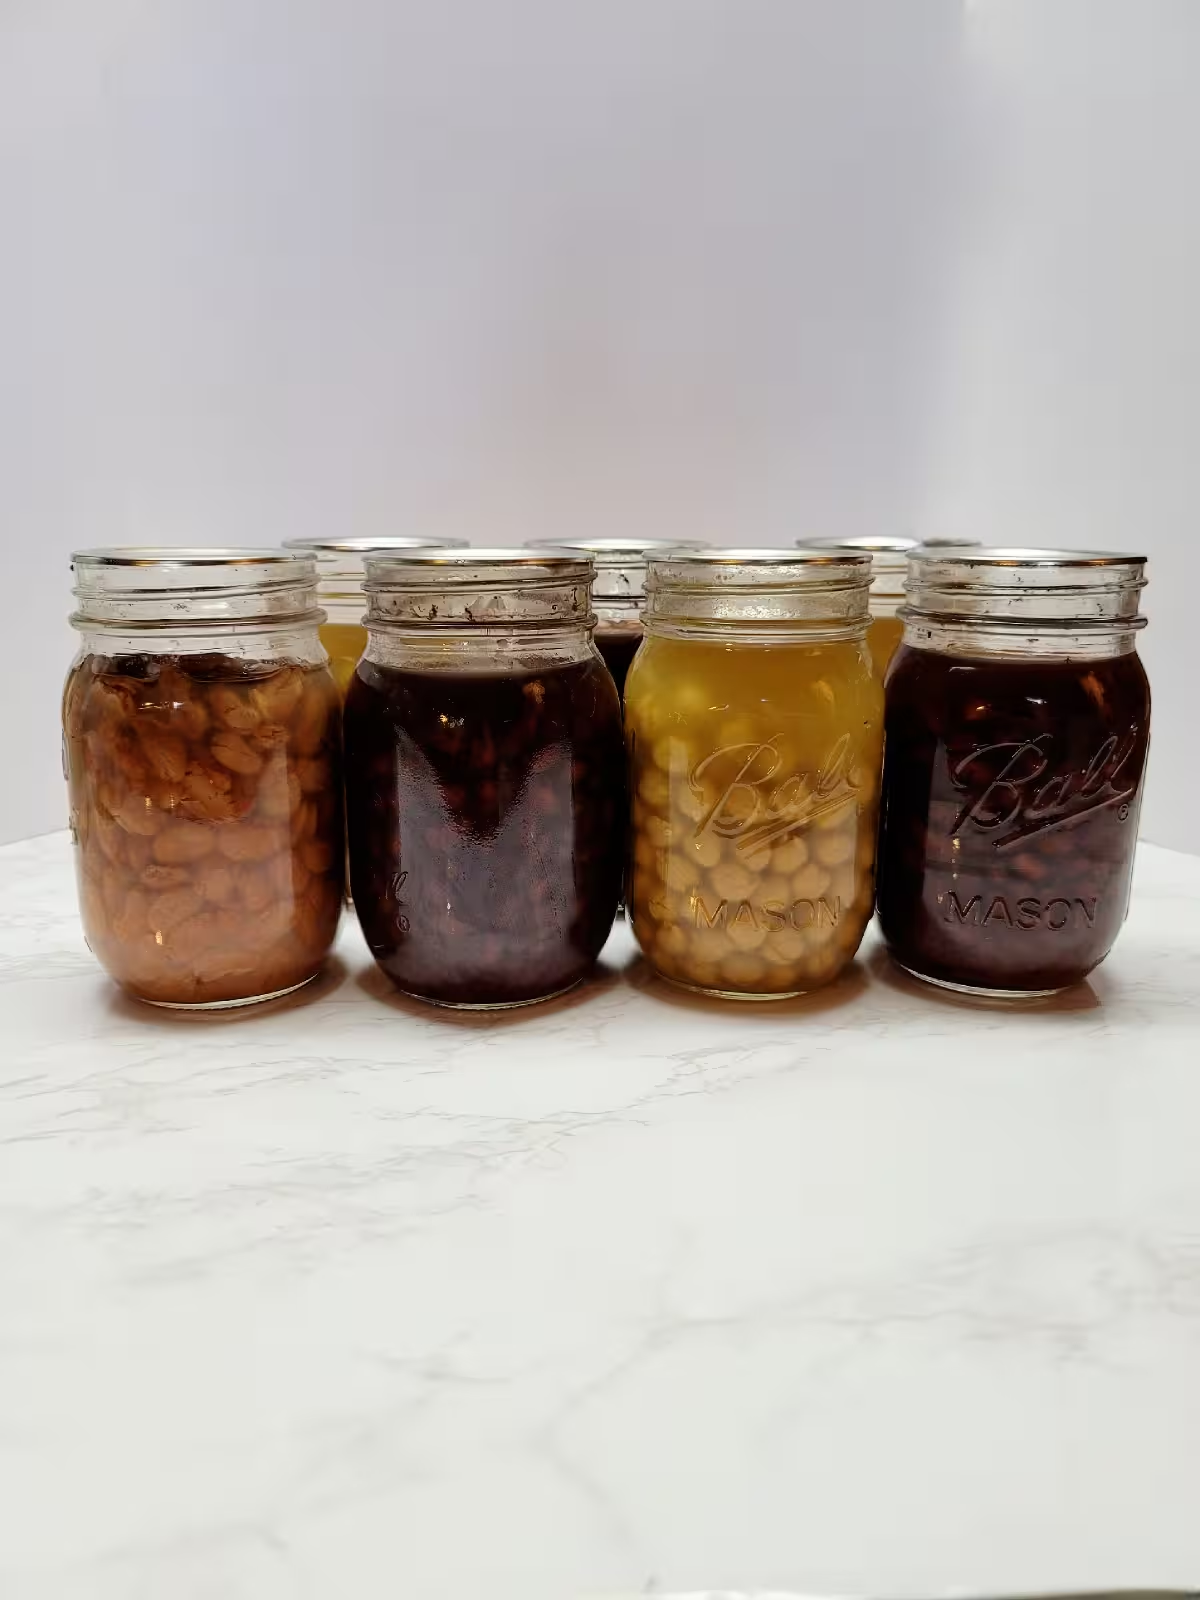
10. Wipe the jars down with a vinegar-soaked cloth, label and date. Store in a cool and dark place. Enjoy!
Can You Pressure Can Chicken Broth?
Absolutely! Pressure canning chicken broth is done exactly the same way as pressure canning chicken stock.
What If the Pressure Drops Below 11 Pounds?
If your pressure drops below 11 pounds you will need to bring it back up to 11 pounds and start the time over. It is okay for the pressure to be slightly higher than 11 pounds but not lower.
You May Also Like


Comments
No Comments