Italian Herbs and Cheese Bagels

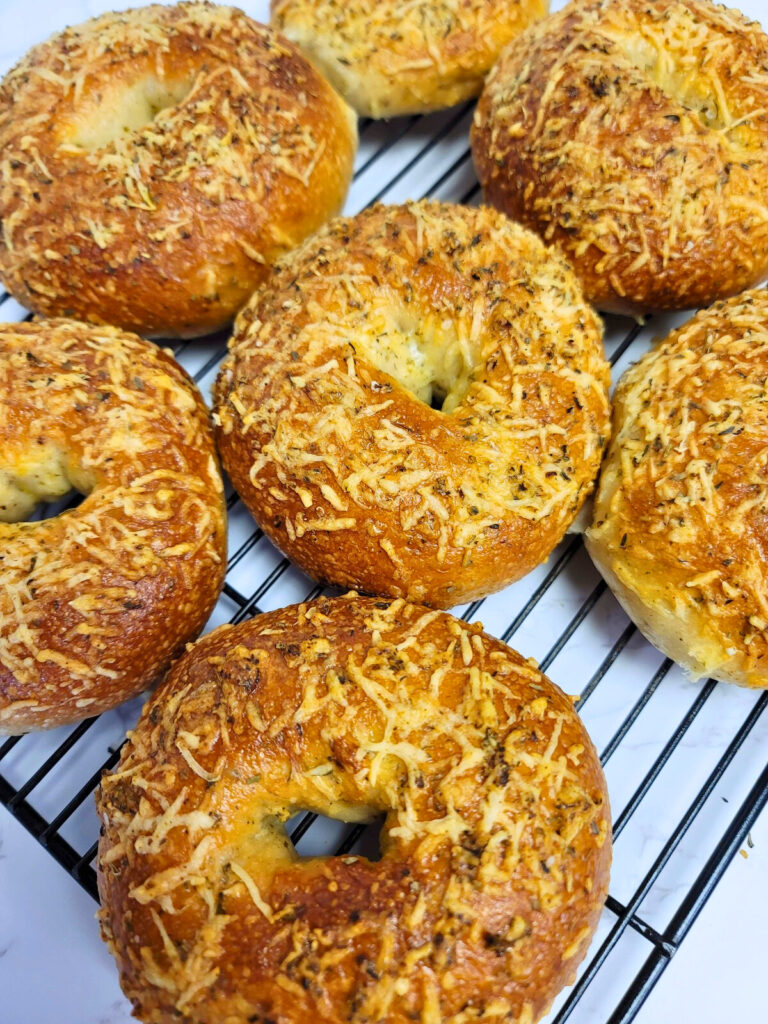
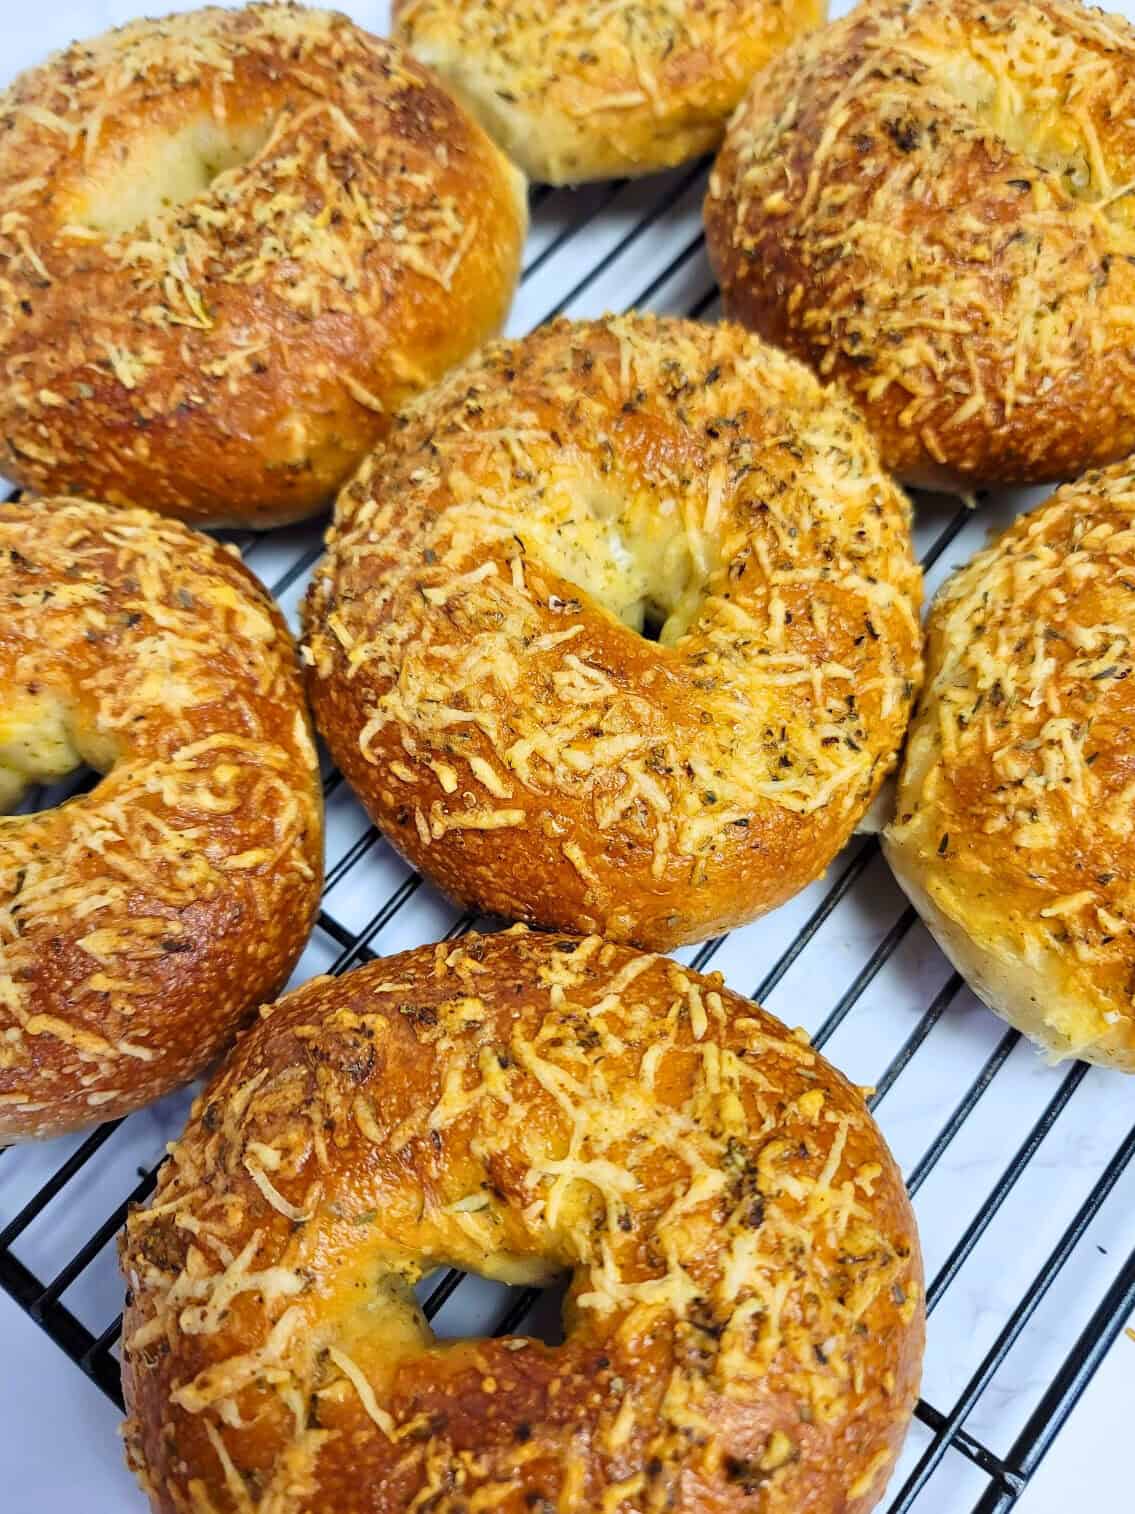
The most delicious bagels, ever! These Italian Herbs and Cheese Bagels are everything you think they would be! If you are a fan of Subway's Italian Herbs and Cheese Bread, then you are going to LOVE these bagels.

These Italian Herbs and Cheese Bagels have been on my to-make list for far too long, and now that I have finally tested the recipe out, I am so happy to share it with you. I have mentioned before how much I love making bread, and making bagels has become one of my favorite breads to make here recently.
I do a lot of freezer prep for school lunches, and with two young boys in school right now, we go through a lot of pizza bagels. According to my boys, these Italian Herbs and Cheese Bagels make the perfect bagel for pizza bagels. While they make great pizza bagels, they are also great for sandwiches or just snacking.
Roasted Garlic and Rosemary Sourdough Bread
If you are new to making bagels go check out my original Bagel recipe for more info and tips on making bagels.
The full recipe is in the recipe card below.


Bagel dough is a lot drier and stiffer than most bread doughs. Avoid adding more water to your dough.
The Refrigerator Method
Refrigerate up to 24 hours. Once you are ready to cook them pull them out of the refrigerator, place one bagel in a bowl of water, if the bagel floats continue on with the recipe. If the bagel does not float, let them proof until one floats.
You would find that many bakers prefer this method of allowing the shaped dough to go through a long, cold fermentation in the refrigerator overnight. This helps develop better flavored dough and better structured dough. Not to mention, it is much easier to pick up and handle a cold dough than a room temperature dough.
The Non-Refrigerator Method
Is just simply allowing the dough to proof for 30 minutes or until puffy before boiling the bagels. This method works just fine and is perfect when you are strapped for time. But, if you want better flavor and structure, use the refrigerator method.

Yes, you have to boil bagels before baking them. Boiling the bagels before baking them helps to achieve the brown exterior and chewy texture that bagels are known for.
Bread Flour is the flour of choice when making bagels. The higher protein content of bread flour aids in the chewiness of the bagels.
The most delicious bagels, ever! These Italian Herbs and Cheese Bagels are everything you think they would be! If you are a fan of Subway's Italian Herbs and Cheese Bread, then you are going to LOVE these bagels.
- 1 1/4 cup warm water (100-110°F)
- 2 1/4 tsp active dry yeast
- 2 tbsp brown sugar
- 1/2 Teaspoon garlic powder
- 1 Tablespoon italian herb blend
- 1 1/2 tsp salt
- 3 1/2 cup bread flour
- 3 qt water
- 1/2 Cup brown sugar
- 1 Tablespoon baking soda
- 1 Large egg
- 1 Tablespoon water
- 1 Cup parmesan cheese (shredded)
- 1 1/2 tsp italian herb blend
- 1 Pinch salt
- 1 Pinch garlic powder
In the bowl of a stand mixer fitted with a dough hook, mix together the warm water, brown sugar and yeast. Let sit for 5 minutes.
Mix in the garlic powder, italian herbs, salt and flour. The dough will be shaggy, don't add any more water. Begin kneading the dough on low.
Knead the dough for 10-15 minutes or until it becomes smooth and passes the windowpane test. Since the dough is a dry, stiff dough it may help to turn the dough out onto your work surface and knead the dough by hand.
Once the dough is fully kneaded and passes the windowpane test, shape into a boule, lightly coat it with oil, cover with a damp cloth and let it bulk rise until doubled in size. This may take 2 hours, longer if your kitchen is cold.
Once double, deflate the dough and turn it out onto an un-floured work surface. Divide into 8 equal portions. Line and lightly grease a large baking sheet.
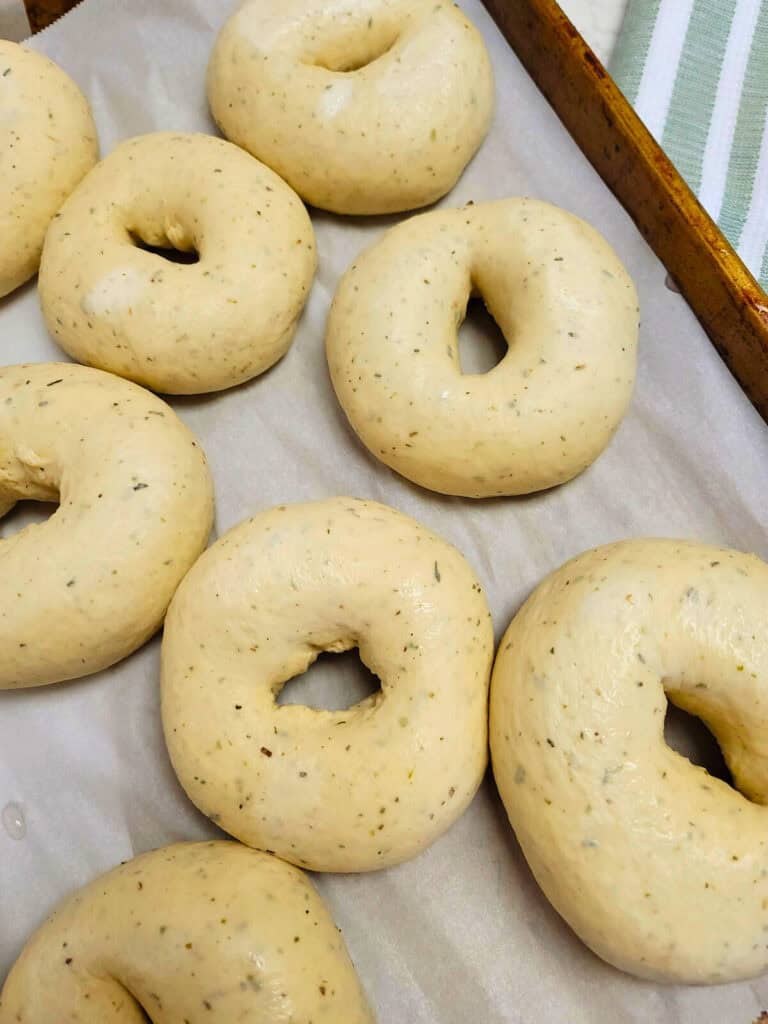
Lightly cup your hand around the ball of dough and begin gently rolling it in a circular motion using the palm of your hand to build tension in the dough as you are shaping it. The ball of dough should be tight and smooth on the top. Place seam side down on a lined and greased baking sheet.
Working with one piece of dough at a time, take your thumb and press a hole through the middle of the dough. Then pick up the dough and gently stretch the hole to about 2 inches in diameter.
Place back onto the lined and greased baking sheet, cover with a damp towel or plastic wrap.
- For refrigerator method
If you decide to refrigerate your bagels before baking them do so now. Refrigerate up to 24 hours. Once you are ready to cook them pull them out of the refrigerator, place one bagel in a bowl of water, if the bagel floats continue on with the recipe. If the bagel does not float, let them proof until one floats.
- Non refrigerator method
Allow the bagels to proof for 30 minutes or until puffy. Once the bagels are proofed, preheat an oven to 425° F.
- Water Bath
In a large pot add in the 3 quarts of water, brown sugar and baking soda. Mix well. Bring to a boil. In a small bowl mix together the egg and water to make an eggwash.
Drop 3 bagels into the boiling water, let each one boil for 30 seconds to 1 minute, flip and boil for another 30 seconds to 1 minute. Remove from the water and place back onto the greased and lined baking sheet. Continue until all bagels have been boiled.
- Flavoring the Bagels
In a small bowl combine the topping ingredients.
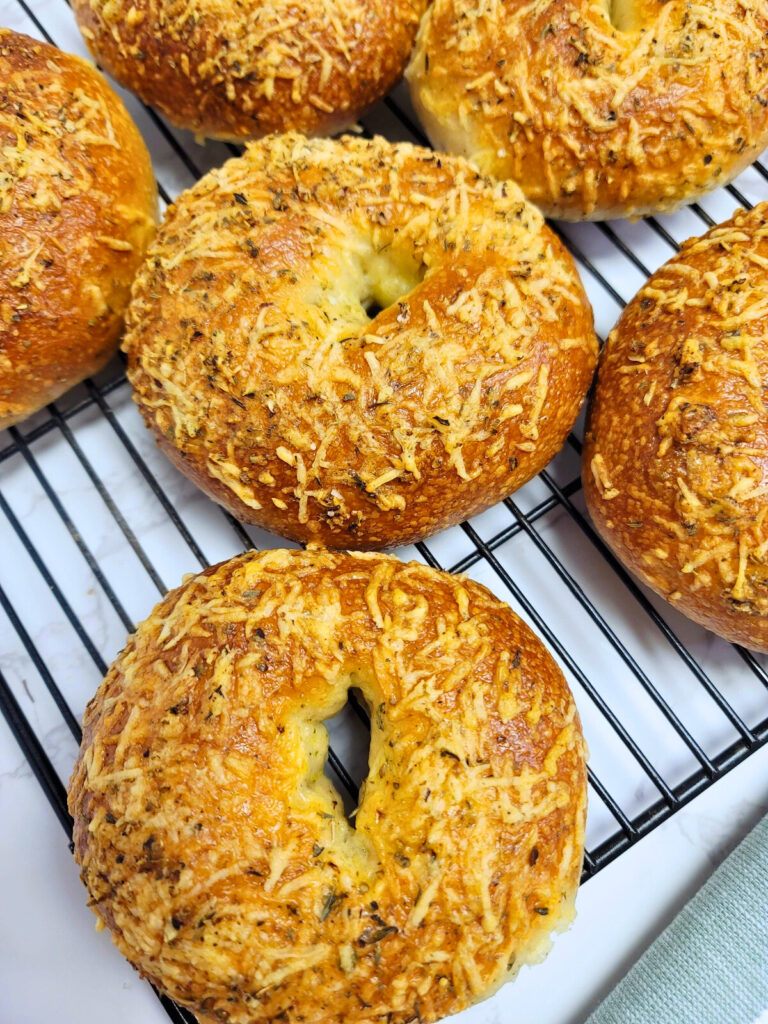
Dip the top of each bagel in the egg wash and sprinkle with toppings.
Place in the oven and bake for 20 minutes. Enjoy!
Thank you for stopping by!