Making crostini is simple yet rewarding. With just a few basic ingredients and a little creativity, you can create a variety of delicious, crispy snacks perfect for any occasion. Follow this step-by-step guide on How to Make Crostini and start making them in your own kitchen.
Not only do homemade crostini taste far better than what you can buy at the store, they are so much easier to make that you might think. And they pair so well with so many dishes.
The base for crostini is simple—just good bread and olive oil. Here’s what you’ll need:
- Bread- A good crusty baguette works really well.
- Oil- A good quality olive oil for flavor. Butter can be substituted for the olive oil if needed.
- Salt- A pinch of kosher salt or flaky sea salt on each piece for flavor.
Preparing homemade crostini is as easy as brushing each slice of bread with olive oil, sprinkling them with salt, and toasting them until golden. It really doesn’t get much easier.
STEP 1
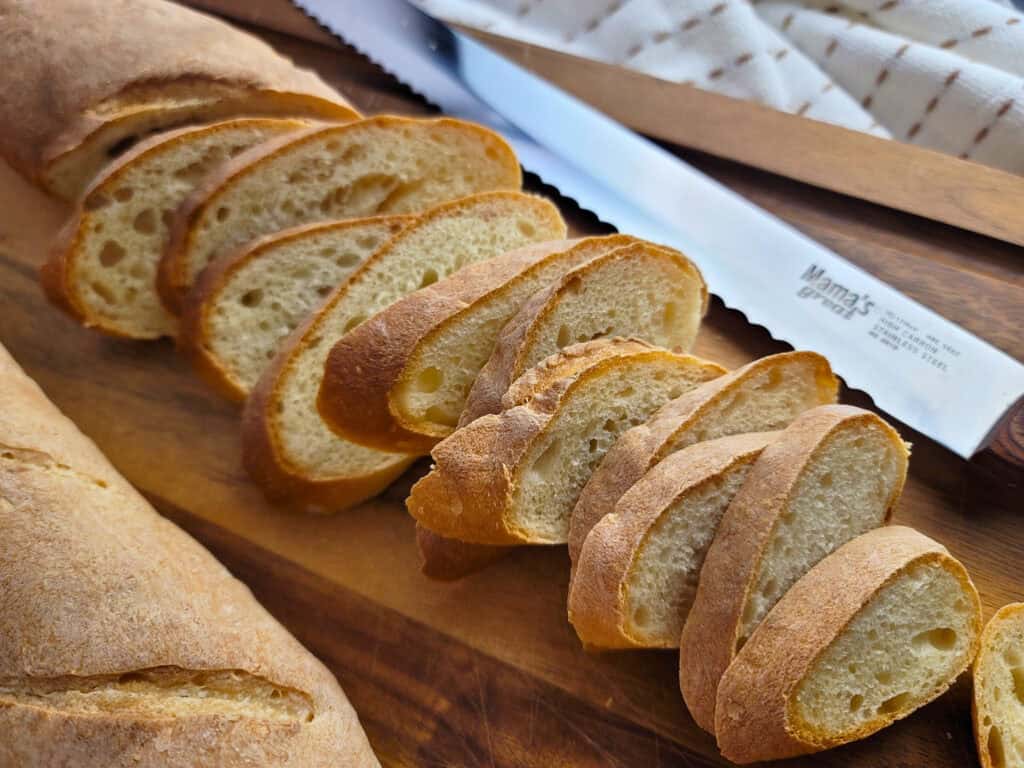
Start by slicing your loaf of bread into 1/4-inch to 1/2-inch-thick slices. You can adjust the thickness to your preference, but thinner slices will give you a crisper, more delicate crostini.

I prefer to slice the bread on a slight diagonal, which makes longer pieces, providing more surface area for toppings.
STEP 2
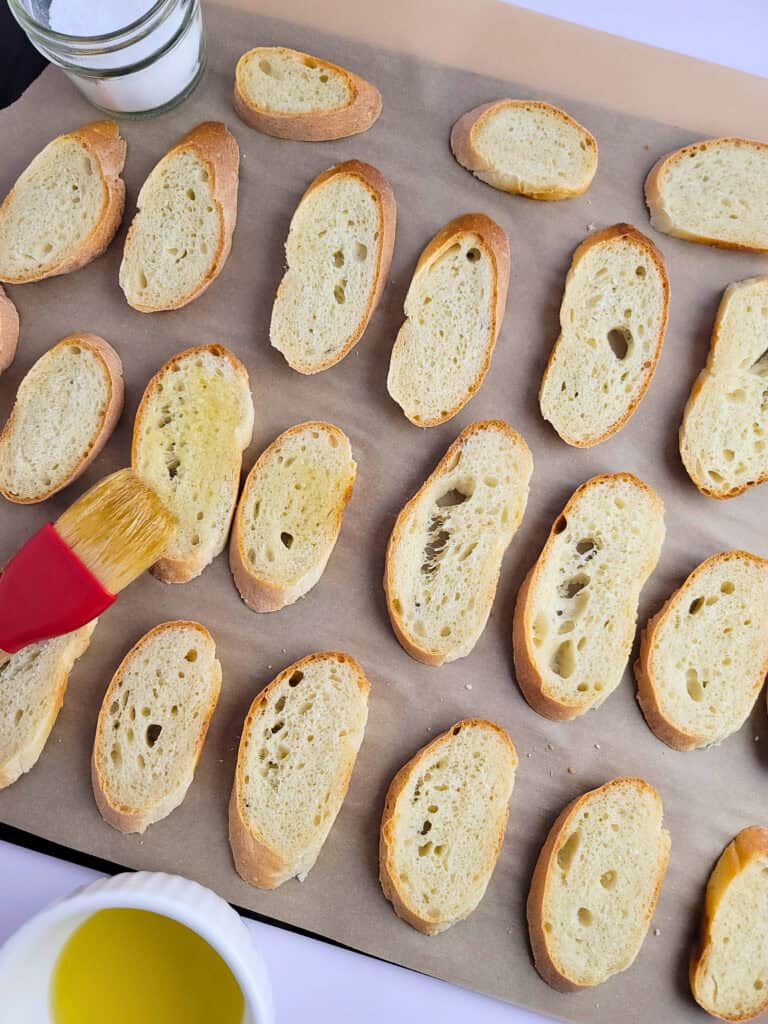
Lay the slices of bread on the prepared baking sheet. Brush both sides of each slice generously with olive oil. Then sprinkle (one side) with salt.

STEP 3
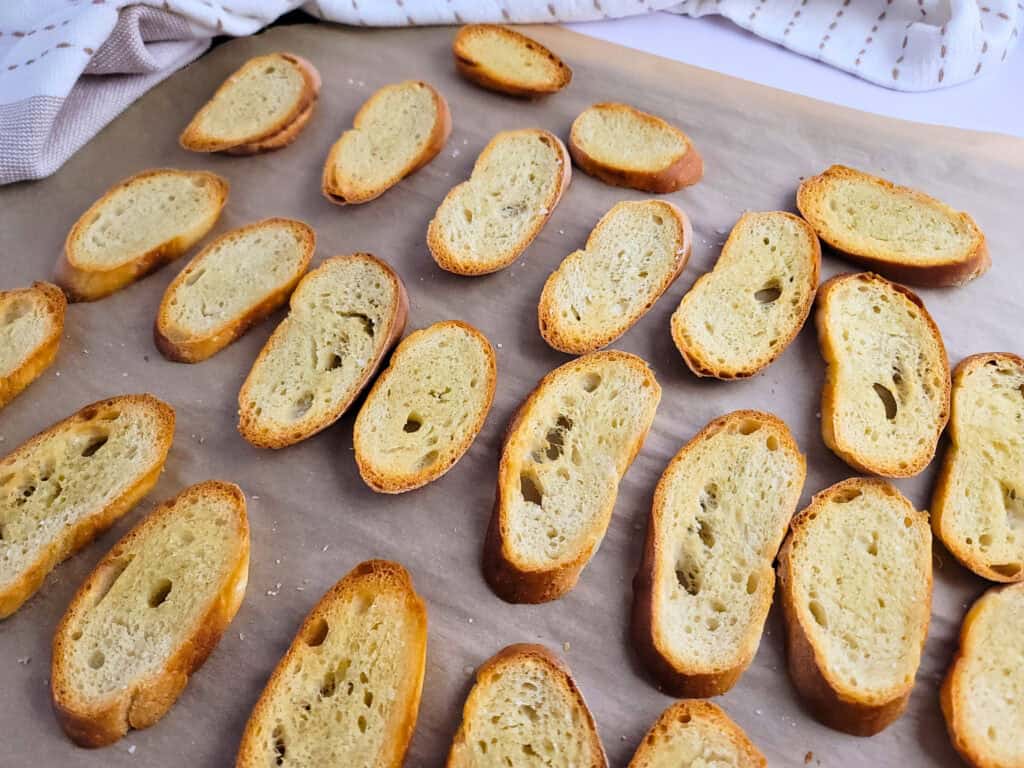
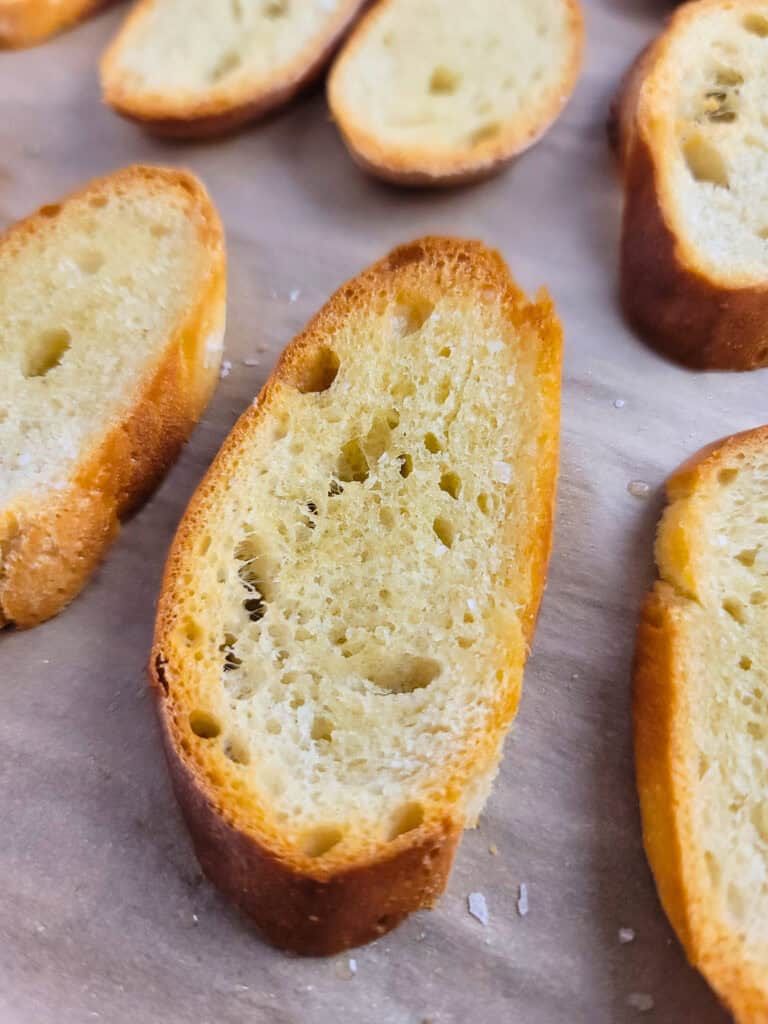
Place in the oven and bake for 10-12 minutes or until lightly browned and toasted. Enjoy!
Fresh garlic (for rubbing the toasted bread, adding delicious garlic flavor).
Fresh herbs or spices for extra flavor.
Brush the bread with melted butter instead of oil for a nice buttery flavor.

Once the crostini are completely cooled, they can be stored in an airtight container at room temperature for up to five days.
Strawberry Shortcake Poke Cake
The BEST Zuppa Toscana Soup Recipe
FOLLOW ME on Facebook, Pinterest, Instagram and YouTube to stay connected!
Tried This Recipe?
Leave a review below, I would love to hear how it turned out! ⭐⭐⭐⭐⭐
How To Make Crostini
Making crostini is simple yet rewarding. With just a few basic ingredients and a little creativity, you can create a variety of delicious, crispy snacks perfect for any occasion. Follow this step-by-step guide on How to Make Crostini and start making them in your own kitchen.

Ingredients
Instructions
-
Preheat an oven to 400°F and line a large baking sheet with parchment paper.
-
Start by slicing your loaf of bread into 1/4-inch to 1/2-inch-thick slices. You can adjust the thickness to your preference, but thinner slices will give you a crisper, more delicate crostini.
I prefer to slice the bread on a slight diagonal, which makes longer pieces, providing more surface area for toppings. -
Lay the slices of bread on the prepared baking sheet. Brush both sides of each slice generously with olive oil. Then sprinkle (one side) with salt.
-
Place in the oven and bake for 10-12 minutes or until lightly browned and toasted. Enjoy!


